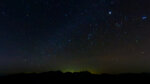
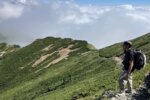
Spending a night in the mountains, if you look up you will see a starry sky that is almost impossible to see from the lowlands
"Star trails," which capture the slowly moving trails of stars, are a technique that involves opening the shutter for a longer period of time and layering hundreds of photos together to create a single image. "Star lapses" and "star trails," which capture the movement of the stars in video, are very appealing, but capturing star trails or star lapses with an SLR camera requires a huge amount of effort
In the past, taking photos required you to keep pressing the shutter in the cold, but as time has passed and technology has advanced, it has become easy to take "star trails" and "star lapses."
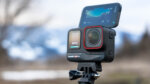
I recommend the Insta360 X4 for shooting "star trails" and "star lapses." The Insta360 X4 is an action camera that can shoot 360 degrees, but it can also shoot star trails and star lapses, and all you need to do is press a button after simple settings. I was amazed at how easy it was to shoot
In this article, we will explain how to take starlapse photos using the Insta360 X4. By following this article, anyone can take stunning starry sky photos with just the touch of a button
table of contents
- What you need for shooting
- Specific steps to ensure a successful shoot
- After shooting, the app will edit the photos with the touch of a button
- Summary: Even though the image quality is inferior to that of a single-lens camera, the Insta360X4 is more convenient! It's enough for recording memories on social media
What you need for shooting
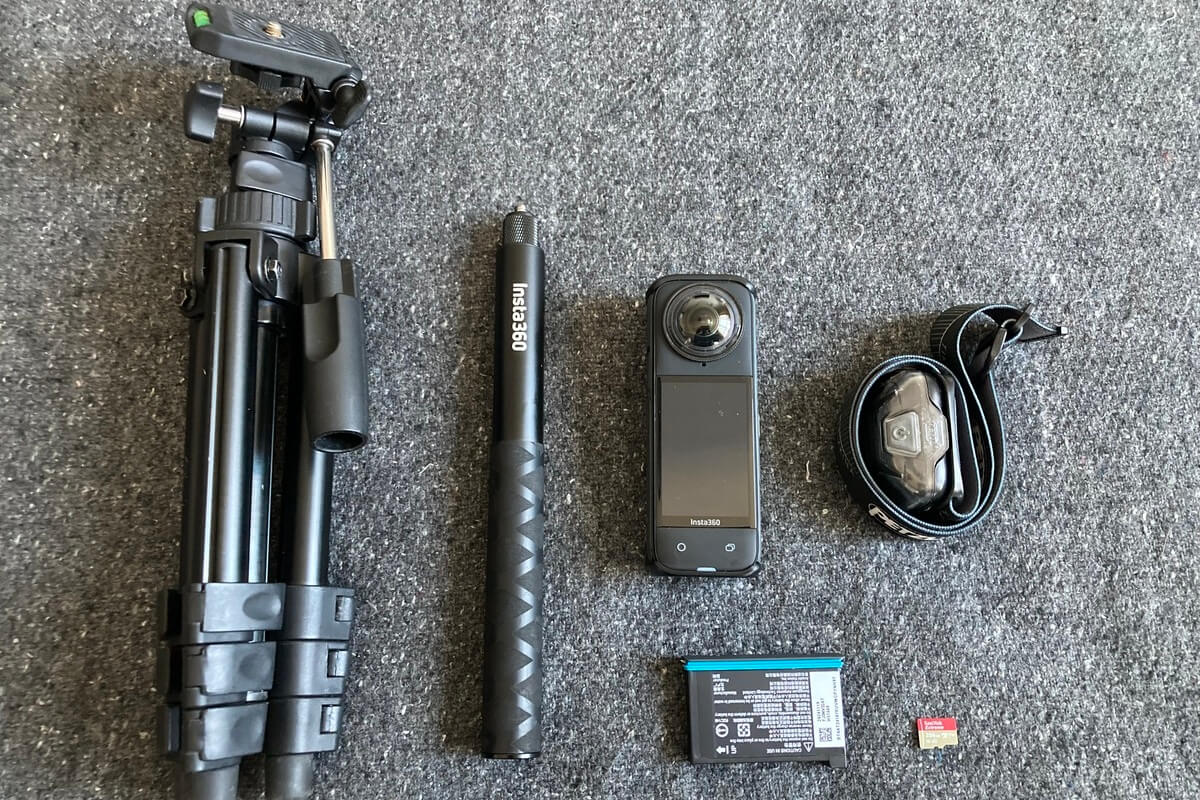
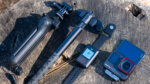
The basic items you need for stargazing are:
- Insta360 X4
- tripod
- Smartphone (free app)
- Spare battery
- headlamp
- Micro SD card
Since shooting Star Trails and Star Lapses takes a long time, it is a good idea to have spare batteries and memory cards on hand
The Insta360 X4 has a battery capacity of 2290mAh, which is larger than the X3 (according to the manufacturer's official website, it can record 135 minutes at 5.7K 30fps). However, star trail and star lapse photography requires at least an hour of shooting, and up to three hours or more, so it's a good idea to bring a spare battery
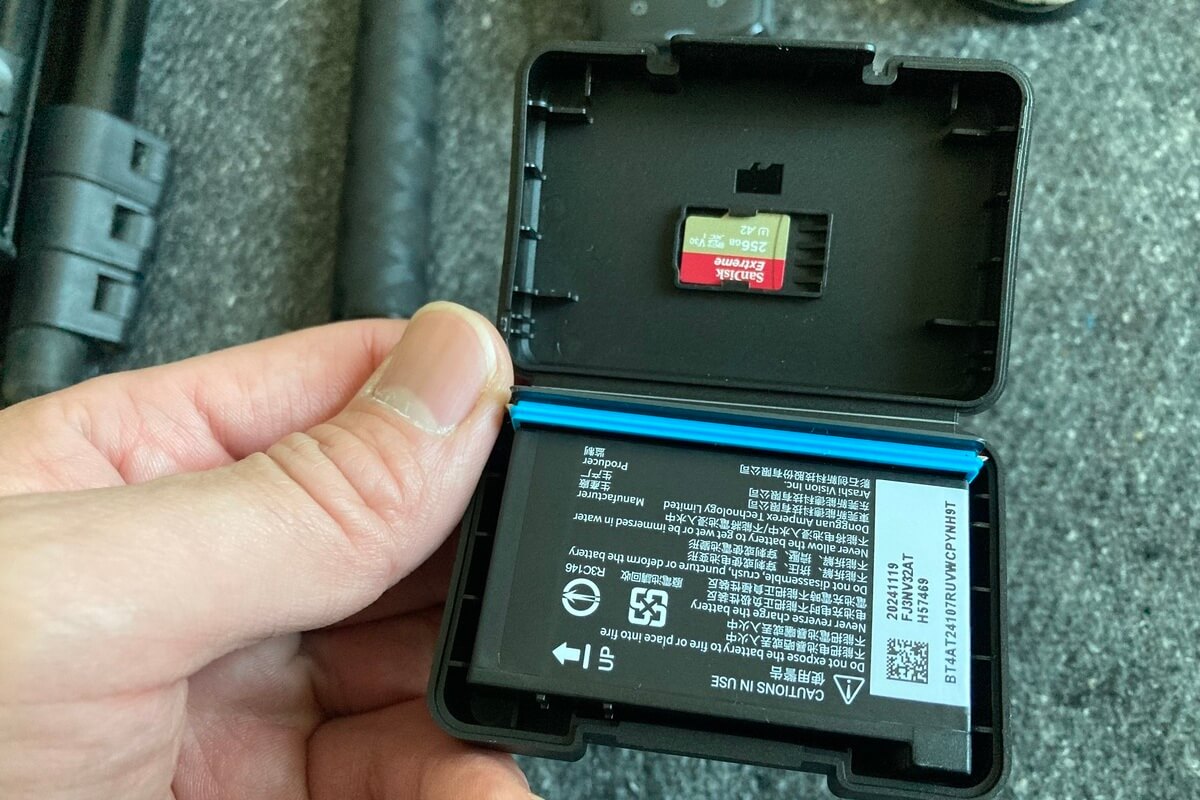
The original battery case can hold a spare microSD card
As shooting time increases, so does the amount of data. The Insta360 X4 uses a microSD card, which has a wide range of capacities, from 32GB to 2TB, depending on the manufacturer (the maximum capacity that can be used with the Insta360 X4 is 1TB)
If you plan to shoot star trails, star lapses, or videos, a 128GB or larger card is a safe bet. I use a 256GB microSD card. When shooting videos, it's recommended to choose a microSD card with a speed class of V30 or higher in addition to the capacity
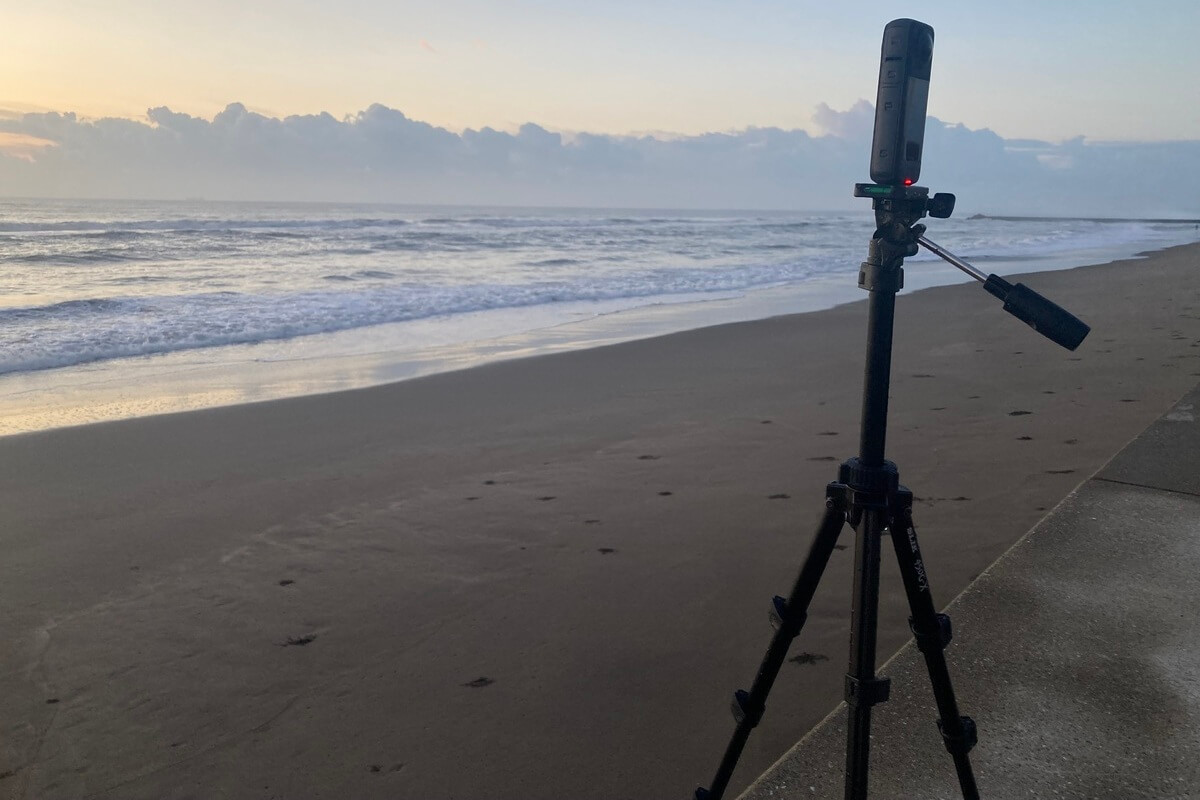
A sturdy tripod is preferable
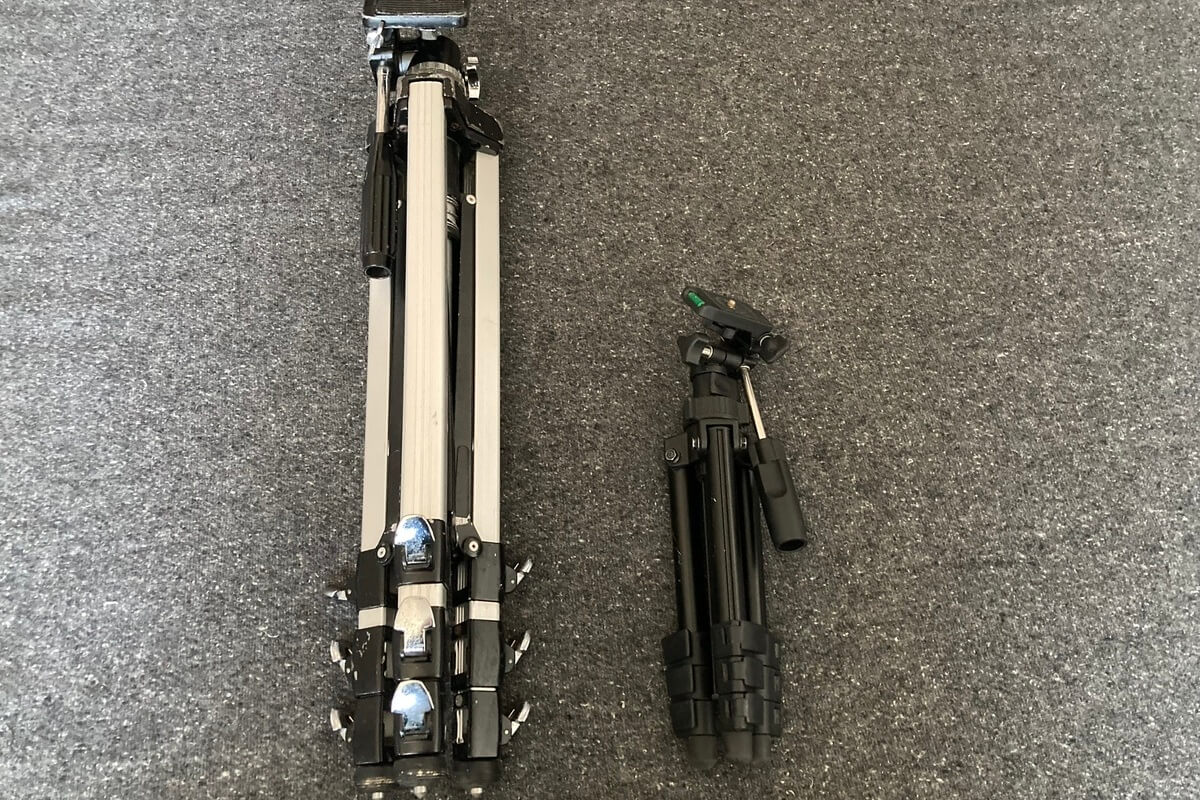
If you wait next to the camera while shooting, you can deal with any problems immediately, but since shooting will be long, you may need to leave the camera (I wait in a tent or car while shooting)
In that case, it's better to choose a tripod that is as sturdy as possible. Portable, small tripods are light, but they tend to tip over easily in strong winds, so you need to be careful. Use a tripod with legs that are well spread apart and provide a high level of stability
Choosing a tripod can be a difficult decision when climbing mountains and taking photos on them. It can be difficult to decide whether to prioritize stability or portability, and tripods with high stability tend to be heavier, making them a greater burden to transport. Leofoto tripods offer a good balance of portability and stability. Weighing less than 1kg, they are highly stable and highly recommended
Specific steps to ensure a successful shoot
- Find a location
- Check the moon age
- Check the direction at the shooting location
- Setting up the Insta360 X4
- Filming begins
Step 1: Finding a suitable location is the first step to avoiding failure
The best place to take starry sky photos, including "star trails" and "star lapses," is a dark place
A dark place here refers to a place that is less affected by city lights. We recommend places away from urban areas, such as deep in the mountains, high altitude areas, plateaus, and the sea
Although the sea is recommended, it can be affected by city lights depending on the location, so you need to carefully select a location. To find a place that is not affected by city lights (light pollution), use a "light pollution map" or similar and try to find a place that is as unaffected by light as possible
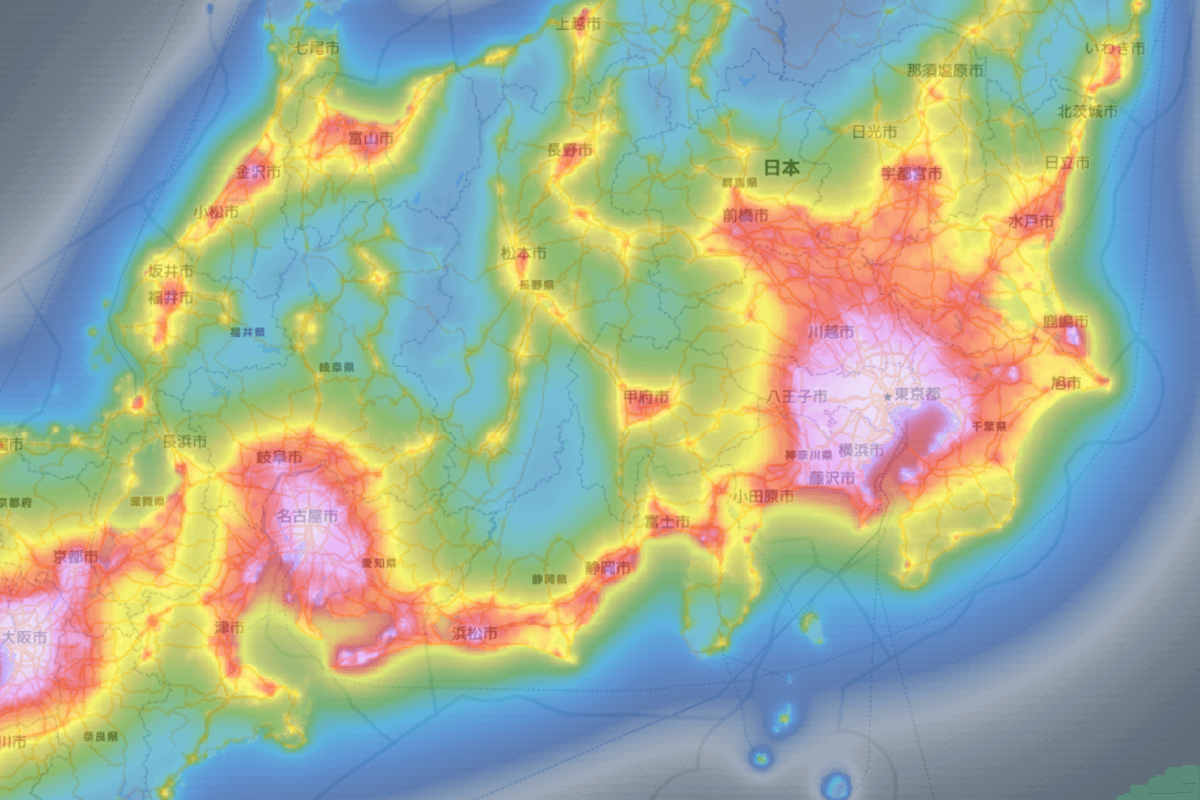
Source: Japan Light Pollution Map
The photo shows a light pollution map for the Kanto region, with bluer areas being less susceptible to light pollution. Looking at this map, even in mountainous areas such as the Tokyo metropolitan area, many places are affected by city lights, while mountainous areas such as the Southern Alps, Northern Alps, Gunma and Niigata are less susceptible and are therefore suitable for photography
I said that the sea is also recommended, and while the southern Izu Peninsula is less affected, many areas along the Boso Peninsula and Shizuoka coast are yellow or red, making them unsuitable for starry sky photography
The first step to successful stargazing is to find the best location by comparing light pollution maps, hiking maps, Google Maps, etc
First try it at a campsite
Since "Star Trail" and "Star Lapse" take a long time to shoot, it is best to choose a location that is not easily affected by city lights and where you can wait for a long time
The best way to take beautiful photos is to climb a mountain with little light pollution and take photos in a place where people don't come, but you should be prepared to be exposed to the cold and wind during long periods of shooting in the mountains (which can be quite harsh)
First, choose a location where you can stay in a tent or wait in your car while the shoot is taking place
We recommend camping in high altitude locations away from urban areas, on plateaus, or designated camping areas for mountain climbing. You can also take starry sky photos from parking lots on plateaus, but since there is a chance that cars will pass by while you are taking photos, it is best to choose a location that is a little distance from the parking lot to the observation deck
Step 2: Don't forget to check the age of the baby
The amount of light from stars is so small that even the light from the moon can have a negative effect when photographing the starry sky. The brightness of the moon reduces the number of stars you can see, so be sure to check the age of the moon before going out to photograph the starry sky
The closer it is to the full moon, the more intense the moon's light becomes, and the closer it is to the new moon, the less the moon's influence becomes. When I take photos of the starry sky, I aim to go out about three days before and after the new moon
Step 3: Check the orientation at the shooting location
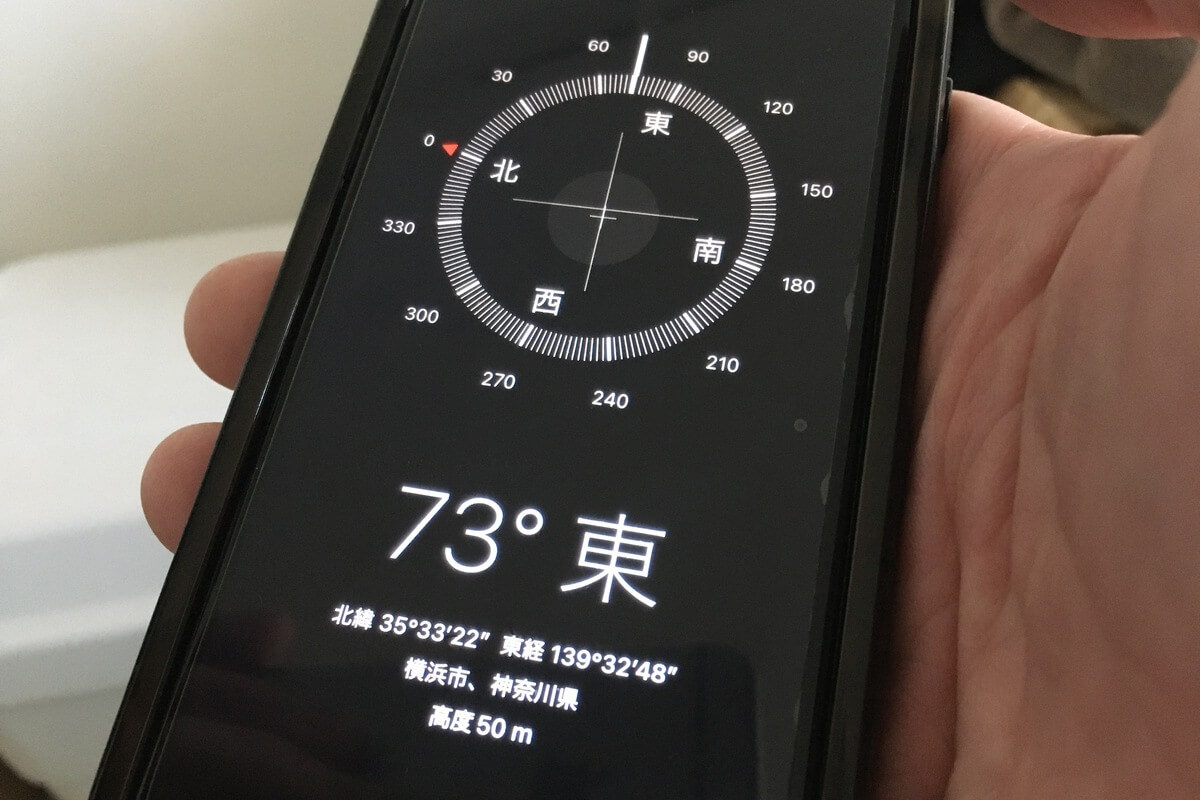
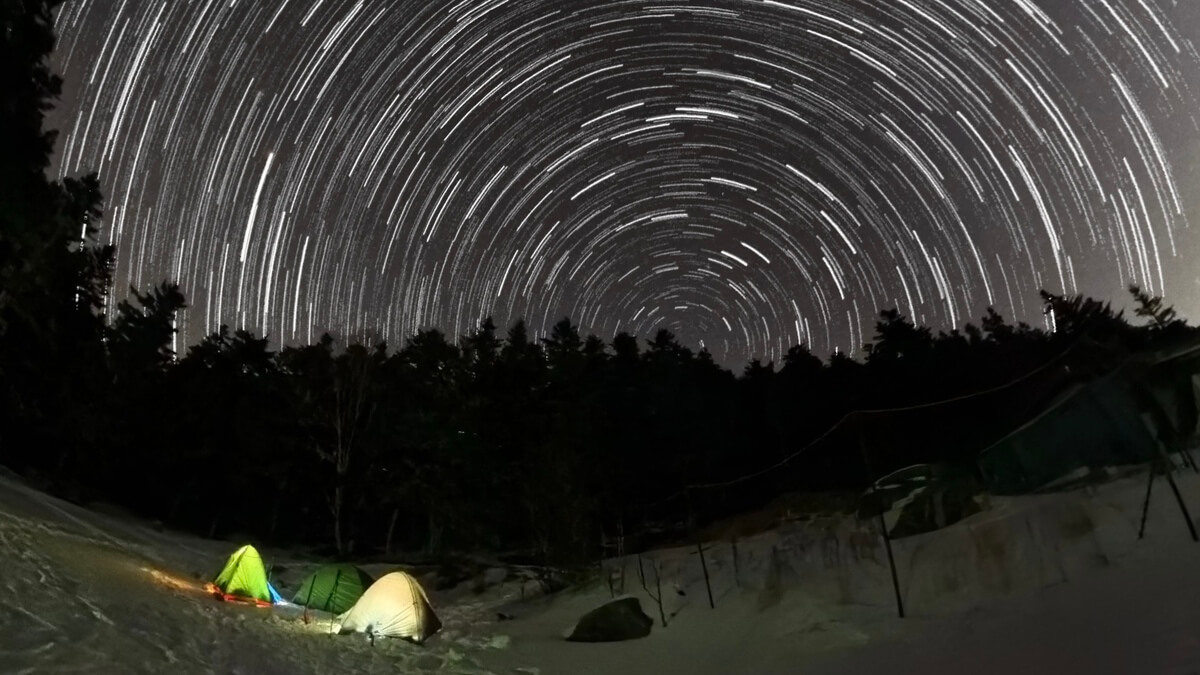
Once you've confirmed the shooting location and moon phase, all that's left is to check the direction. Star trail photography involves capturing the trails of stars, so the direction is important if you want to create a circular photo. If you want a circular composition, decide whether to point the camera north or south
You can use a compass to check your direction, but nowadays you can easily check it using a smartphone app, so it's convenient to download one before going out to shoot
When searching for a location, you can get a general idea of the direction from a map, but there may be unexpected obstacles at the shooting location, so if possible, it will be easier to decide on the composition if you can scout the area while it is still light out
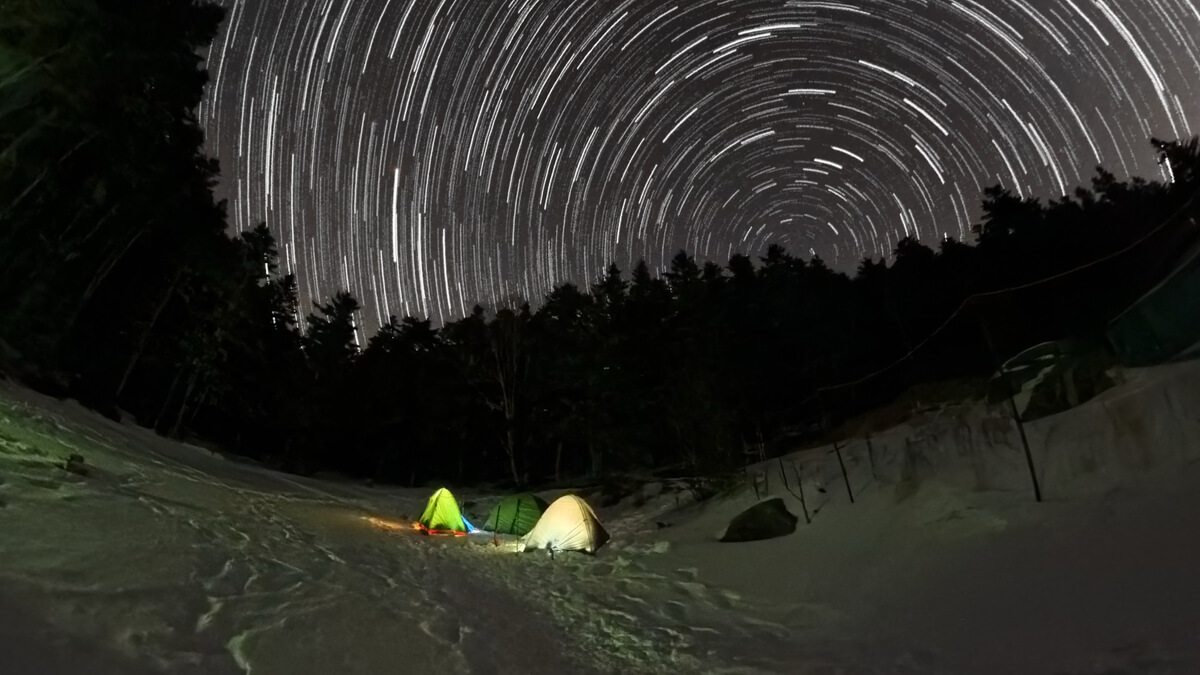
The photos above and below were taken at the same location and reframed into two photos

Star trails vary greatly depending on the direction you shoot
The great thing about the Insta360 X4 is the wide range of adjustment for the angle of view
I mentioned checking the direction, but if you're shooting with the Insta360 X4, it's okay to be a little rough around the edges, since the Insta360 X4's greatest strength is its ability to shoot 360-degree images
When shooting with an SLR or digital camera, you need to be more careful about checking the direction and setting the composition, but you can easily get the ideal composition by reframing the shot after shooting without worrying about the fine details. However, you should check that there are no obstacles such as cars, tents, or trees in the direction you want to shoot, and don't forget to set the lens so that the direction you want to shoot is directly in front of you. The Insta360 X4 takes 360-degree shots using two cameras, front and back. If you place the subject you want to shoot (the direction in the case of a starry sky) at the boundary between the front and back cameras, the image will be distorted when you reframe (the gray area at the bottom of the photo)

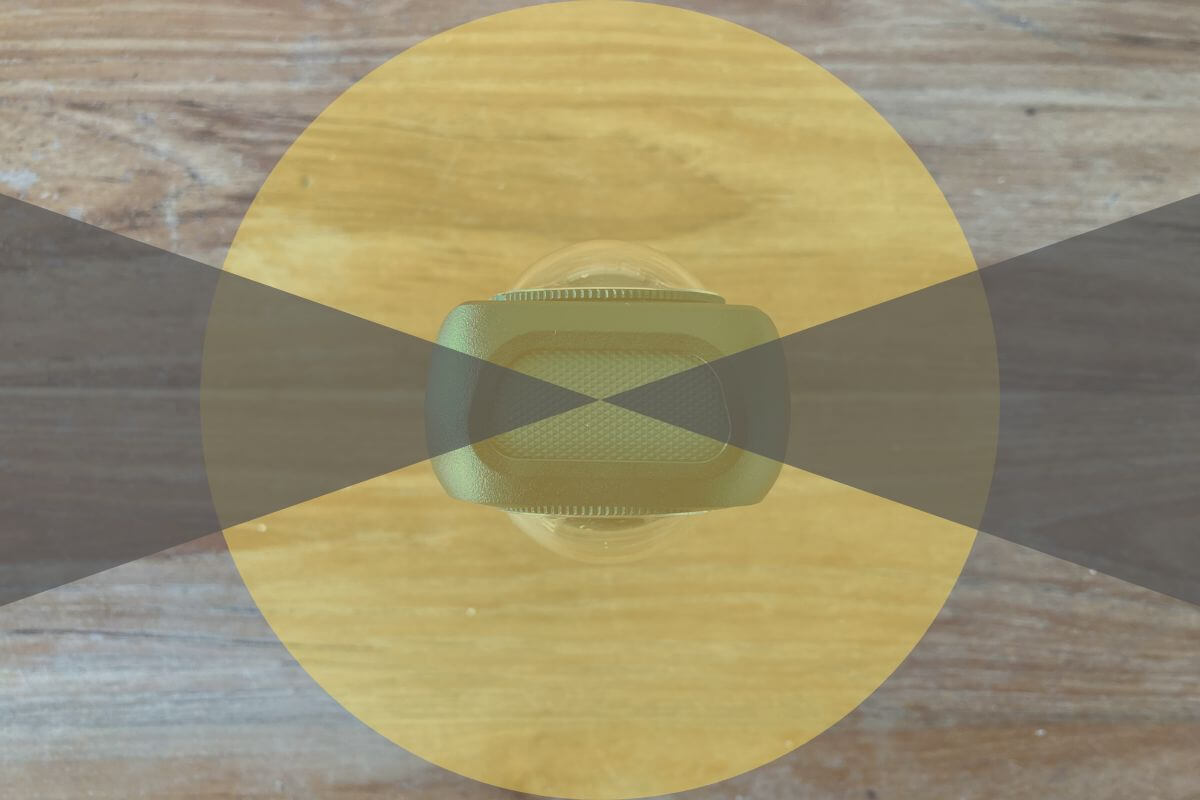
If you set the camera so that it faces the direction you want to shoot, it will be easier to reframe the shot as you want it to be
You can significantly reduce mistakes by setting the subject (direction) you want to photograph in front of the camera (you can make some adjustments later)
Step 4: Set the shooting mode
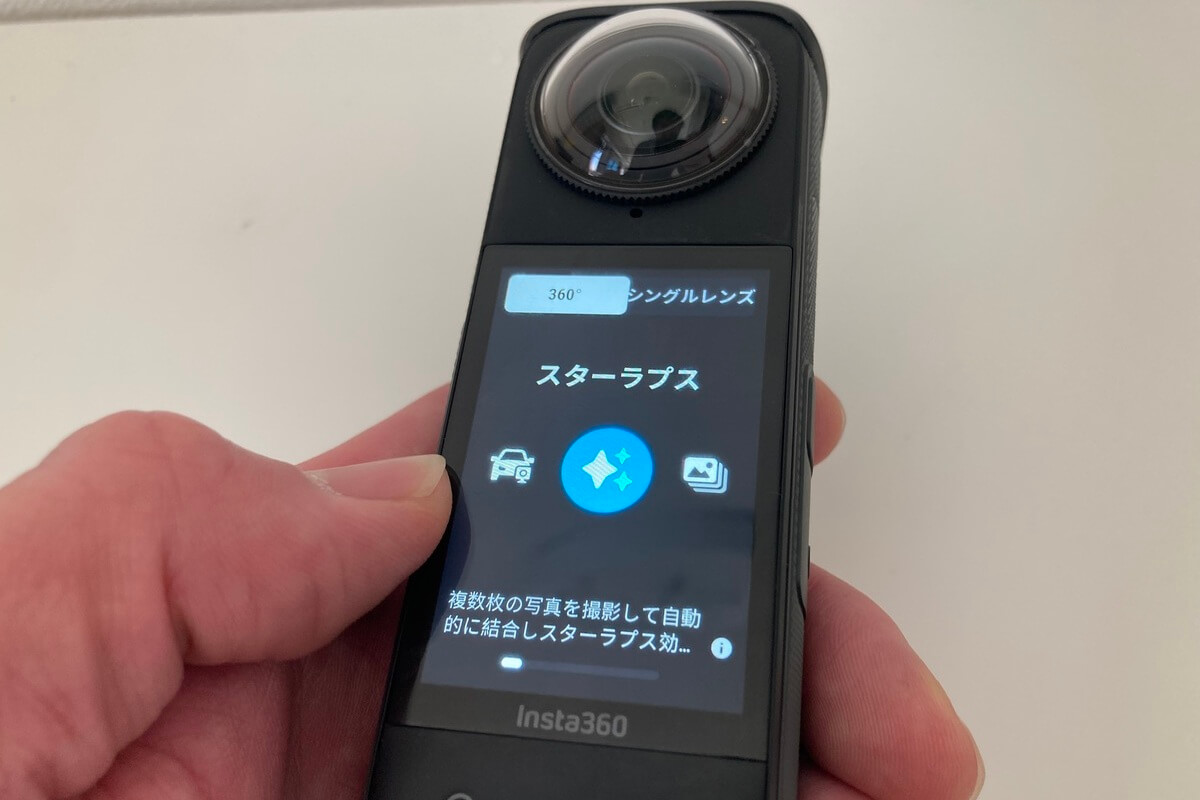
The Insta360 X4 has a dedicated mode for shooting star lapse (star trails). Although there is an auto setting for star lapse mode, it is essential to shoot with manual settings as it cannot capture the faint starry sky in auto mode
Settings are made on the camera itself (or the smartphone app). Since it is much more convenient to connect to a smartphone when shooting star trails or star lapses, which require long shooting times, we will explain how to set it up using the smartphone app here
How to set up the Insta360 X4 using your smartphone
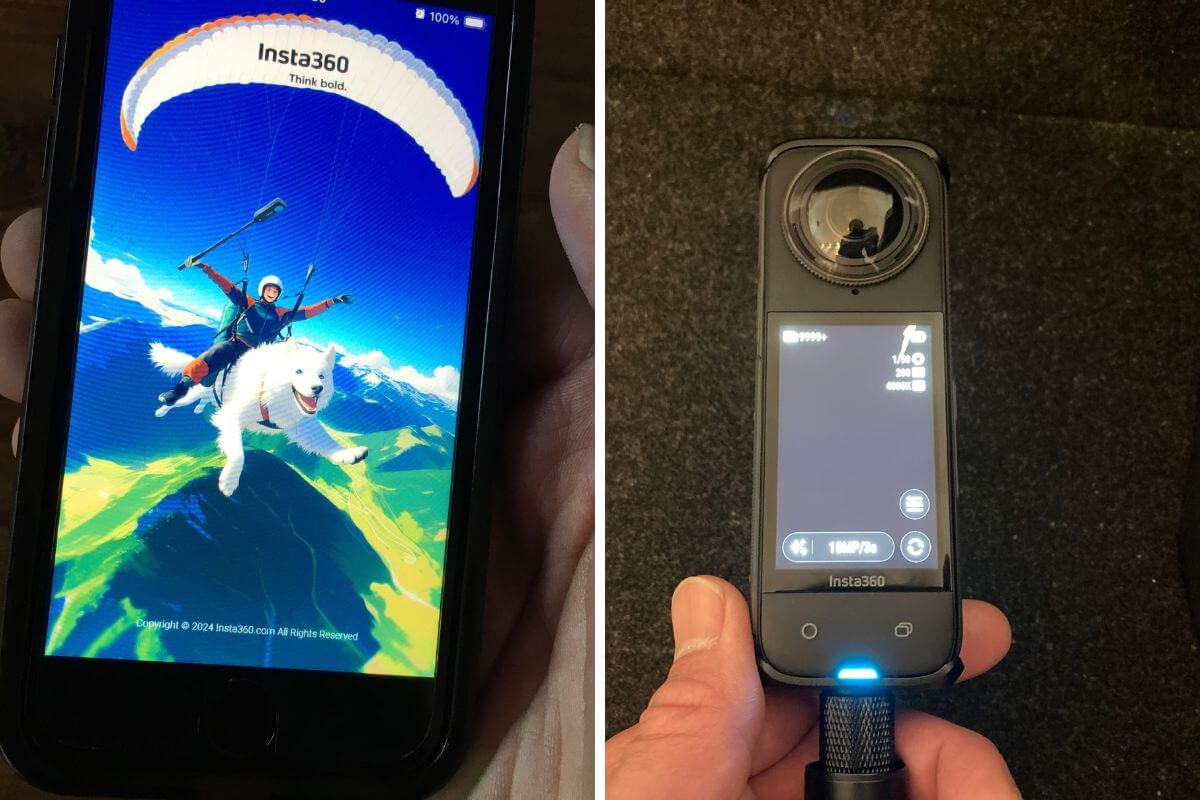
By connecting to a smartphone, you can control the camera from a distance while shooting
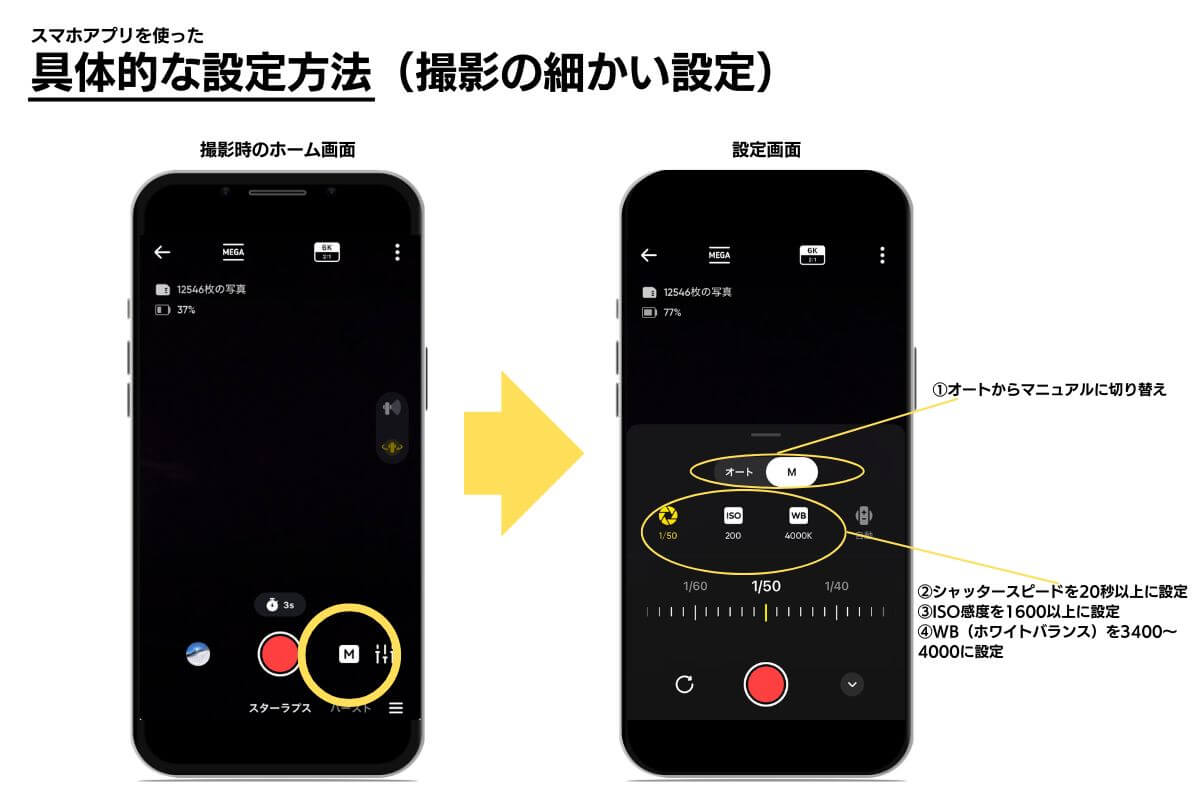
- Connect the Insta360 X4 to your smartphone via Bluetooth, open the settings screen using the "M" button, and switch from automatic to manual
- Set a slow shutter speed (there is no set rule, but the slower the shutter speed, the easier it is to capture light, so set it to 20 seconds or more)
- ISO sensitivity setting (1600 or higher; if it's too high, noise will appear, so 2000-3200 is recommended)
- WB (White Balance) When photographing starry skies, a bluer color is better, so 3400K to 4000K is recommended
- Swipe up on the LCD to set the shooting time (if you don't want to specify a time, you can set it to infinity)

Before you start shooting star trails, try taking some still images while changing the settings to check how the stars are captured, and then start shooting star trails to make sure you're less likely to fail
Step 5: Start shooting
Once the settings are complete, all that's left to do is take the photo. Turn off the light while shooting to make it less susceptible to light. You can leave it like that until you've finished shooting, but if there's any trouble, such as the shooting stopping midway or the tripod falling over, it will ruin the shot, so it's a good idea to check the situation several times while shooting
I will share the settings for the star trail and star lapse I took
Demo 1: Star trail video taken in the Southern Alps

- Shutter speed: 25s
- ISO sensitivity: 3200
- WB: Auto
This is a star trail video taken at a campsite in the Southern Alps. By including a tent set up alongside the starry sky in the composition, the movement of people emphasizes the slow trails of stars. I set the WB (white balance) to auto, but if you want a more space-like feel to the starry sky, you can set it to 4000 or lower to create a bluer sky
Demo 2: Starlapse video taken in Izu Kogen
- Shutter speed: 25s
- ISO sensitivity: 3200
- WB: 3600
A starlapse video taken in Izu Kogen. Starry sky photography requires clear skies, but adding clouds to the movement of the stars makes the starlapse video even more appealing
Being close to the sea, the city lights did have an effect on the image, but I chose a day when the moon wasn't affecting the view, so the stars were still clearly visible
The great thing about Insta360 X4! No need to adjust focus
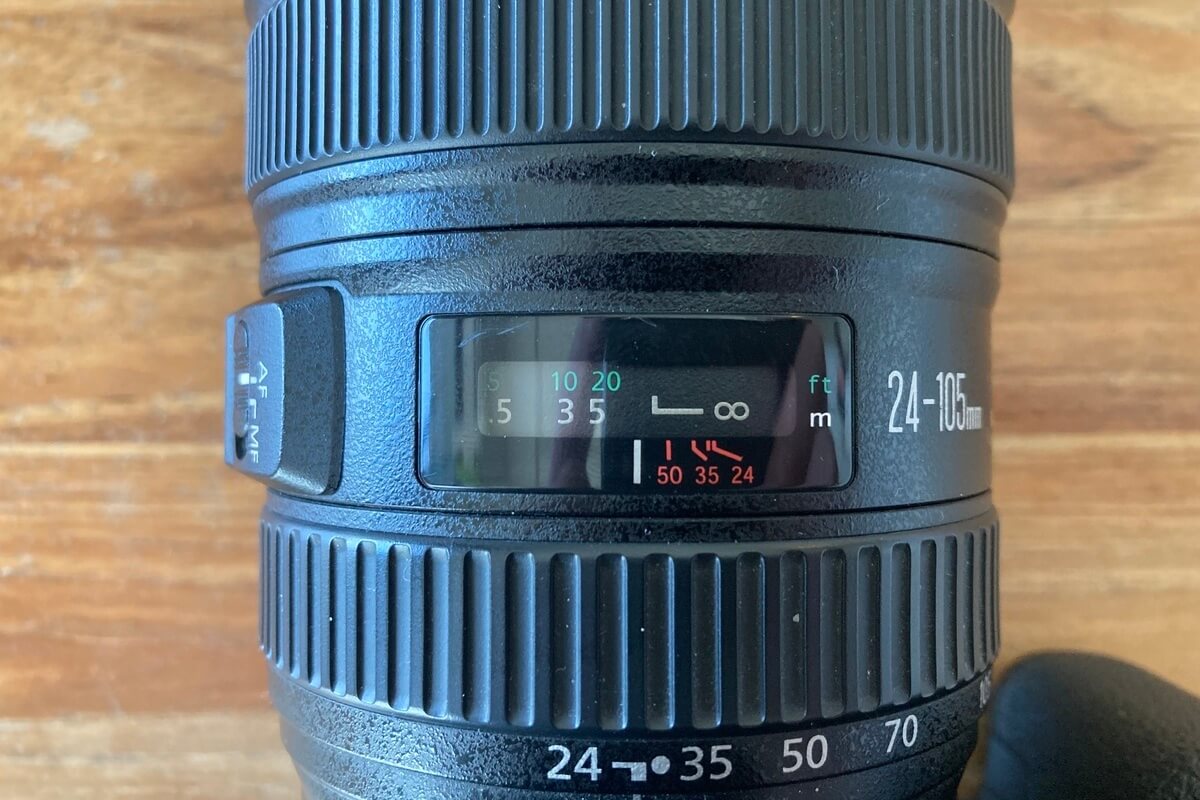
SLR lens. Adjust the focus ring little by little to bring the image into focus
Usually, the most difficult part of photographing the starry sky is "adjusting the focus." With cameras like SLRs, it's difficult to focus using autofocus in the faint light of the starry sky, so you have to focus using manual focus, turning the focus ring little by little and searching for the right focus point while taking the picture. This process is extremely difficult until you get used to it. What's more, if you fail to focus, all your efforts will be for naught, so failure is not an option
The great thing about the Insta360 X4 is that it automatically adjusts focus even when photographing faint starry skies
After setting the shutter speed, ISO sensitivity, etc., all you have to do is press the start shooting button, so anyone can take star trails or star lapses


After shooting, the app will edit the photos with the touch of a button
You can easily export (save) the starlapse you have taken as a starlapse, star trail video, or still image using the app
Simply open the Insta360 app and connect to the Insta360 X4 via Bluetooth, no cords are needed
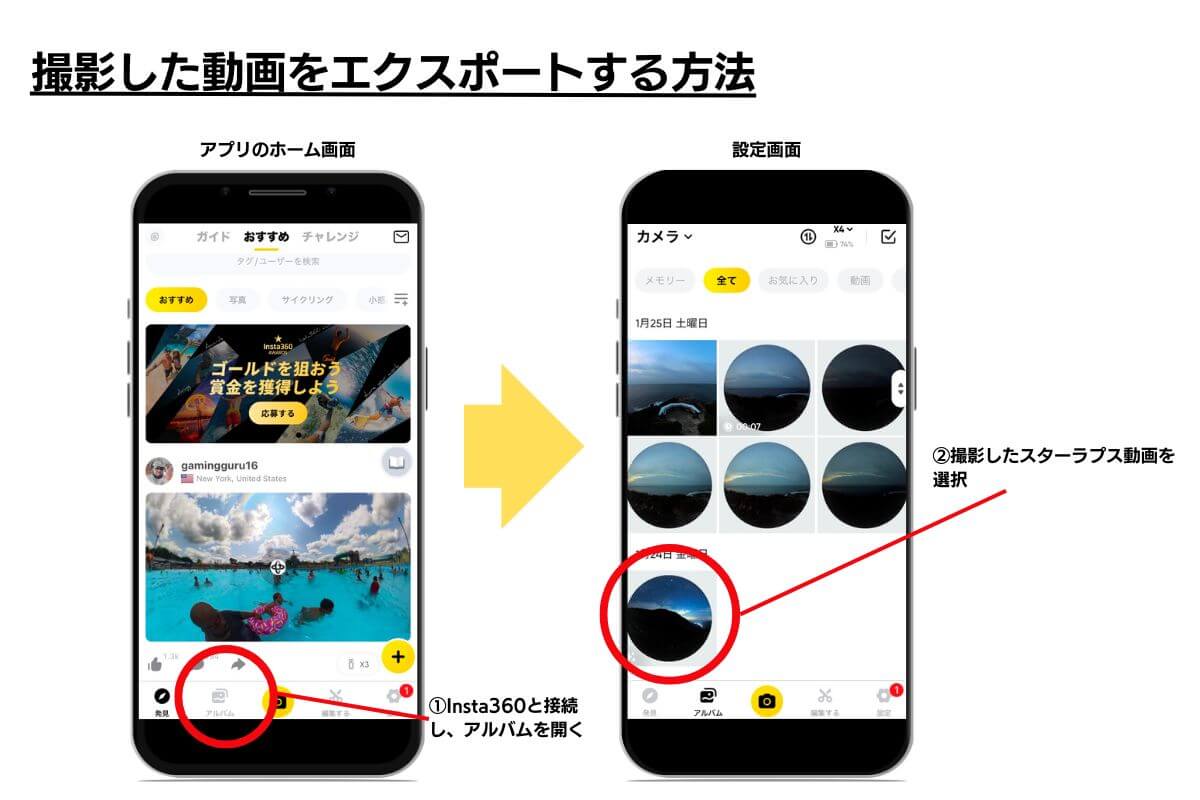
How to save star lapses and star trails
- Connect to Insta360 from your smartphone app and open the album
- Select the Starlapse video you shot
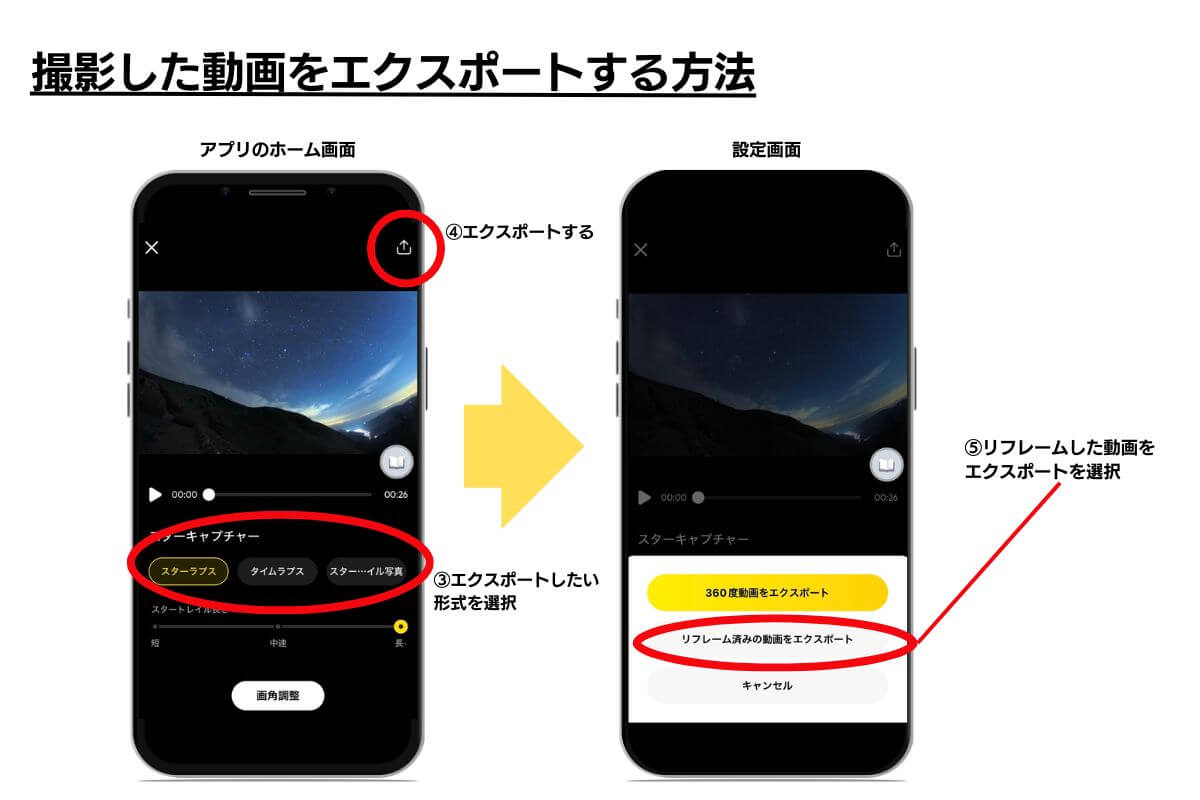
- Decide the format you want to export (save) in (Starlapse, Star Trail, Star Trail Photo)
- Click the export button at the top right of the screen to start exporting
Starlapse and star trail videos are large in size, so they take a while to load when editing, but the operation is very easy. We won't go into detail here, but if you want to get into the details, you can add animations to the video and make detailed edits, so you can add more movement to the video than just the original footage
Summary: Even though the image quality is inferior to that of a single-lens camera, the Insta360X4 is more convenient! It's enough for recording memories on social media
After a long climb, you finally reach the top of a mountain and see a starry sky. You don't just want to burn it into your memory, you want to record it as a memory. I'm sure everyone feels that way. When it comes to image quality when photographing the starry sky, an SLR still wins, but it's hard work to climb the mountain carrying a heavy SLR (both in terms of the effort and time required to take the photos)
By simply remembering a few simple settings, you can easily capture starry skies and create lasting memories. Capture the starry sky with the Insta360X4!
Please consider a paid membership to support the website while enjoying exclusive articles and events!
Yosuke

A person who travels around with just one backpack, with the motto of "as light as possible" without causing inconvenience
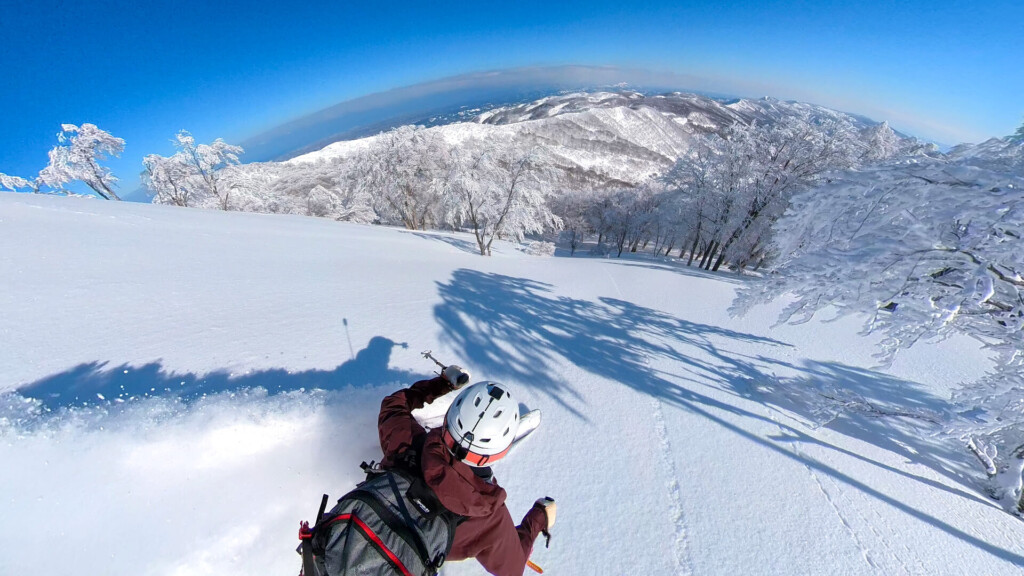
From spring to autumn, I go fishing in mountain streams in pursuit of char deep in the mountains. I hike the mountains in search of spectacular views that cannot be seen from the ground. I camp to relax by a bonfire. I snowboard to experience the feeling of floating in the silvery white mountains
A freelance writer with over 20 years of outdoor experience who enjoys the outdoors in his own way all year round. Based on his experience writing articles for over a dozen outdoor web publications, he will share his own experiences and the best tools he has used
Related reading