As a beginner to both action cameras and starry sky photography, I tried taking starry sky photos and time-lapse videos with the Insta360 X4 [Step-by-step guide]
Written by Yosuke.C
Until a few years ago, I always had to carry a heavy camera when climbing mountains
However, SLR cameras have become less popular recently, mainly due to the increasing performance of smartphones and the incredible evolution of compact cameras such as action cameras
We live in the age of social media. Rather than developing photos, people are uploading them to social media or saving them as digital data. It's no surprise, then, that casual photographers are increasingly switching from bulky cameras like DSLRs, which require skill to operate, to lightweight, compact, and easy-to-use 360-degree cameras and action cameras
I took on the challenge of photographing the starry sky using the latest 360-degree camera, the Insta360 X4 the Insta360 X4 the Insta360 X4 have great image quality, it's also fun to shoot with, making it a camera you'll want to take with you on a variety of activities, regardless of genre!
table of contents
- Try shooting starry skies with the Insta360 X4!
- What you need
- Finding a suitable location for stargazing
- Manual settings for photographing the starry sky
- Settings for starry sky photography and the resulting photos
- Once you've set it up, simply fine-tune the ISO sensitivity and shutter speed to take the photo you want!
- Advanced: Capture a dynamic night sky with video and time lapse!
- Summary: With the Insta360 X4, stargazing photography becomes much easier! An extremely portable action camera for outdoor use
Try shooting starry skies with the Insta360 X4!
What you need
There are a few things you should prepare to ensure your starry sky photography goes smoothly. Assuming you bring the Insta360 camera with you, the following four items will make your starry sky photography go much more smoothly
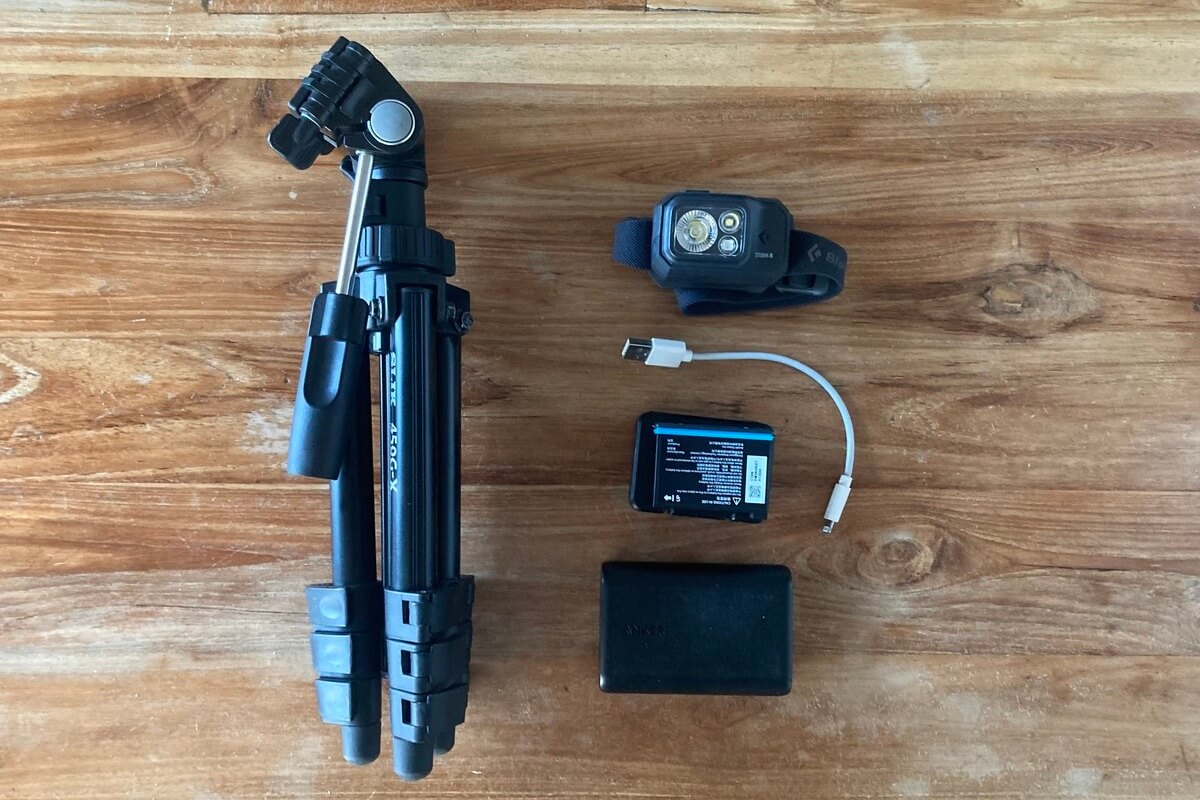
- tripod
- Smartphone (Insta360 free app)
- headlamp
- Spare battery
tripod
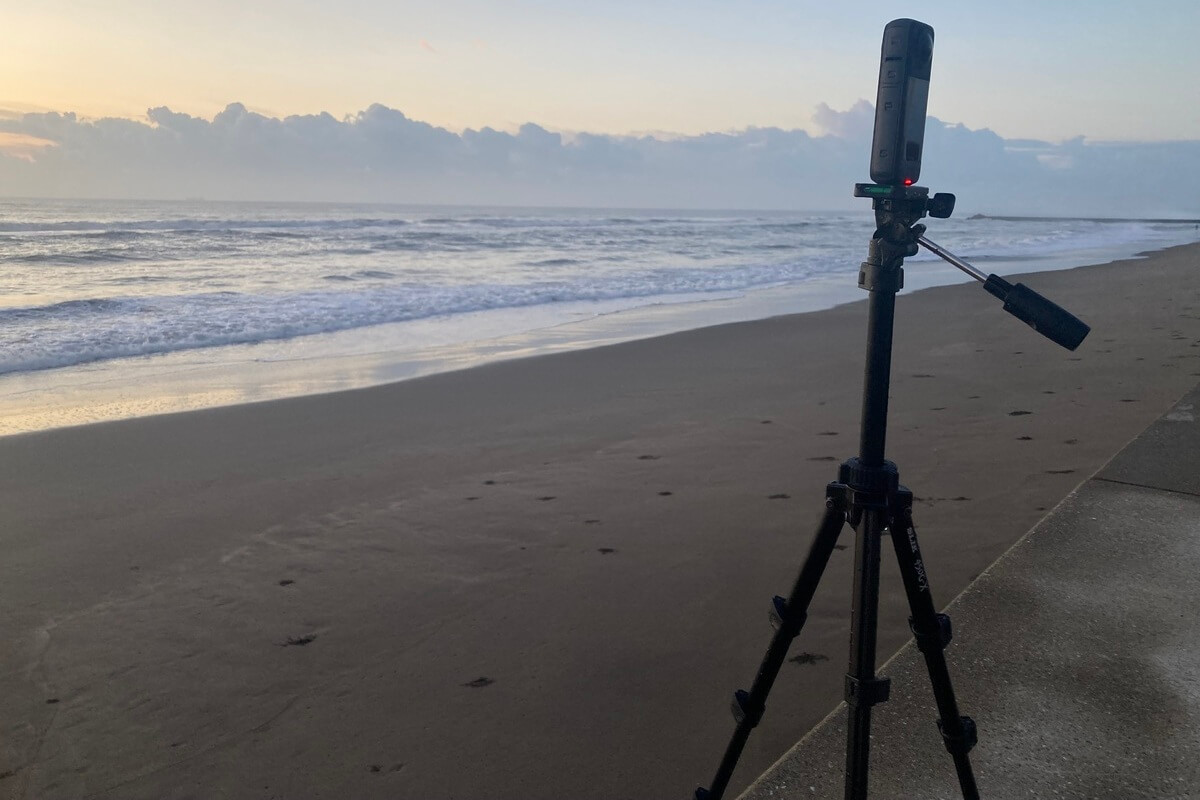
Just like with SLR cameras, a tripod is a must-have item for stargazing with Insta360. To capture the starry sky in pitch black, you need a slow shutter speed, but you also need to keep the camera still for long periods of time to prevent blurring, so a tripod is essential
A sturdy tripod is preferable if you want to minimize the effects of wind, but if you want to keep costs down, a lightweight, compact tripod will do (I personally use a compact SILK tripod for its portability)

smartphone
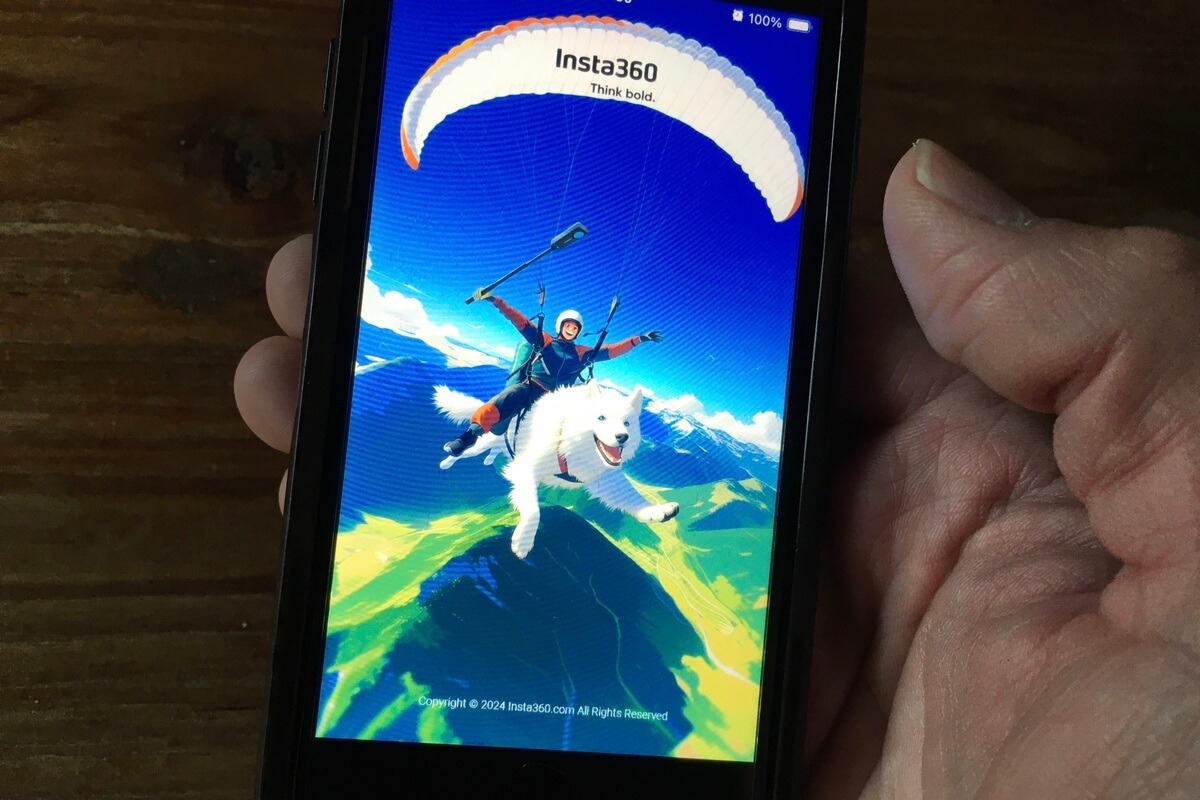
When taking a photo, the vibration caused by pressing the shutter button can cause the camera to move and blur. With a DSLR, you can take pictures without touching the camera using a device called a shutter release, but with the Insta360 X4, you can control the shutter with your smartphone. A GPS action remote control is also available separately, but for stargazing, it's more economical to download the app, which allows you to take pictures with just your smartphone
The Insta360 app allows you to instantly check the images you've taken, which is useful for checking whether you're happy with the composition or changing settings. You can easily edit the images and videos you've taken with the app, so I highly recommend it! In fact, it's a must-have if you use Insta360!
headlamp
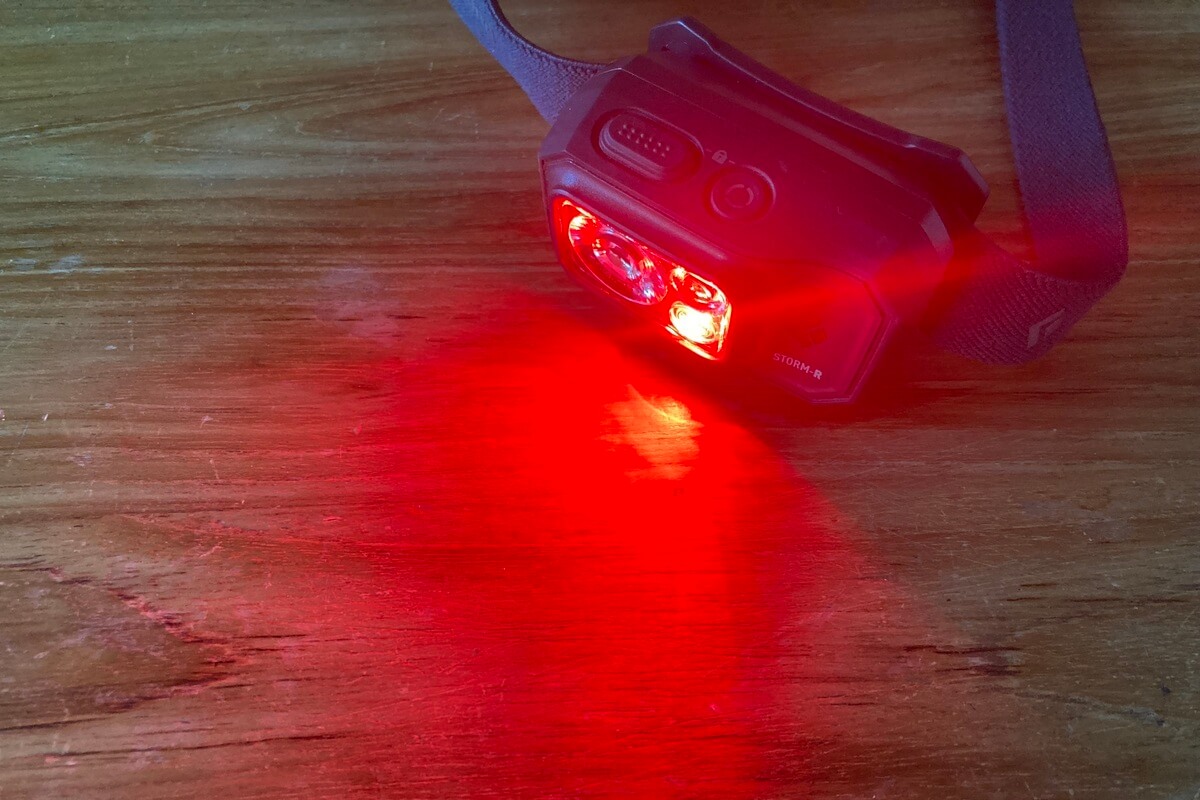
You will need light when traveling to the shooting location and preparing to shoot. Since you will be using both hands for work, it is best to use a headlamp rather than a flashlight
Also, choose a headlamp with a "red mode." When photographing the starry sky, your eyes need to get used to the darkness. Red mode is less dazzling, so your eyes will adjust to the darkness more easily, and it's less likely to bother those around you. Therefore, when heading out to popular photography spots, it's good manners to use a headlamp with a red mode
Spare battery
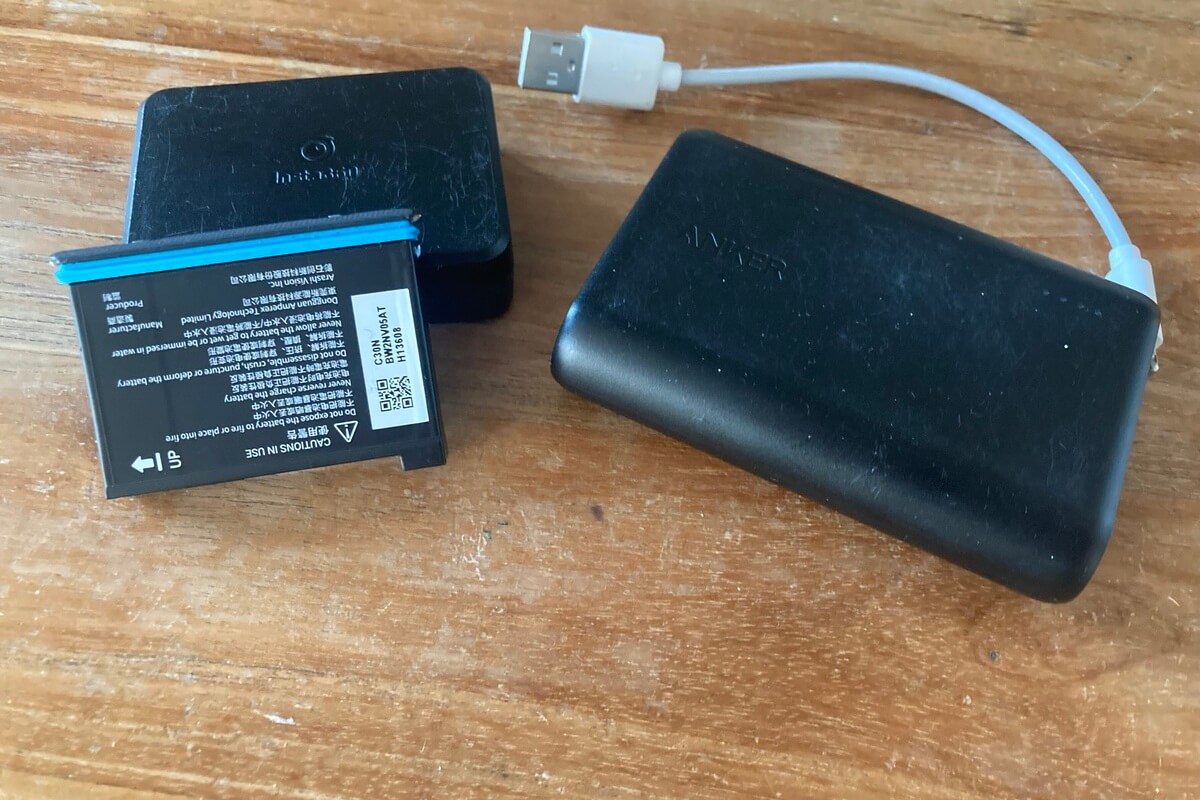
When photographing the starry sky, you will need to use a longer shutter speed, which will consume more battery power than normal photography. Be sure to bring a spare battery so you don't end up having to end your shoot due to a dead battery after coming all the way out into the dark
Similarly, if your smartphone battery runs out, you will not be able to control it remotely, so it is a good idea to bring a mobile battery with you
Finding a suitable location for stargazing
Once you have everything you need, all you have to do is head out to the field! Go to a place where you can see the starry sky and take photos, but of course, to take photos of the starry sky, you need to go to a place where you can see a lot of stars
You can see the stars with the naked eye even in the city, but the light they emit is very small, so if you try to take a photo in a place with streetlights, the light from the streetlights will overpower it, making it difficult to photograph the stars
To ensure successful starry sky photography, it is important to take the photo in a location that is as dark as possible and that is least affected by city lights. Use a light pollution map to find a location that is not affected by city lights (light pollution) and try to find a place that is as unaffected by light as possible
Looking at a light pollution map, the redder the color, the more susceptible an area is to light pollution, and the bluer the color, the less susceptible an area is to light pollution
Mountainous areas and coastal areas are relatively less affected
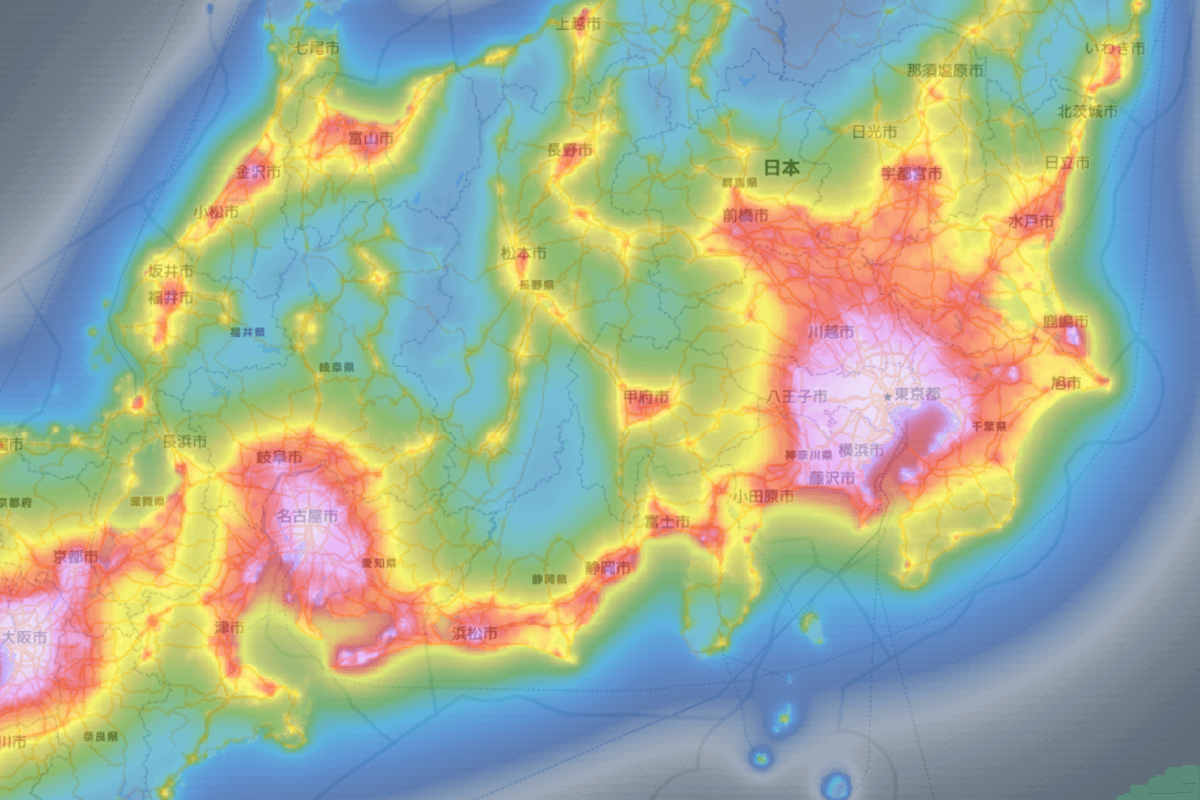
Source: Japan Light Pollution Map
Even if you are on a high mountain where light pollution is less likely to affect you, the lights of the city at the foot of the mountain can make it difficult to capture the stars, so when choosing a photo spot, not only the location but also the surroundings and direction are important
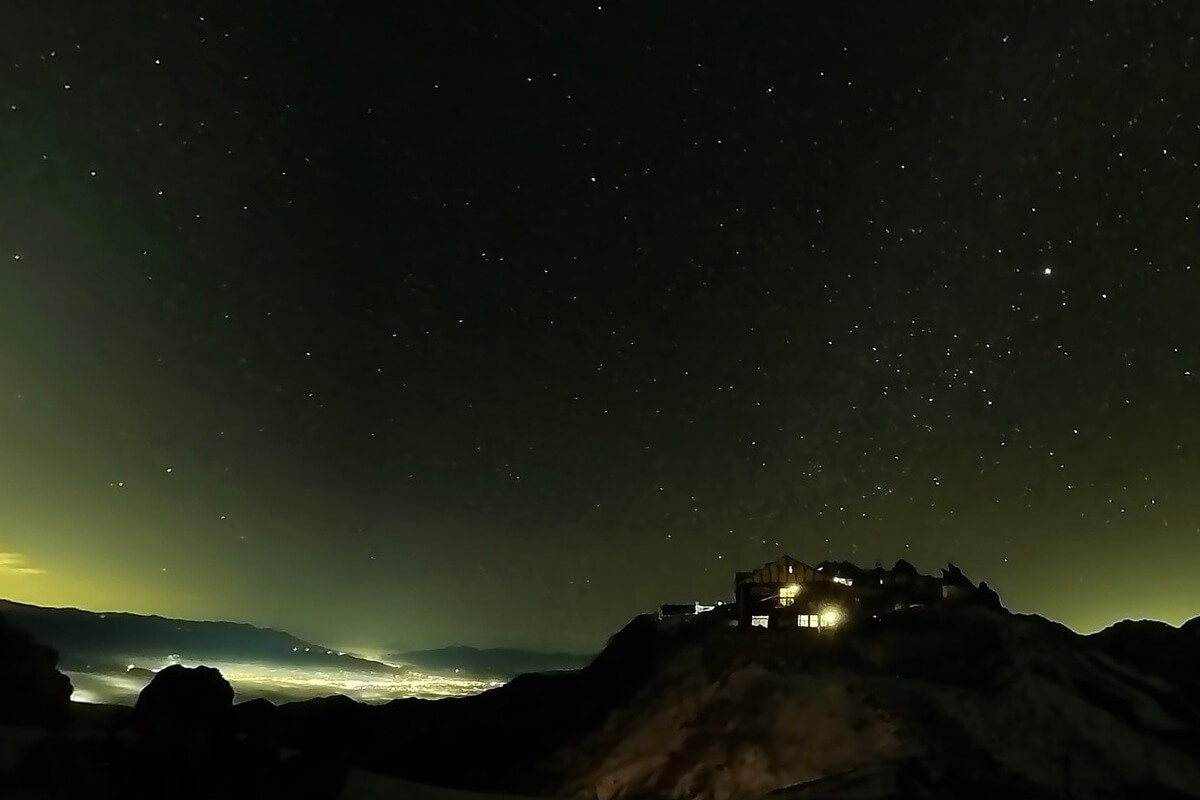
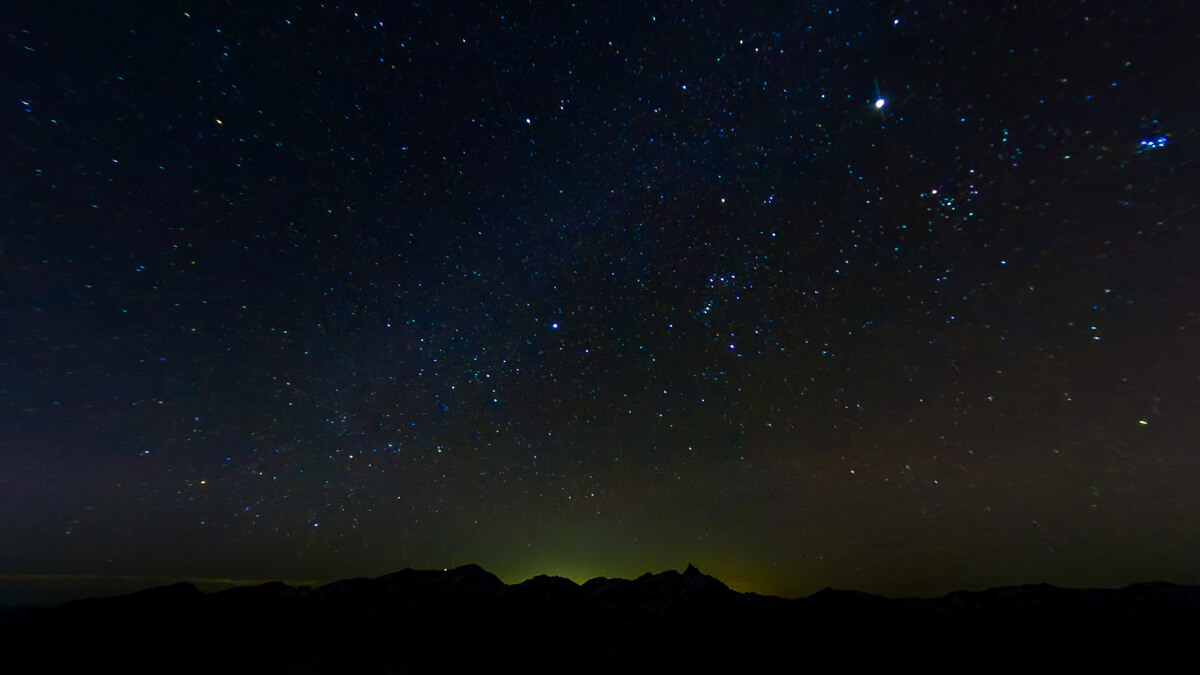
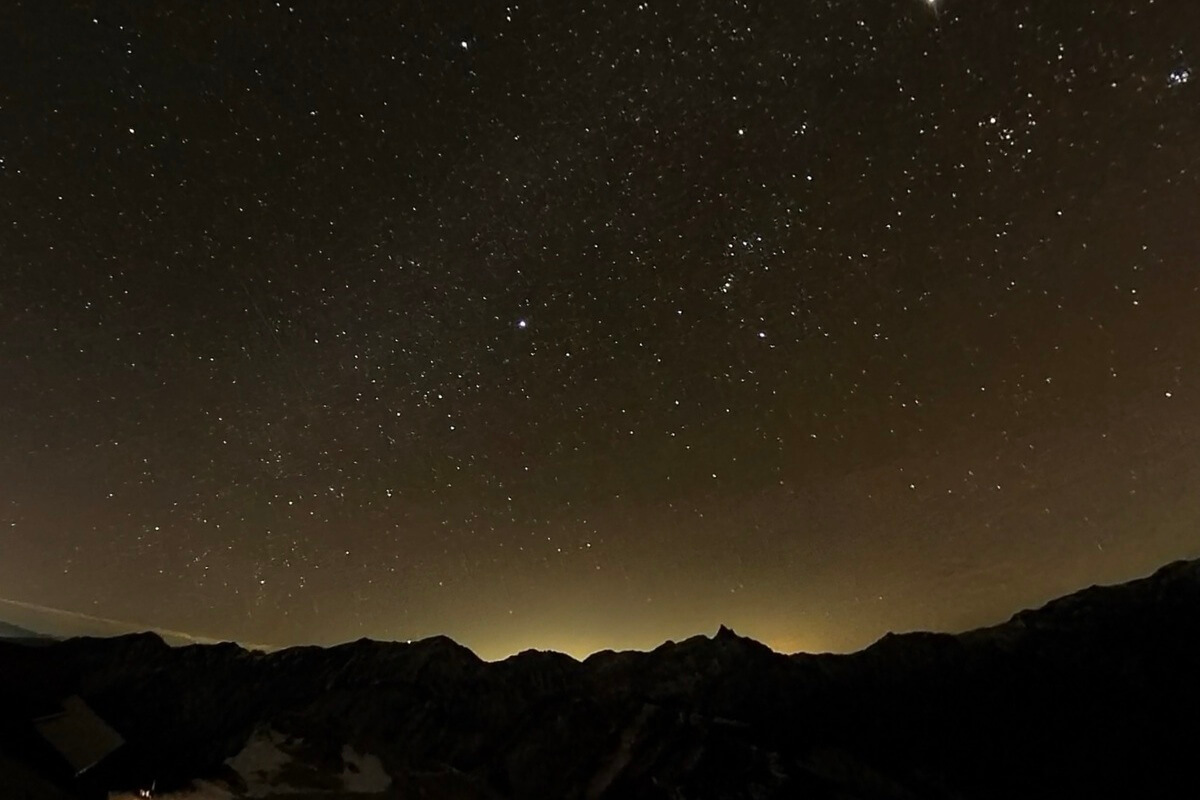
This photo was taken from the campsite at Tsubame Sanso in the Northern Alps. The light from the foot of the mountain makes it difficult to capture the stars
Once you have decided on a location to shoot, it will be easier to go and check it out during the day. Even if you have a headlamp, your movements will be limited in the dark, so if you decide "I'll shoot here" while it's still light out, you can move on to shooting more smoothly
Manual settings for photographing the starry sky
Now, let's put it into practice. We'll set up the Insta360 X4 and take pictures of the starry sky
The Insta360 X4 allows you to manually set the camera. If you leave it in auto mode, it will not be able to capture the faint light of stars, so you will need to set it in manual mode
I went to the field without any preparation and ended up taking only dark photos, which was an embarrassing mistake. To avoid this, if you are reading this article, make sure you become familiar with the operation before you go out
Operate in manual mode
We will now set up the camera to take still images of the starry sky
Set it in the following order:
- RAW mode settings
- ISO sensitivity setting
- Shutter speed setting
- WB (white balance) setting (optional)
First, set it to "INSP+RAW" so that you can shoot in RAW mode. RAW images are a recordable image format. Digital cameras generally generate JPEG images as "photos," but RAW images are the "raw" image data that is used to generate JPEG images. This is one of the functions provided by manufacturers in response to users' desire to be able to adjust and process exposure, contrast, white balance, color balance, brightness, saturation, and other settings, as well as remove noise and distortion, on their computers as desired
Next, adjust the "ISO sensitivity." ISO sensitivity is a value that indicates a digital camera's ability to capture light. Increasing this value improves its ability to capture light, allowing you to capture faint stars. However, there is a downside: if the ISO sensitivity is raised too much, "noise" becomes more likely to enter the image, resulting in a grainy image. Therefore, you need to adjust the shutter speed and ISO sensitivity together, and repeat trial and error to take the best possible photo
Lowering the ISO sensitivity to prevent noise reduces the camera's ability to capture light, so you need to adjust the shutter speed accordingly. By slowing down the shutter speed, you increase the time it takes to capture light, allowing you to capture a dark starry sky
WB (White Balance)
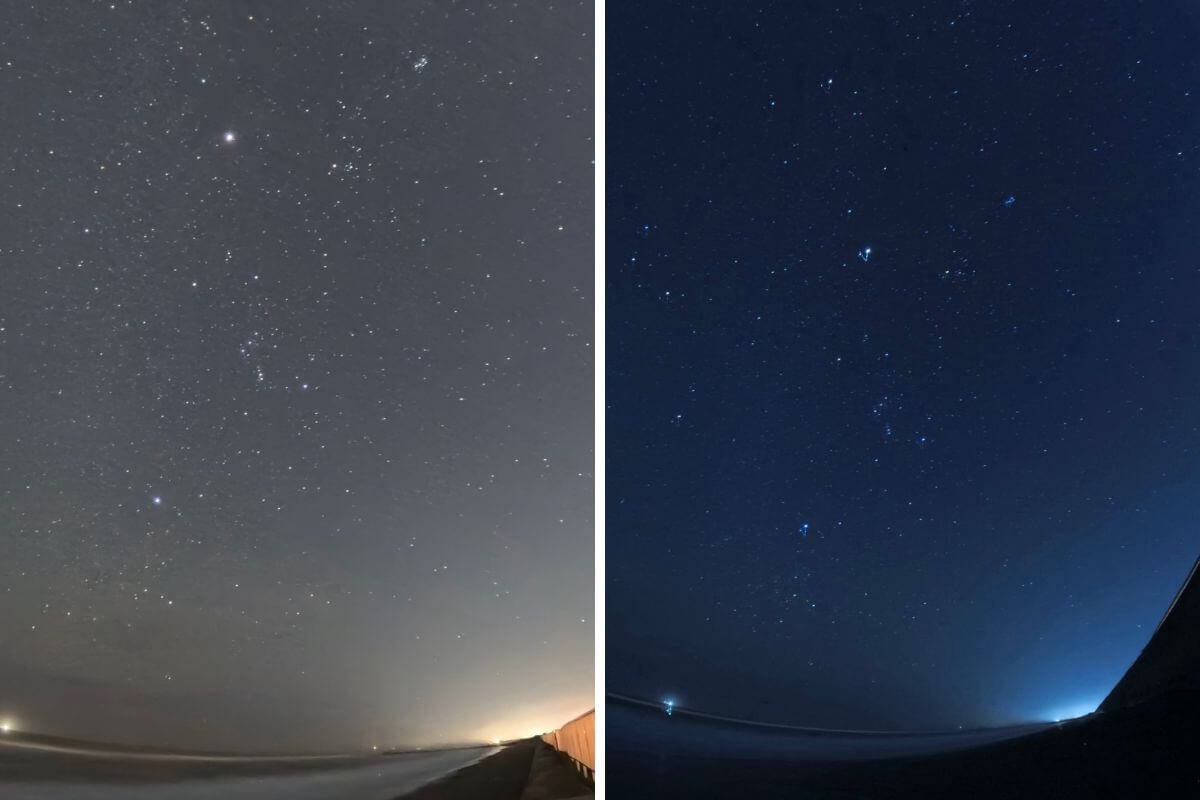
WB (white balance) is a function that corrects the color of the light when shooting and captures the image according to the image. By changing the values, you can express the color according to the image
Changing the WB is not mandatory. There's no problem leaving it on automatic, but once you get used to it, try changing it and enjoy the difference in the finished result!
Settings for starry sky photography and the resulting photos
I will introduce some of the photos I took while climbing the Northern Alps and capturing the starry sky
For clarity, the images have not been edited in any way
Example: ISO 640, shutter speed 60 seconds
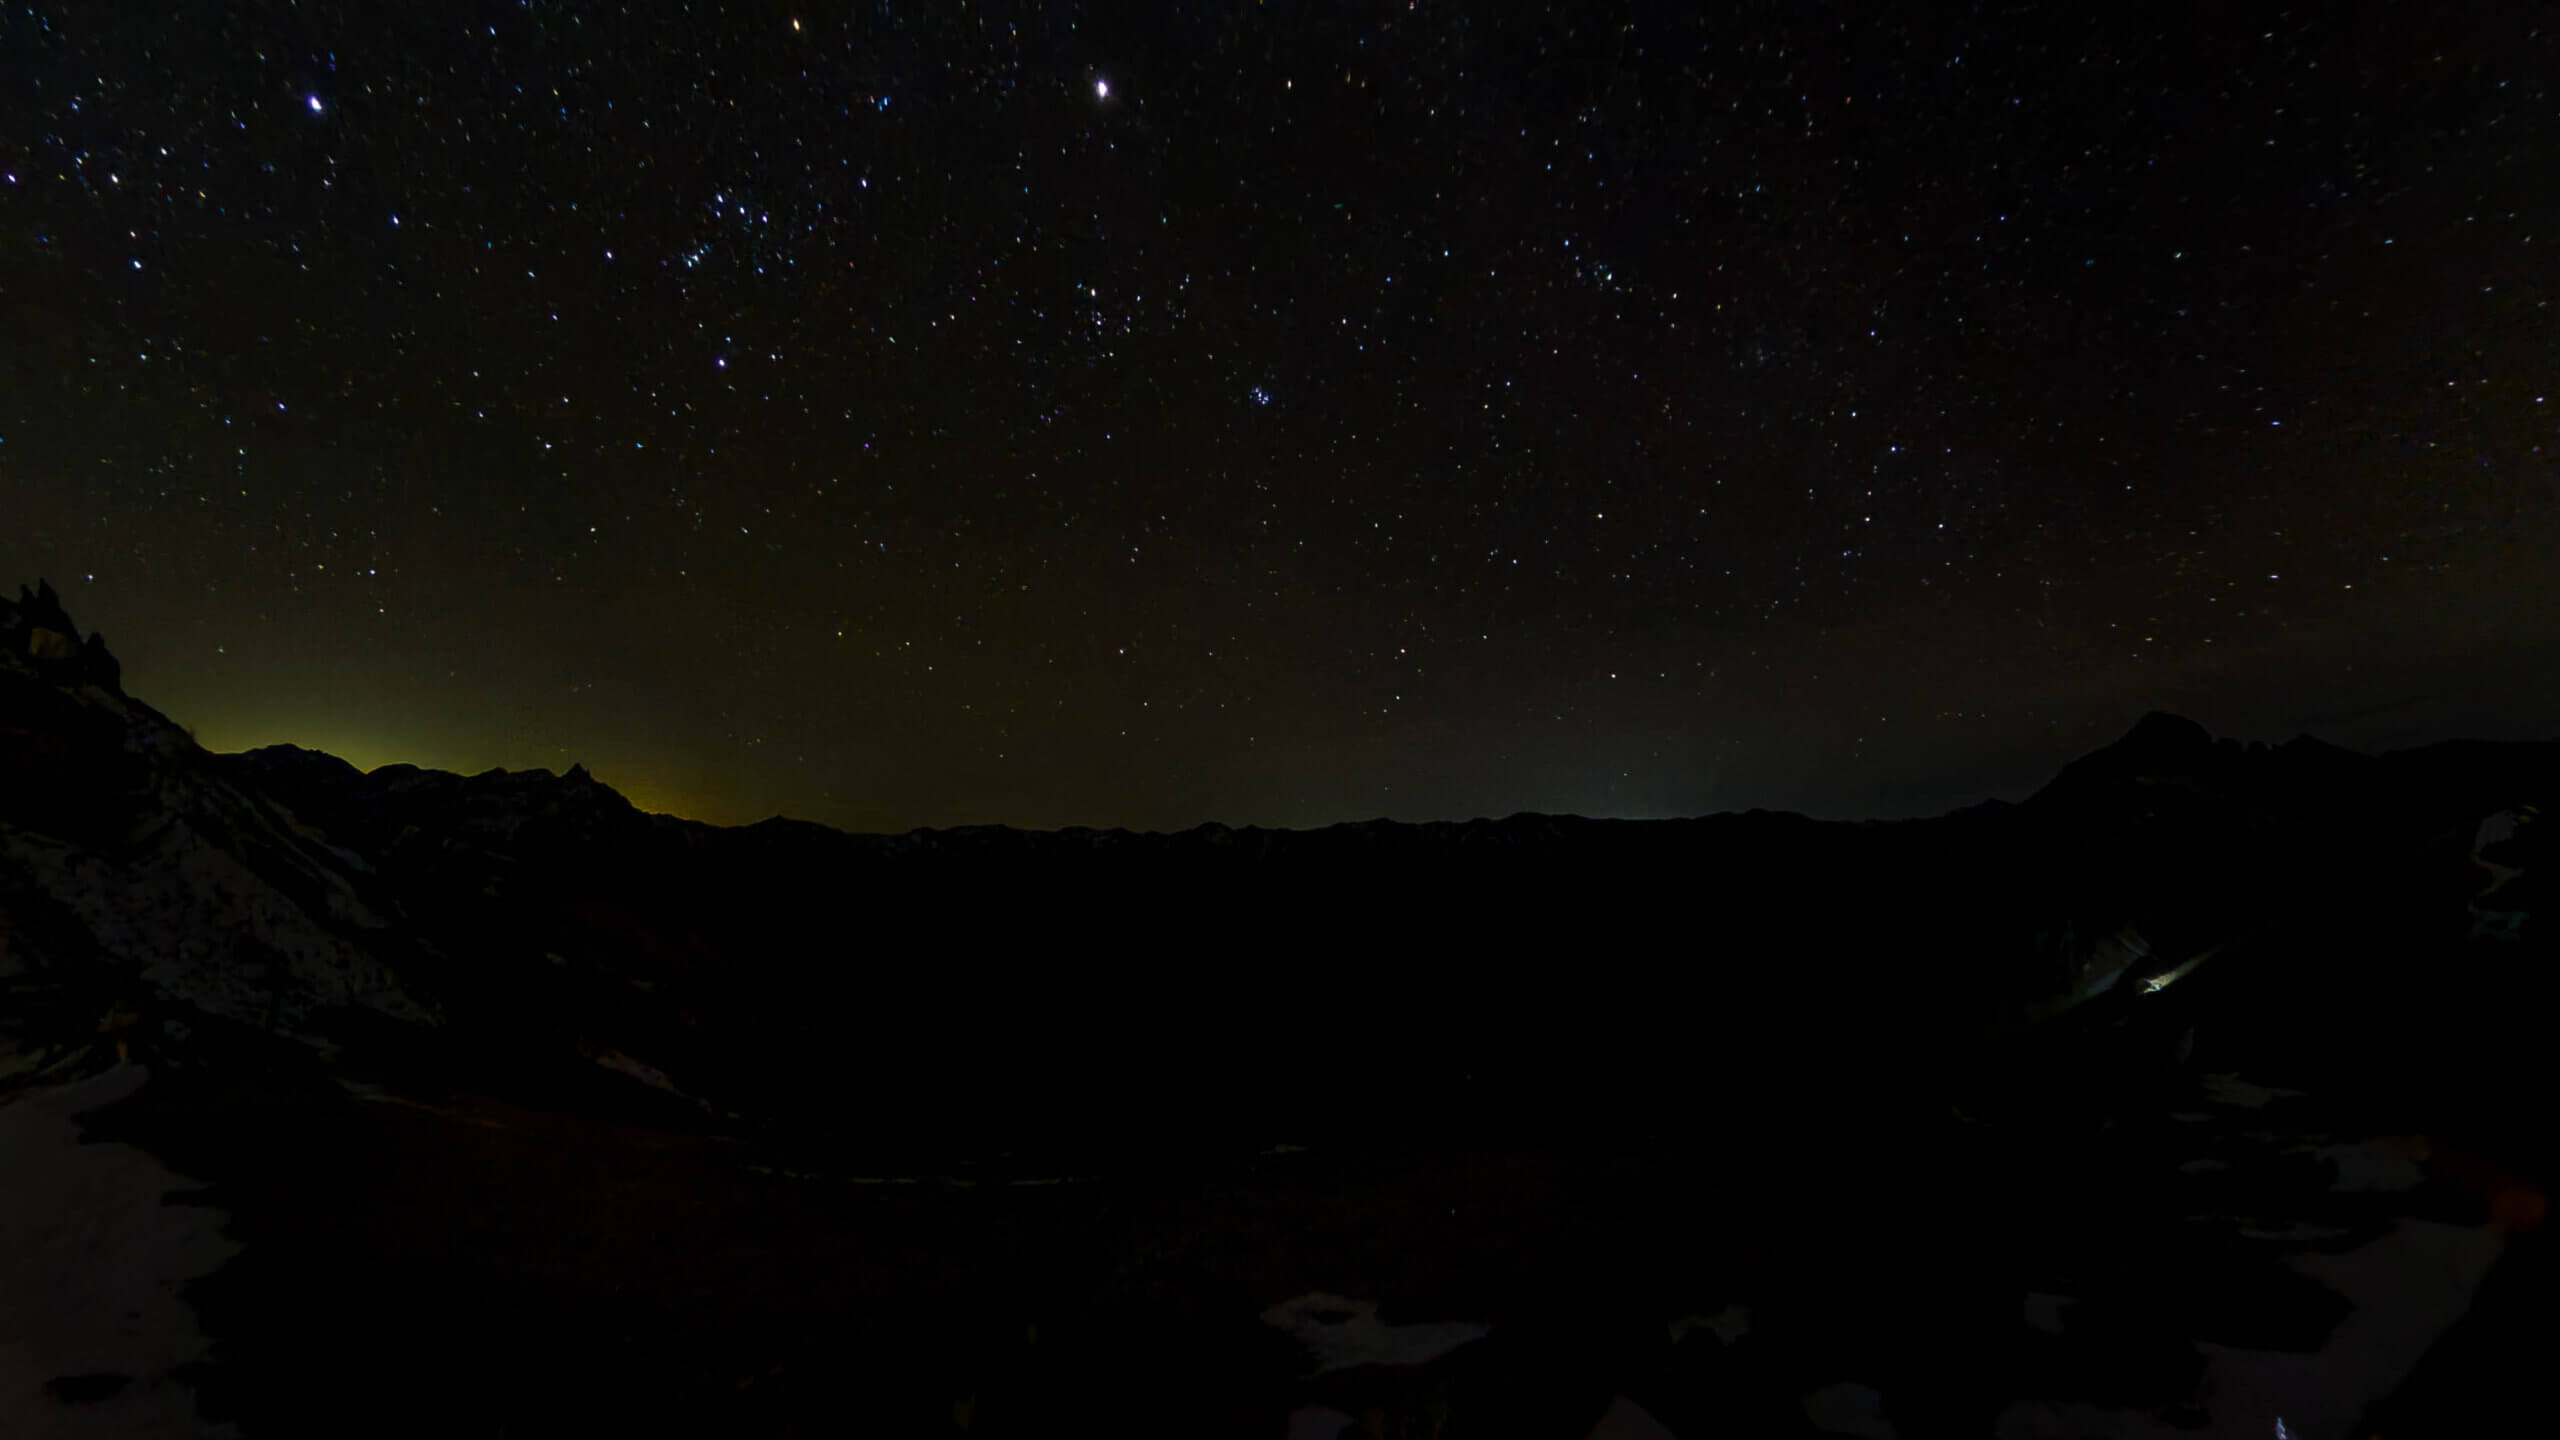
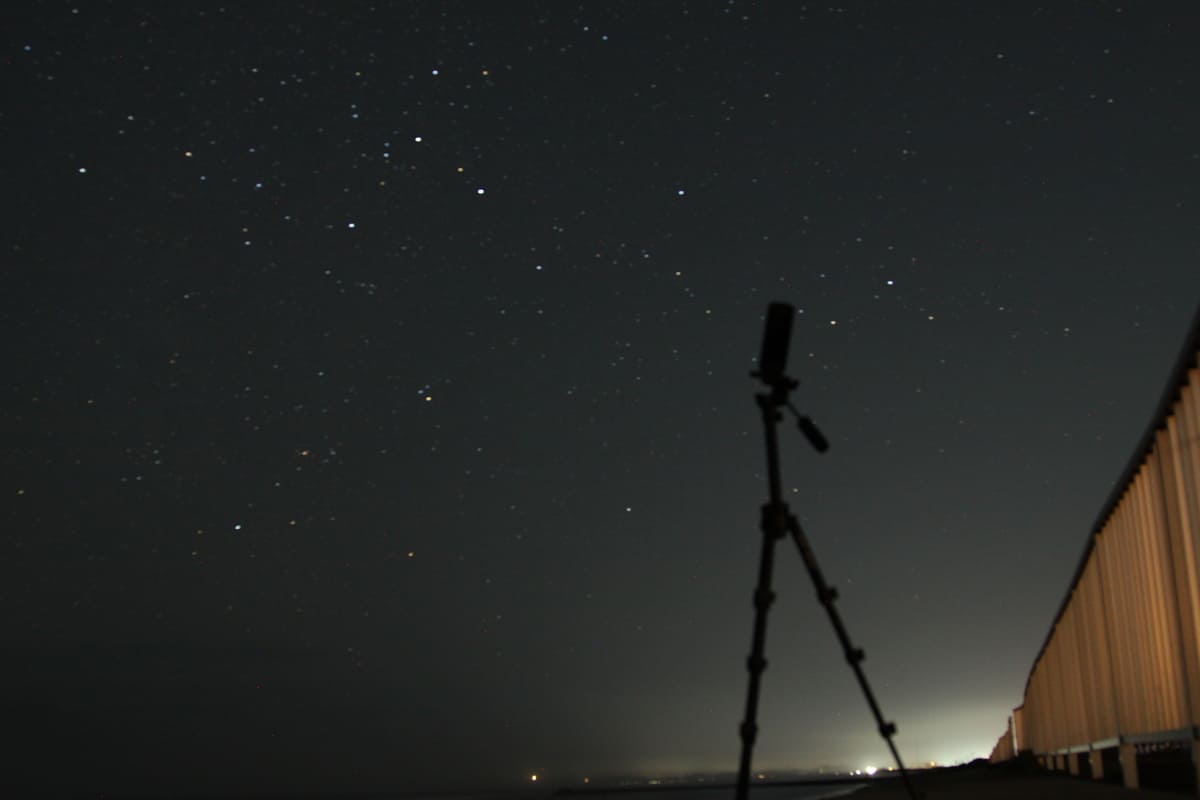
The first photo was taken at an ISO sensitivity of 640 and a shutter speed of 60 seconds. The larger stars were clearly visible, but the Milky Way and other objects were not captured
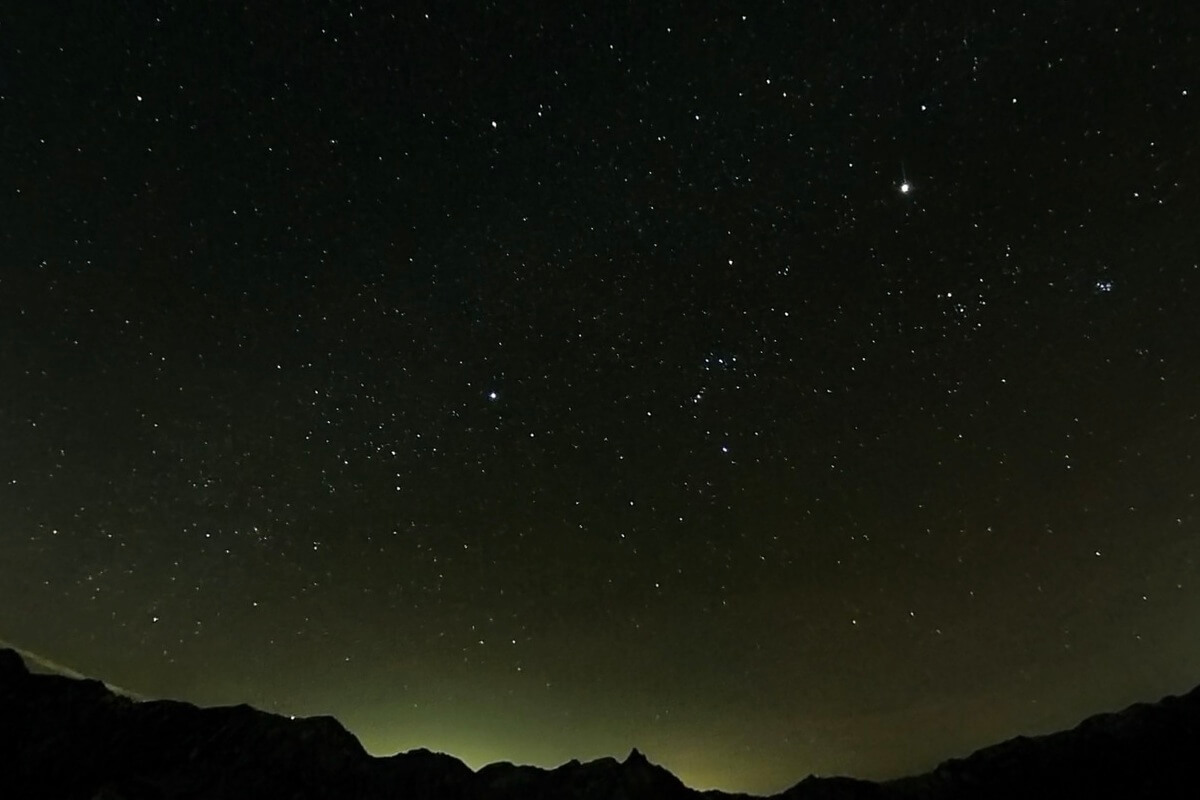
Example: ISO 1000, shutter speed 50 seconds
Next, I increased the ISO sensitivity to 1000 and shot with a shutter speed of 50 seconds. By increasing the ISO sensitivity, more light was captured, resulting in a larger number of stars, but the image quality was also somewhat grainy due to the inclusion of some noise. You can see the Milky Way faintly in the center of the photo
ISO 3200, shutter speed 30 seconds

Here's a shot taken with the ISO sensitivity increased to 3200. The sky is brighter, like it's not night, and the stars look shining, but the image quality is grainy. Adjust the ISO sensitivity and shutter speed to minimize this noise and maximize the image quality of the stars (this takes time, but it's quite fun to try)
The images shown here are straight from the camera (as they were taken). If you want to record an even more beautiful starry sky, you can retouch the photo to emphasize the starry sky (explaining how to retouch the image would take too long, so I won't go into detail in this article)
Once you've set it up, simply fine-tune the ISO sensitivity and shutter speed to take the photo you want!
The shooting setup procedure is basically the same for both DSLR and Insta360, but with an SLR, you have to adjust the focus. You have to adjust it little by little so that the starry sky is in focus, which is really hard work! The great thing about Insta360 is that you don't need to adjust the focus (which was really easy)
All you have to do is adjust the ISO sensitivity and shutter speed while taking the photo. Change the composition and shoot to find the perfect shot!
I reframed the raw data of the photos taken with Insta360 and finally retouched them in Lightroom. I feel like I can get the best balance of optimal ISO and shutter speed if I try a few more things and get used to it
Advanced: Capture a dynamic night sky with video and time lapse!
The biggest feature of the Insta360 X4 is that it is a 360-degree camera, allowing you to add movement to still images you take later
By using the app, you can easily edit by connecting it to your smartphone
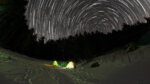
You can also use the time lapse and star lapse functions to capture video of the stars moving. This was my first time using them, and it was fun as I was able to directly feel the dynamic workings of the Earth. I was lucky enough to capture a shooting star, which was exciting, but this is also a complex subject, and I still need to practice a bit more before I can create a good piece of work. I'll report back on this once I've gotten a bit more used to it!
Summary: With the Insta360 X4, stargazing photography becomes much easier! An extremely portable action camera for outdoor use
We introduced the steps to take starry sky photos using the Insta360 X4
The Insta360 X4 is lighter and easier to carry around than a DSLR. The starry sky photography we've introduced here is just a small part of what it can do. Its diverse shooting modes, including video, time lapse, and time shift, make it a great companion for capturing the best possible records of all your activities, not just outdoor activities. We hope you'll try capturing your best memories with this new camera
Please consider a paid membership to support the site while enjoying exclusive offers and premium content!
Related reading
 How to easily shoot starlapse and star trail videos with the Insta360 X4 [A practical guide for camping]
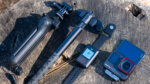 Four recommended mounts and accessories to make the highly practical action camera "Insta360 Ace Pro" even more convenient
 Can the Insta360 Ace Pro, a full-fledged action camera developed in collaboration with Leica, be used for mountain climbing or skiing? A mountain-loving GoPro user switches to the camera and finds out what he likes and dislikes
 The 8K resolution 360-degree camera "Insta360 X4" makes mountain climbing and other outdoor activities that much more enjoyable [Practical Review]