[Backpacking Shelter] A two-day, one-night trip with Mr. Kitamura from CLASS EXPOSITIONS (Part 2: Campsite) [Garage Brand Visit]
Last time, we went from visiting the atelier to the mountains and hot springs
Previous content
Then we head to the campsite where we will be staying for the night
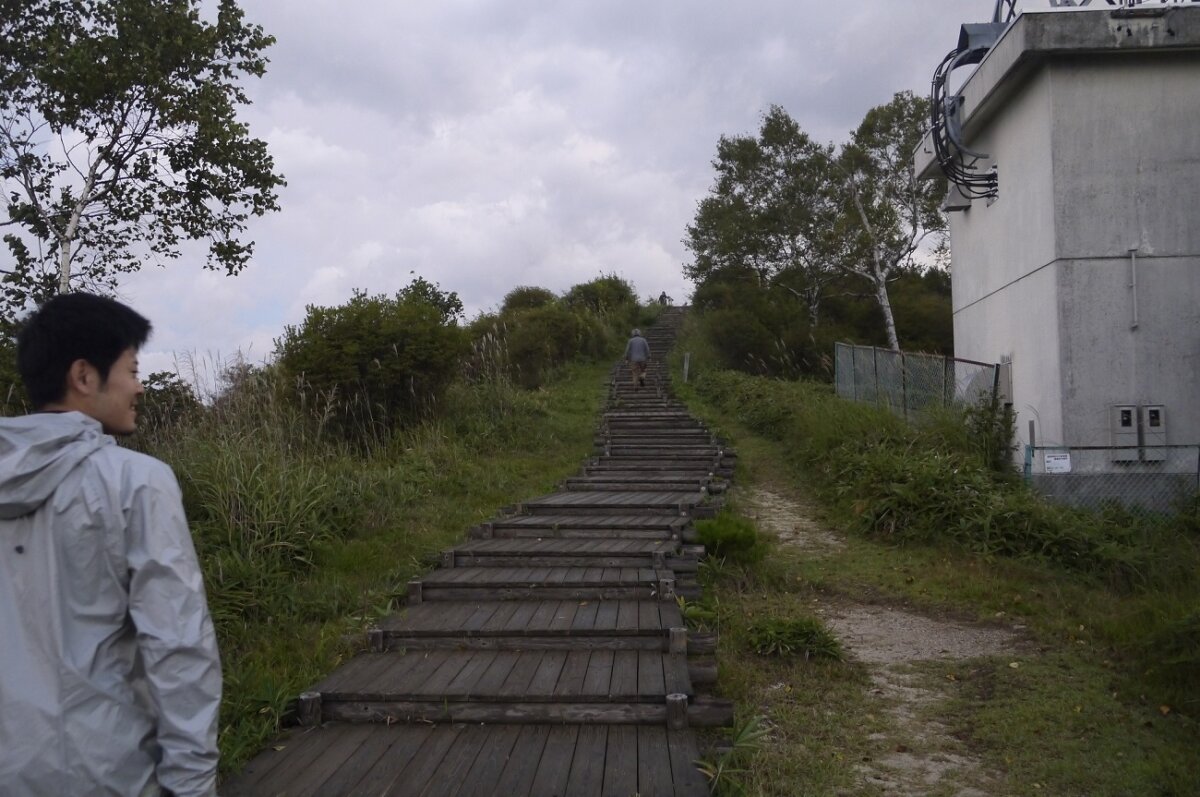
We reach the campsite, which is almost at the top of the mountain
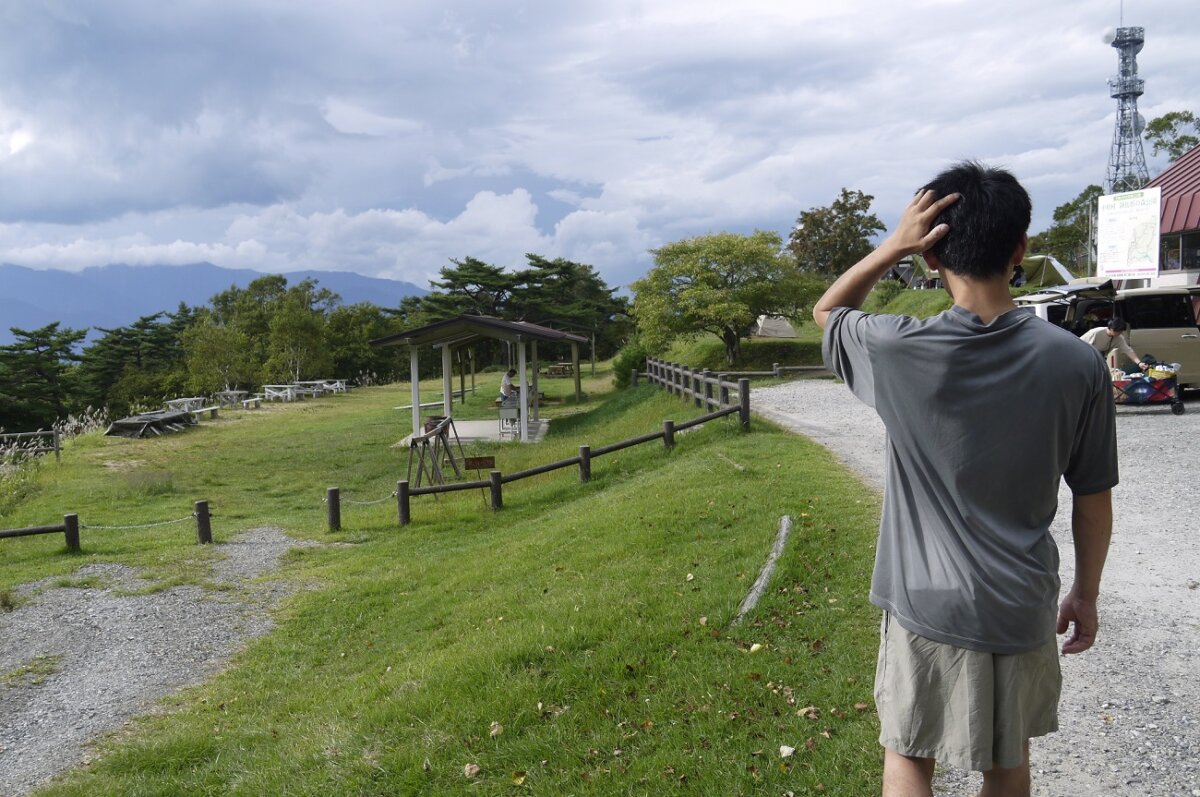
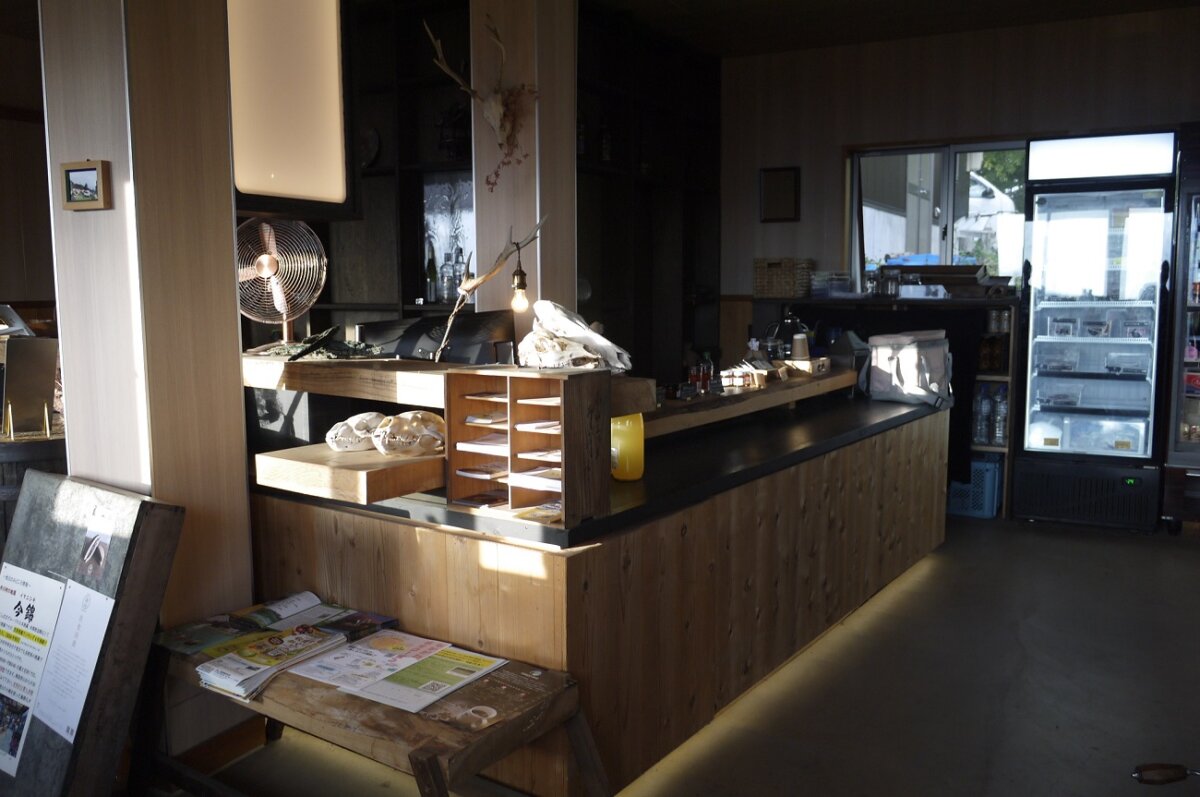
First, we went to the reception desk. Although we could have walked from the bottom, it was a blessing to be able to drive all the way here
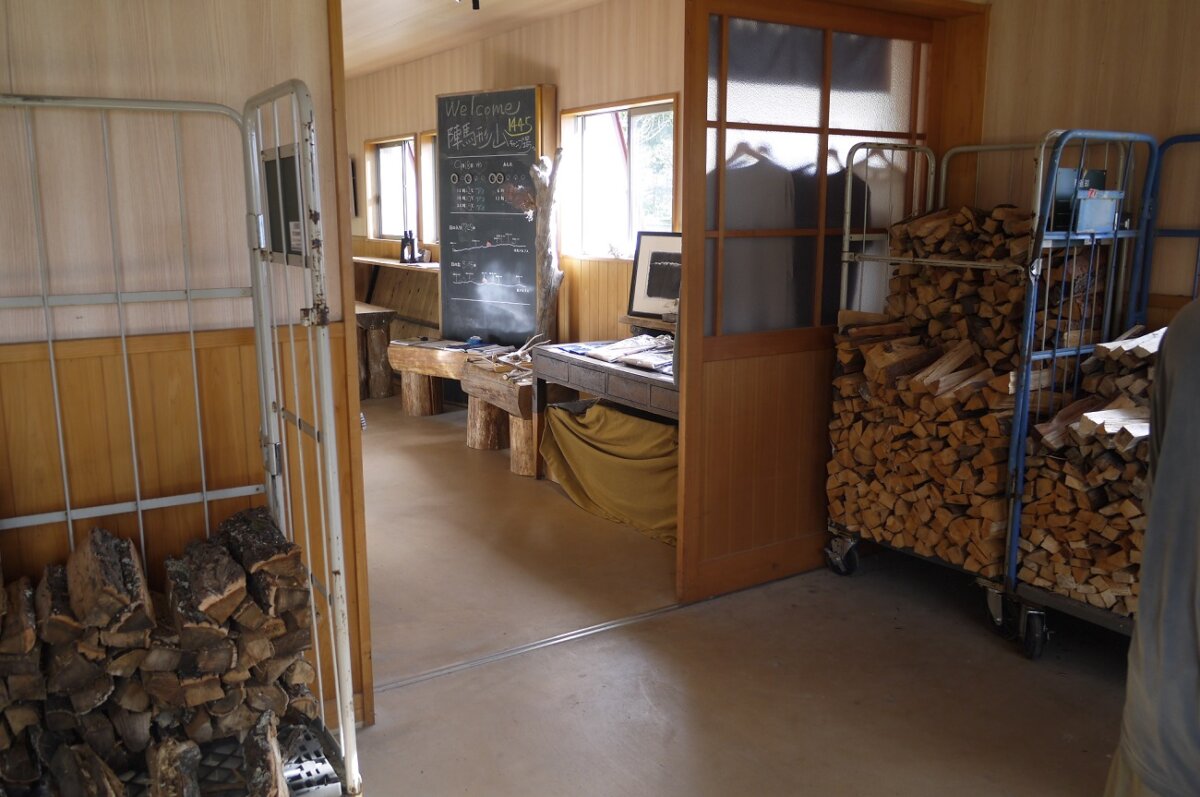
To the front desk, this is Jinbagatayama Campground!
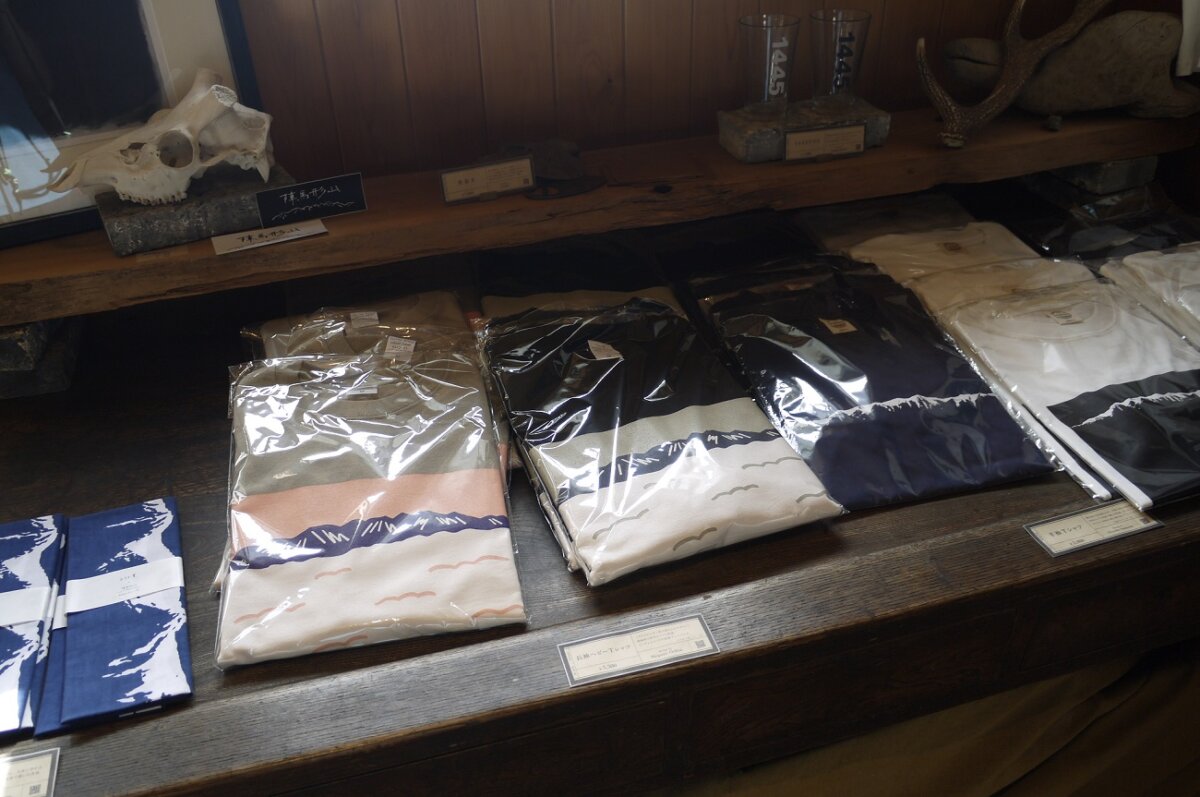
Original campsite items and
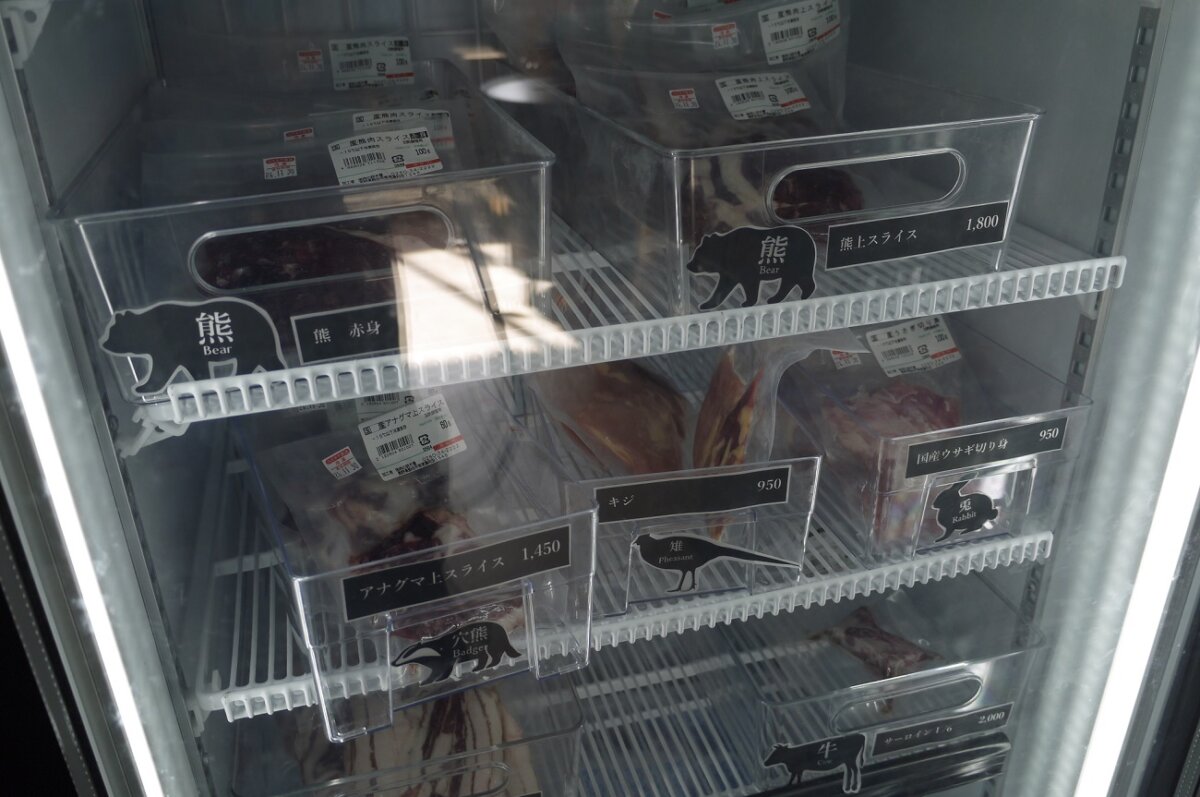
Bears, badgers, pheasants, rabbits!? And some meats that you don't normally see
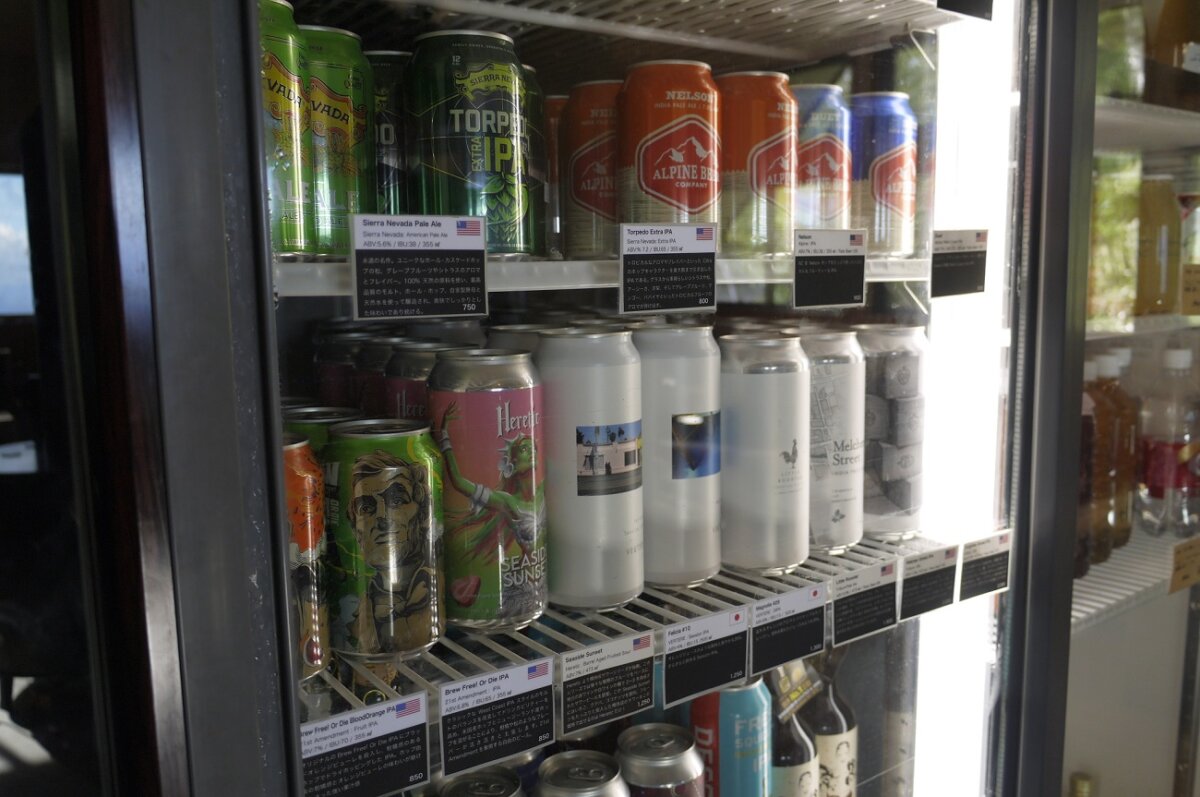
There was also a wide selection of alcoholic beverages, which I had never seen before. You could also order food and drinks, which was hard to believe was on top of a mountain. By the way, in winter the road is closed and access is only possible by foot
Jinbagatayama official website https://jinbagata.jp/
Official Instagram : https://www.instagram.com/jinbagatayama_official/
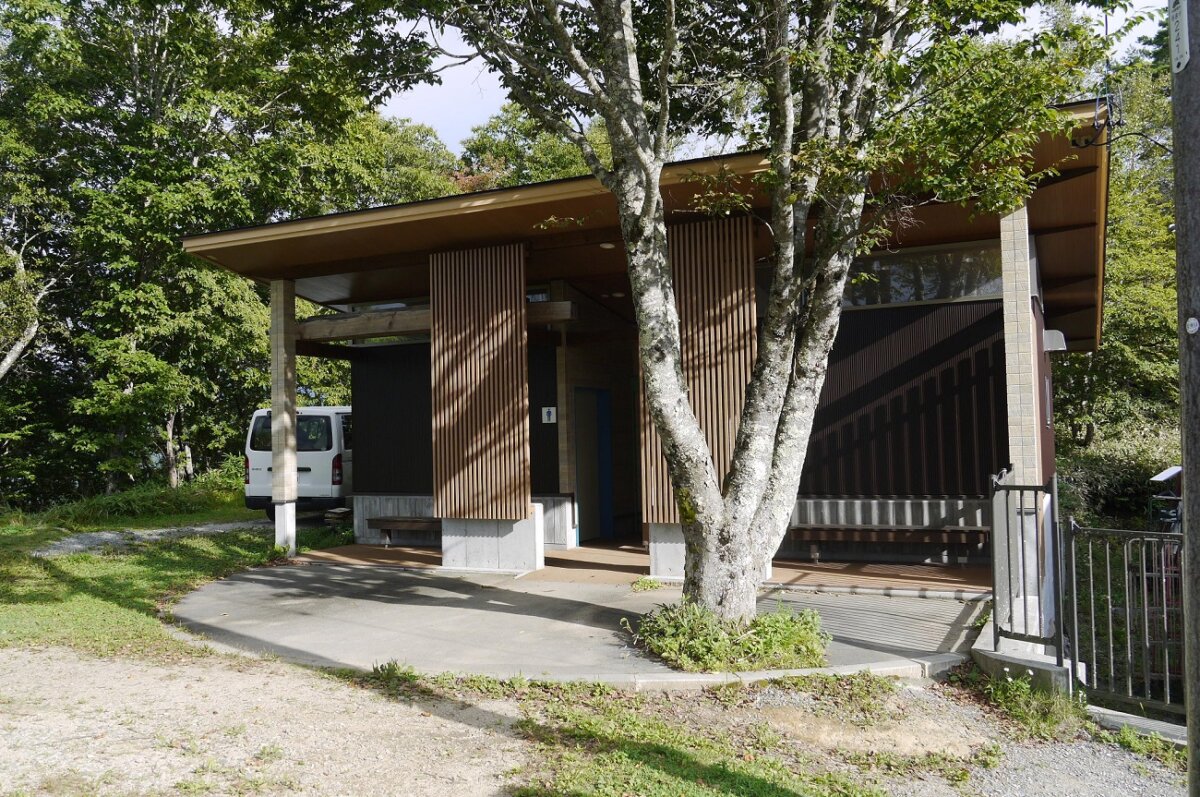
The toilets are so clean and well-maintained that it's hard to believe they're at an altitude of over 1,000 meters. Now that we've finished the check-in, we'll set up our lodgings on the site
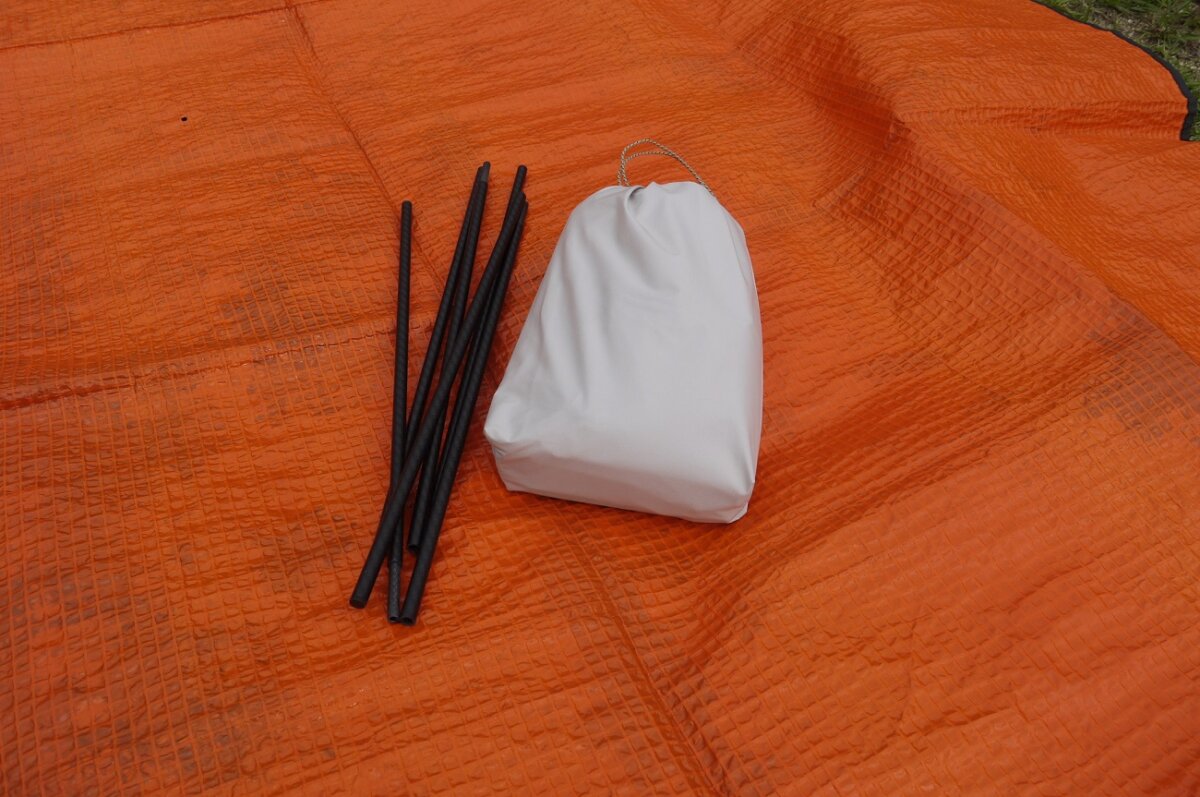
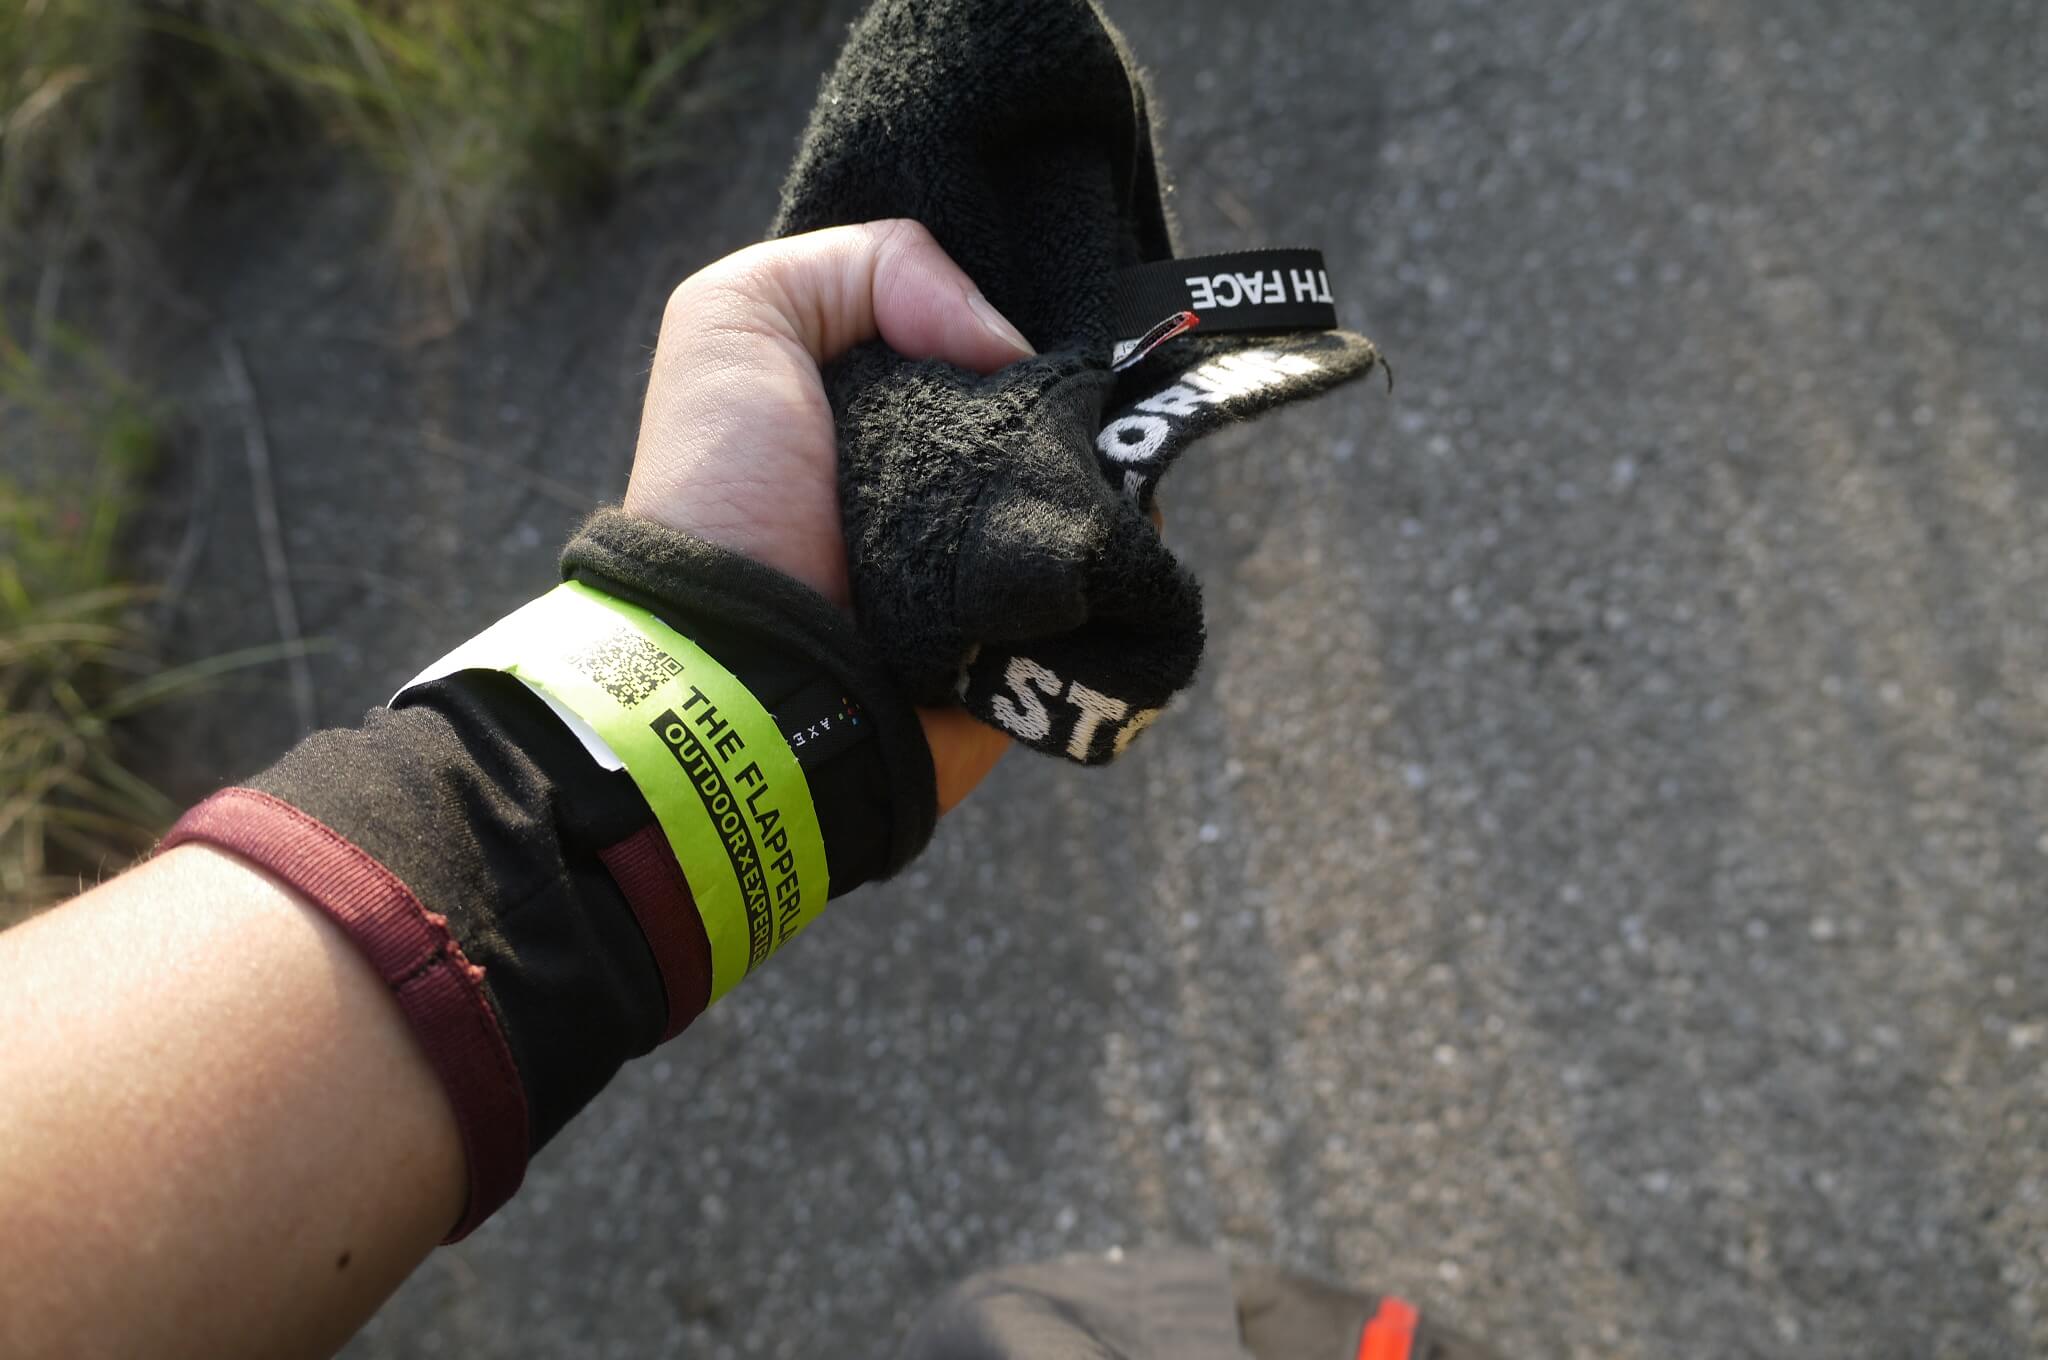
Now it's time for the main feature of this article, the backpacking shelter! First of all, the storage size is particularly noteworthy; it fits easily in one hand, and the . In reality, it's a little more compact, but Kitamura says it's not good to make the storage bag difficult to use just to emphasize its small size.
Initially, they were thinking of not providing a storage bag, so they thought the best thing would be for users to find a bag that is easy to use, so it can actually be compressed even more
The main fabric is made of a 3-layer hard shell material (!), which is flexible and thin, so it doesn't take up much space. This means that when folded, it compresses much more compactly than tents and shelters made of other materials, and it's also super light, weighing just 450g
The dedicated carbon poles shown in the image are optional. Other pegs and guy lines are not included, so you will need to provide them. This product includes only the main body and storage bag
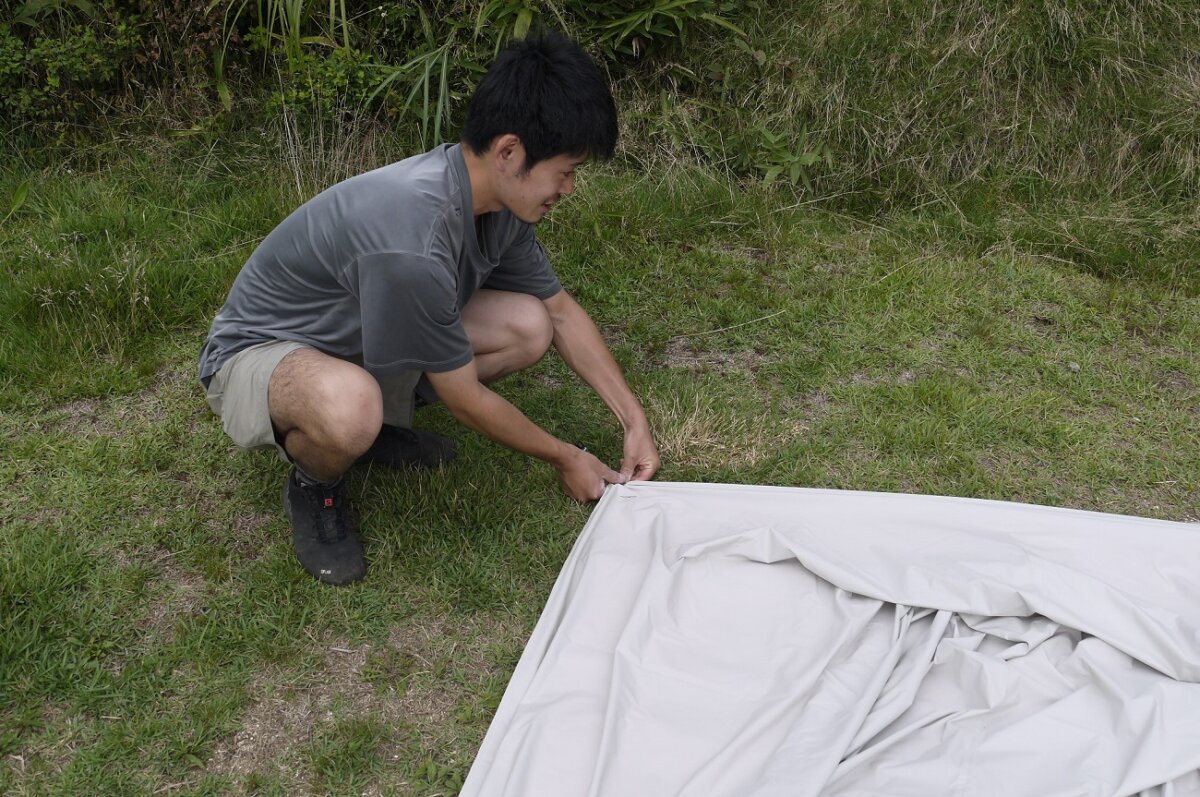
Now, Kitamura-san will give us a lesson on how to set it up. First, we spread out the main body and then peg down the four corners
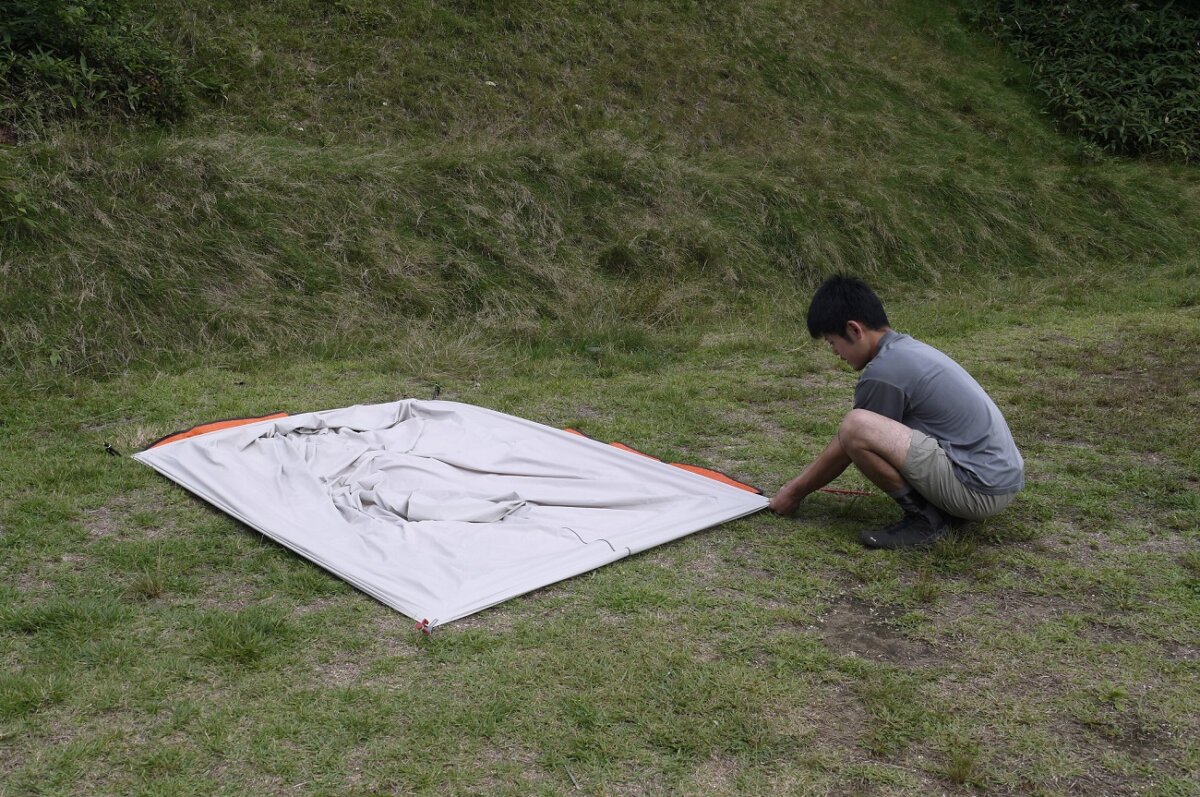
That's no different from normal, right? But here's where it gets different! The 3-layer hard shell fabric is 4-way stretch! This means that by taking advantage of its stretchy properties, it can be stretched with even more tension than normal fabrics. You can see the tension in the image
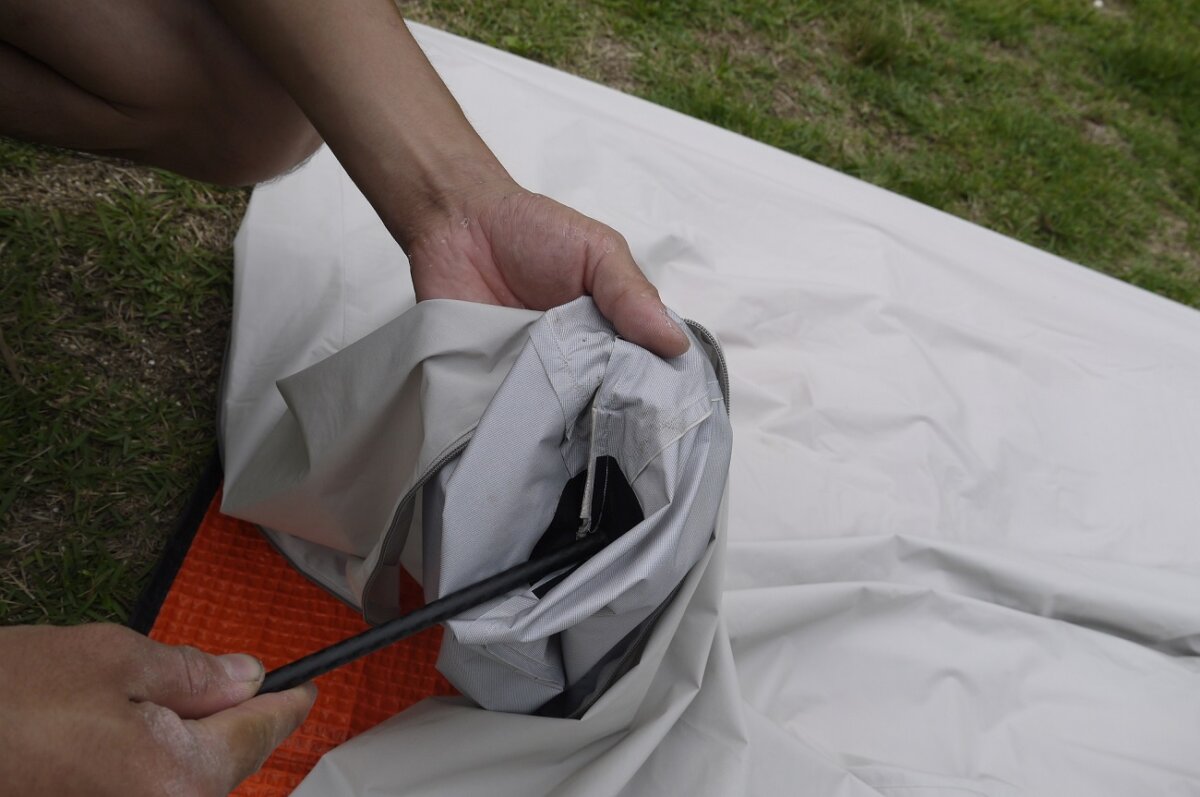
Once you have pegged down the four corners, set up two poles at the appropriate points. Just like other companies' products, you can use trekking poles or similar items as long as the length is right
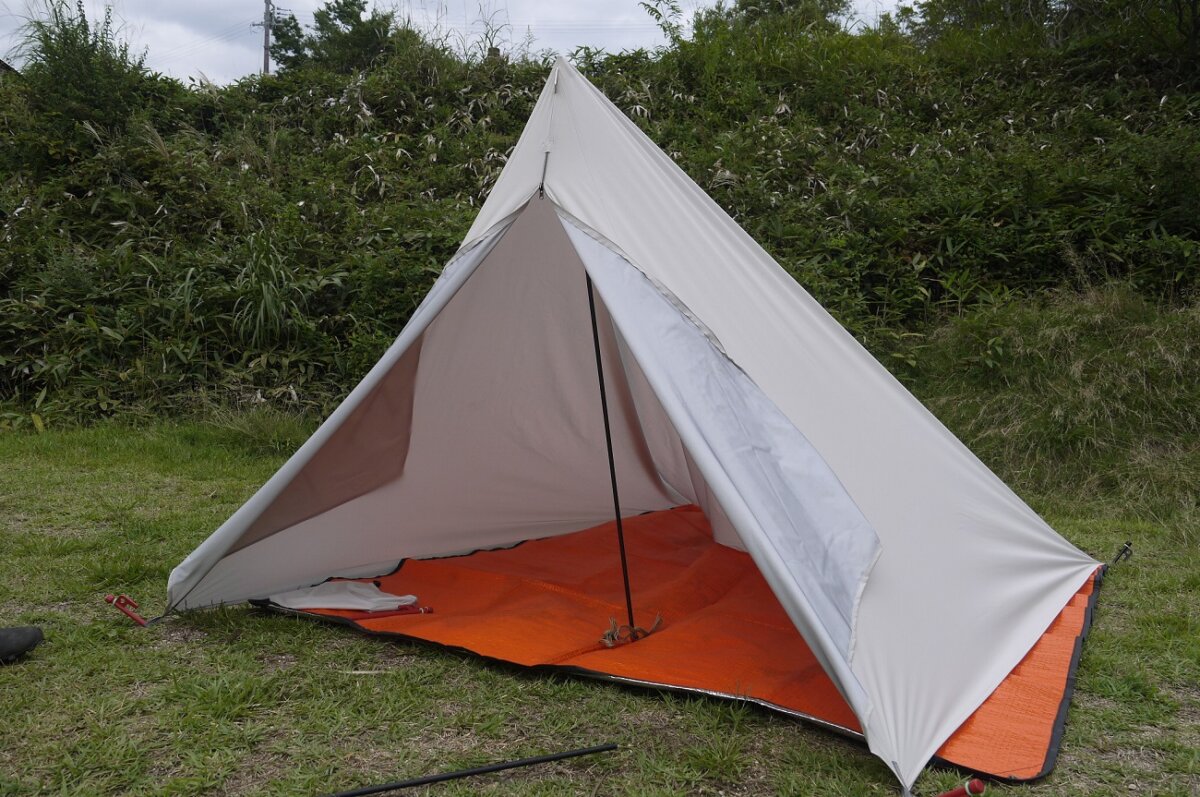
It's probably easier to set it up from the entrance side, so start with one side, and the entrance should only be on one of the short sides. This is one of the few points to be careful of when setting up
The back side is also set up, completing the basic form. The dedicated poles are intentionally set a little longer and have no adjustment function, but Kitamura says that this is not a problem as you can make pseudo-adjustments by offsetting them towards the inside of the tent according to the slope of the terrain. Since it is a floorless shelter, I personally recommend laying it down first if you are going to use a full-length ground sheet. It is also perfectly fine to use the half-length version as a dirt floor, and Kitamura used it that way
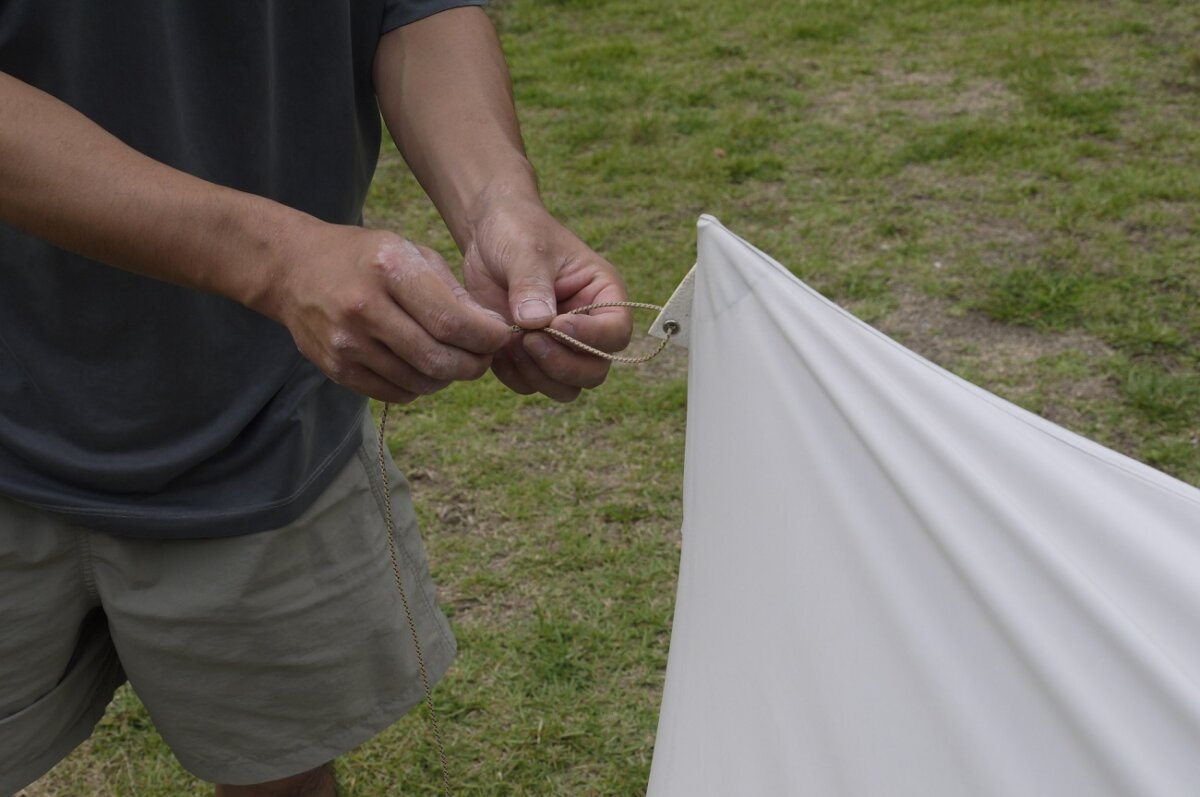
This is fine for the basic configuration, but to increase its strength against wind and rain, it's better to thread guy lines through the guy points on the two long sides and peg down the tent. This will create more tension, so it goes without saying. The guy points are made of special leather. So, for the basic configuration, you'll need four pegs, but for a more solid setup, you'll need six pegs and two guy lines with a recommended length of around 2-2.5m
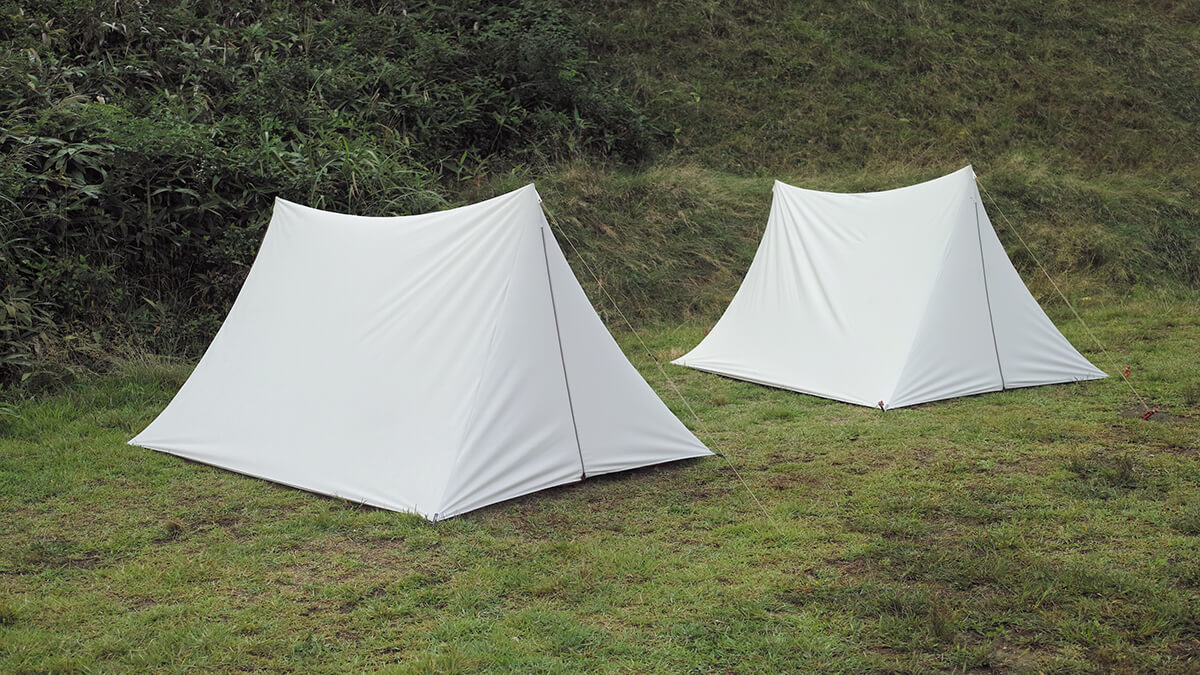
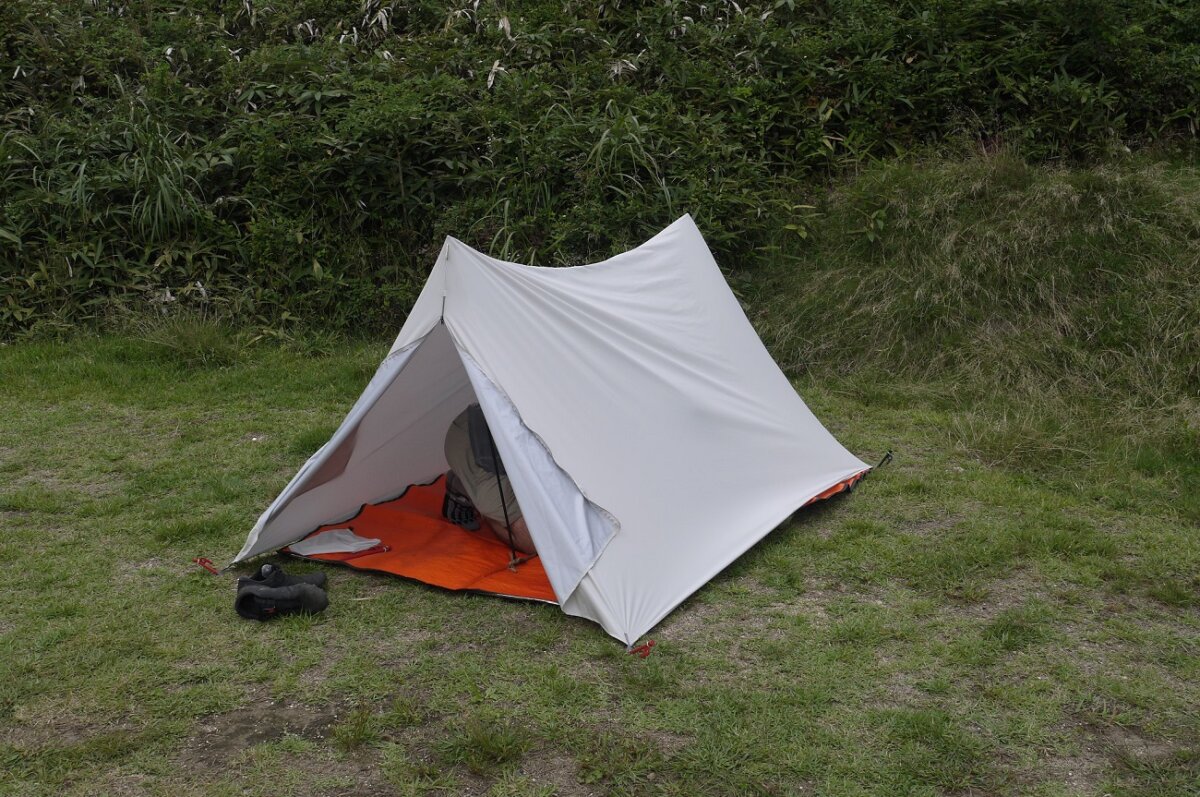
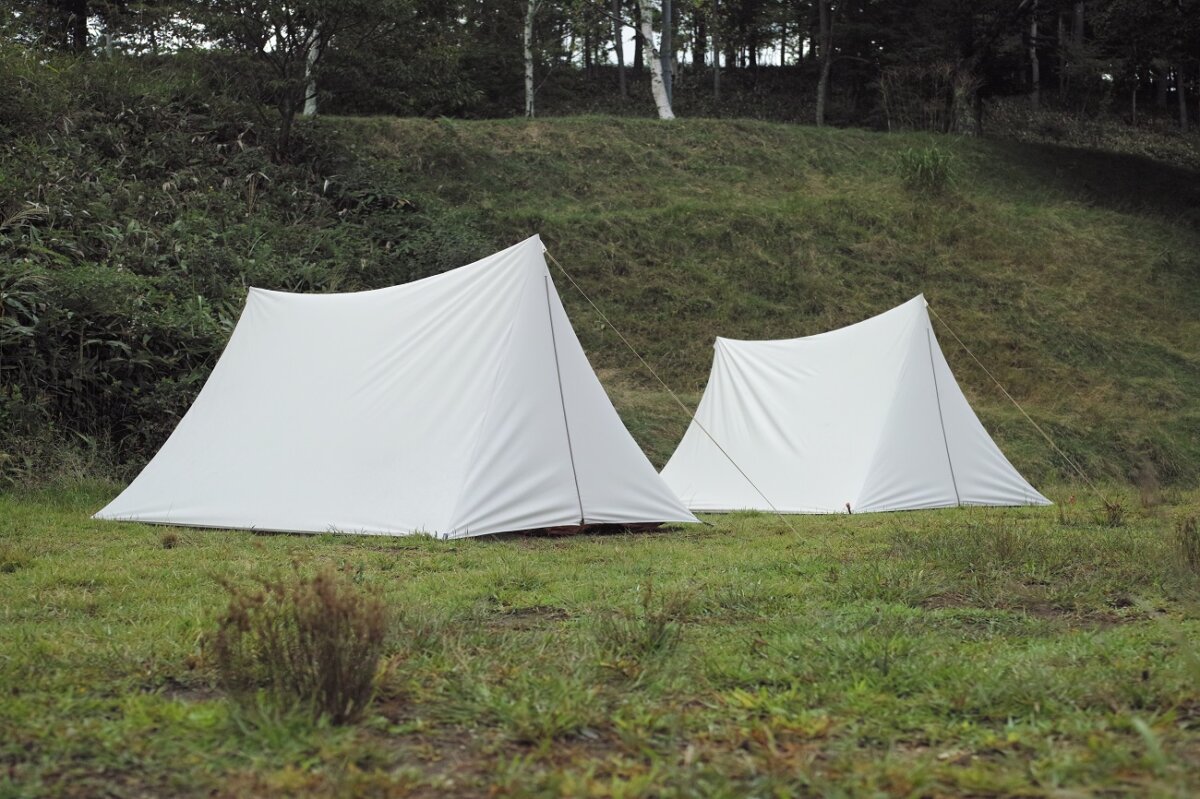
The setup is complete. Look how simple and beautiful it is! This is the true beauty of minimalism
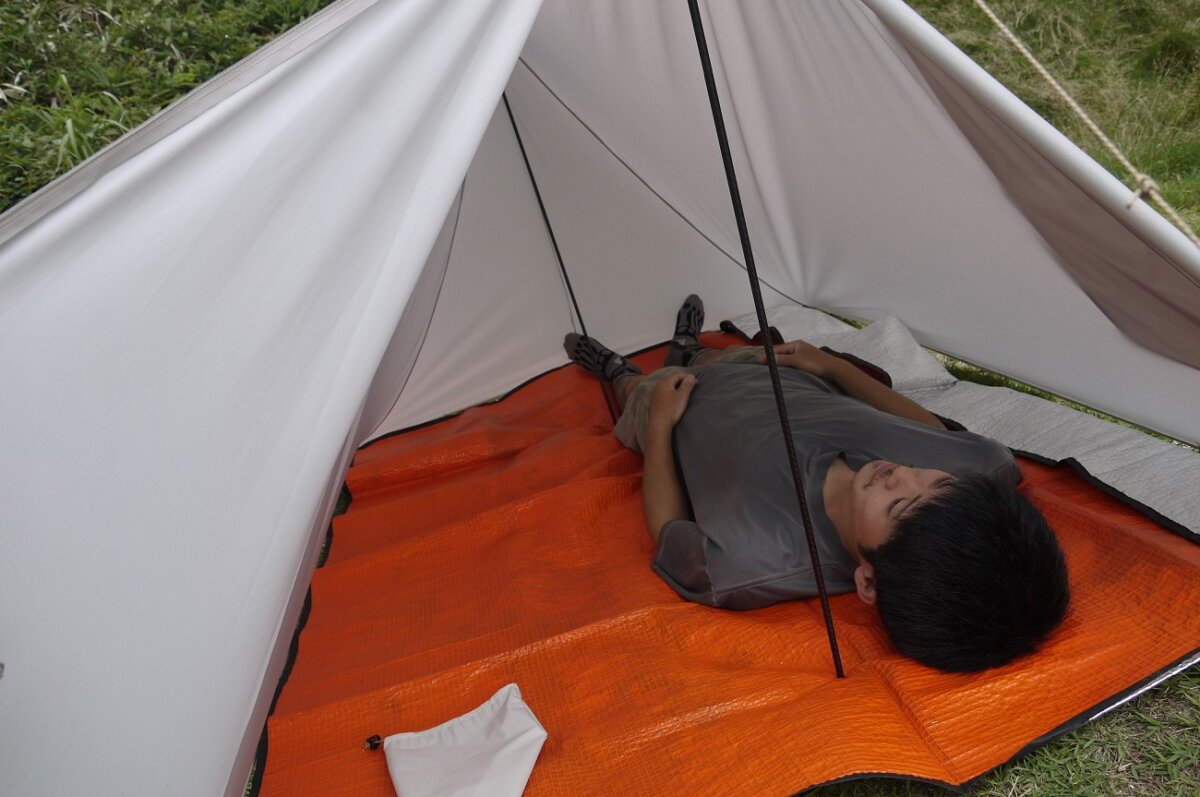
And yet, the floor size is just what you need. It's basically designed for one person, but it's large enough for two people, and yet it looks surprisingly small from the outside. Setup is simple, easy, and intuitive, so once you get used to it, it probably takes less than five minutes. Conversely, it can also be quickly taken down, which is another strong point in terms of time and weather
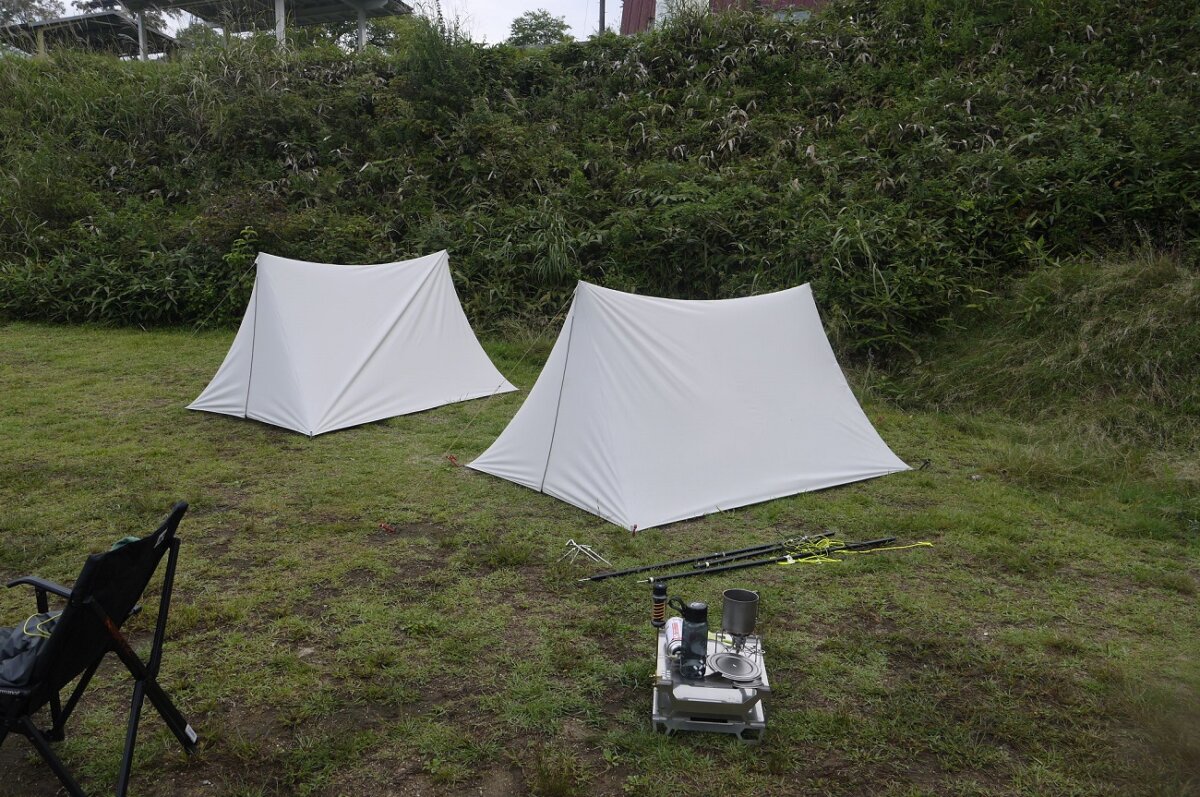
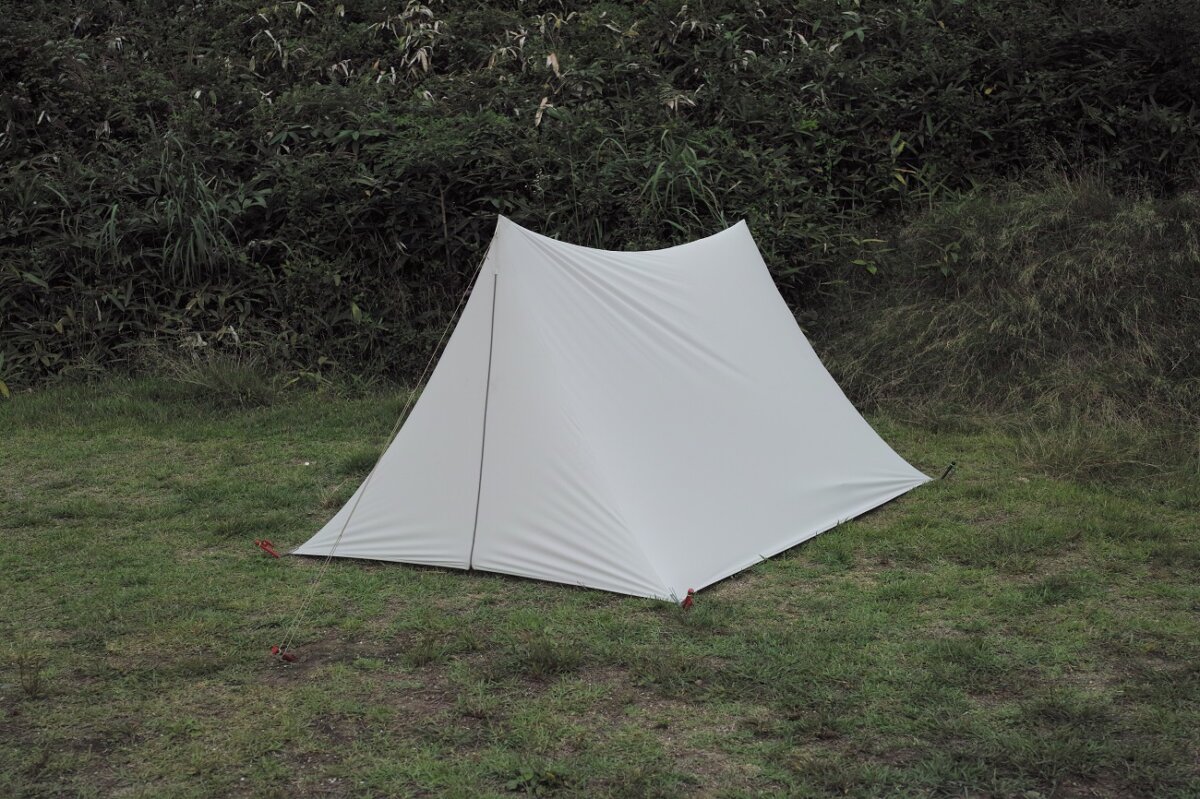
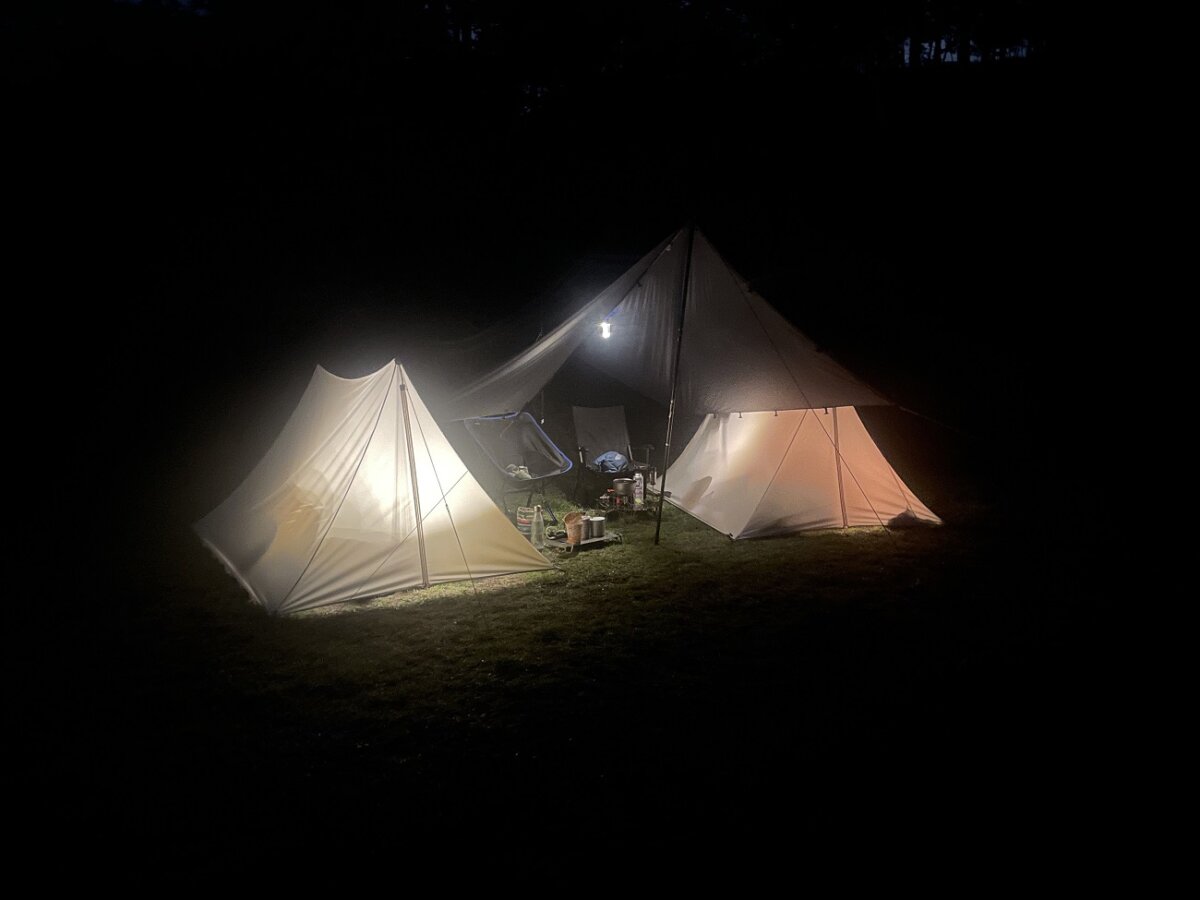
Kitamura also pitched it, and here we are, with the world's first simultaneous setup of two backpacking shelters. Also, as mentioned earlier, the ability to apply tension in various places more effectively than with regular fabric means that the silhouette is less likely to collapse when set up, maintaining its beauty while also being rain-resistant. It's easy to understand this as being similar to an umbrella, where the fabric is constantly taut, making it impervious to rain. Of course, the fabric itself is also impressive, with its domestically produced 3-layer waterproof and breathable material (water pressure resistance 9000mm or less JIS A, breathability 4000mg/24h JIS A-1, 8000mg/24h JIS B-1), which is sufficient, yet still offers impressive figures compared to typical tent and shelter fabrics.

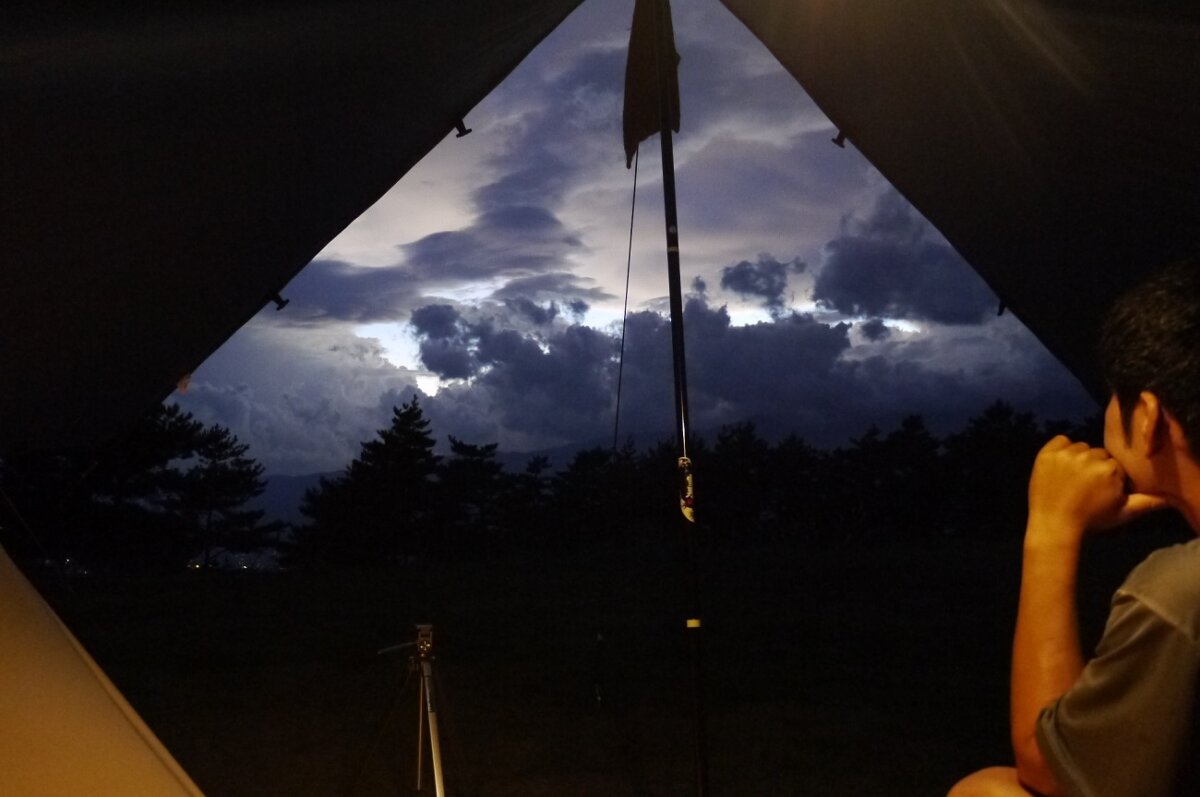
We both finished setting up camp and relaxed. Then, it seemed like the weather was going to change during the night
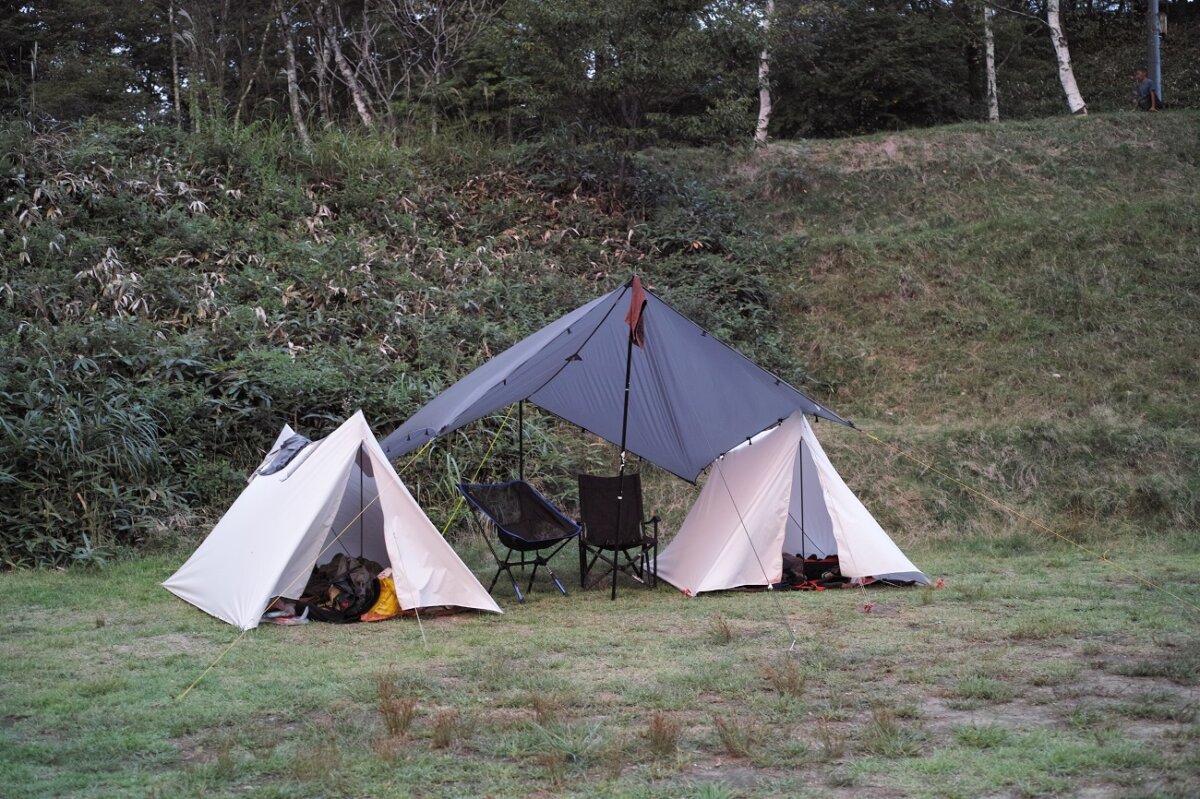
We created a covered living room between Kitamura's shelter, and it was a luxurious space since we were staying overnight in the mountains but camping. I was feeling a bit hungry so I headed to the reception desk where I checked in and the mountain hut.
When I visited earlier, I saw the menu and couldn't help but be curious
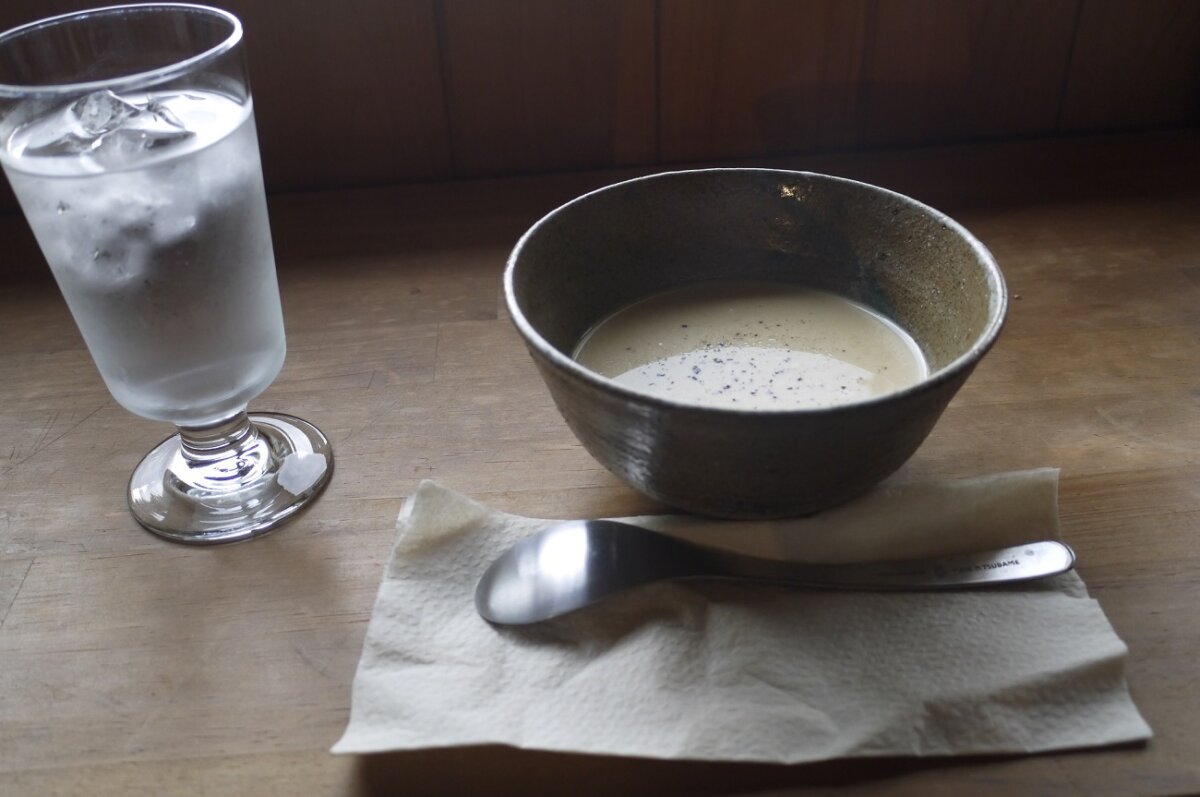
Mushroom potage! Before ordering, I imagined it would be a mountain of mushrooms, but it was an extra-thick soup with all the mushrooms melted into it. It was absolutely delicious
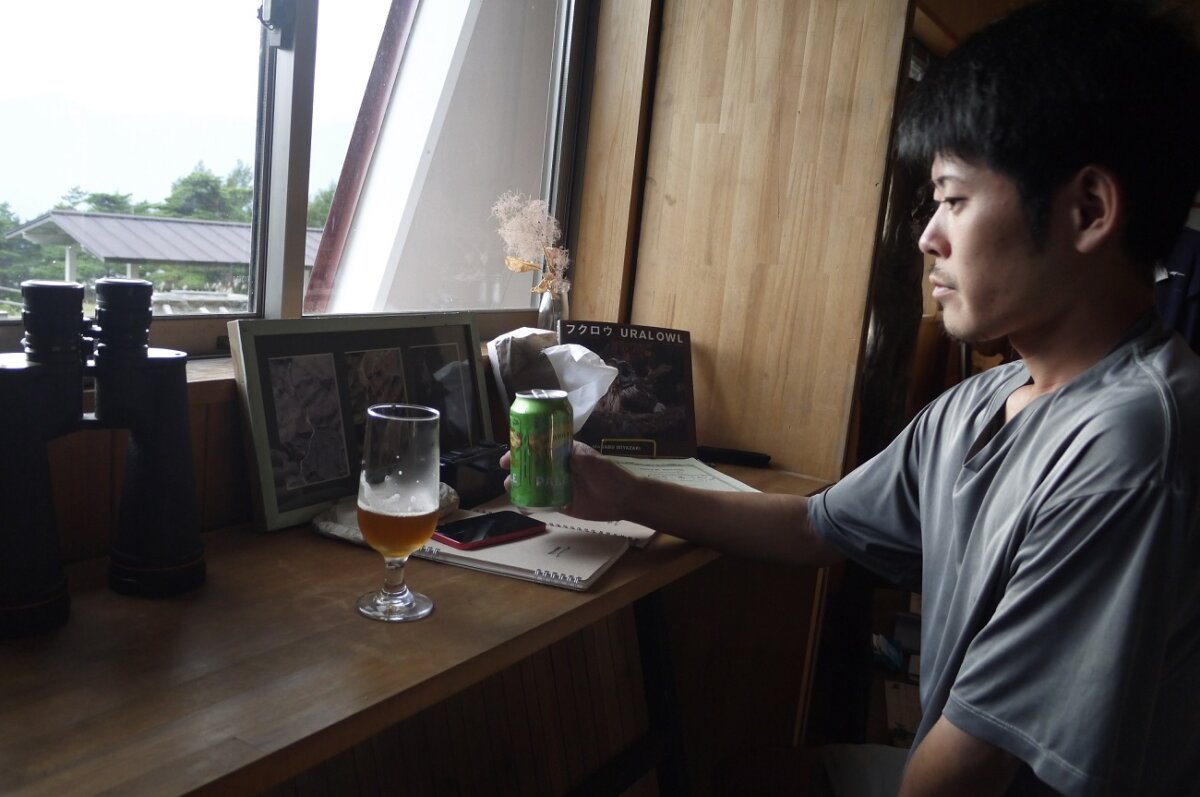
Kitamura had a glass of beer that caught his eye
We then returned to the site and relaxed until dusk before heading off to dinner
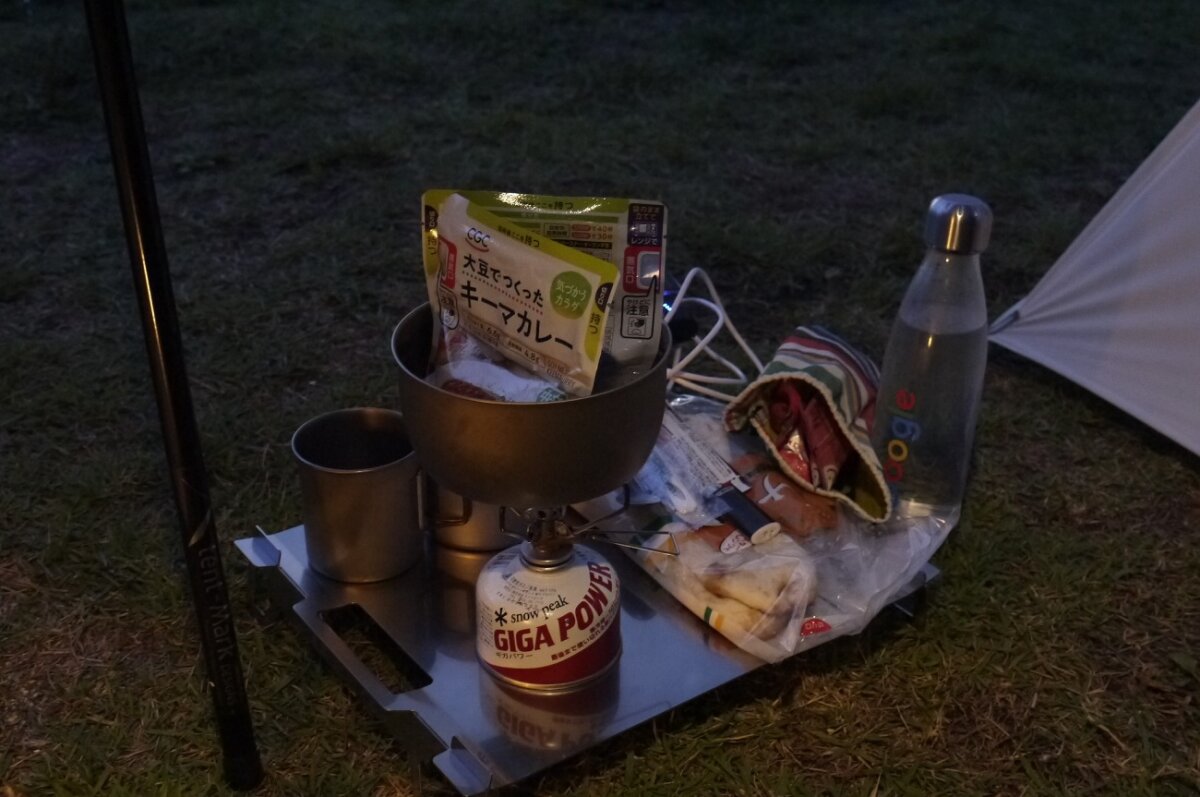
For me, this was a great idea! What Kitamura had prepared was..
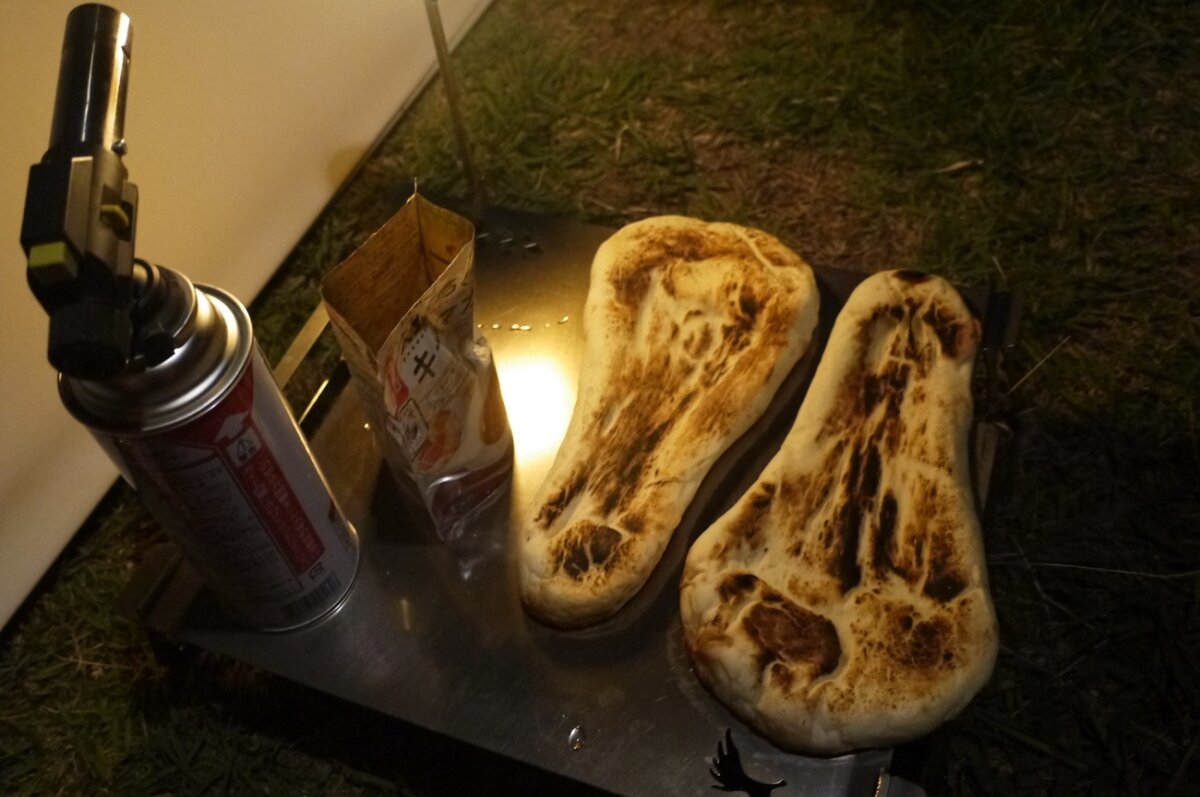
Keema curry and naan curry! Kitamura's imagination is amazing. I've never thought of doing this on the mountain. But I used my own burner to help out and it was delicious
A photo from then on at night. Since it's a single-walled window, it can be quite transparent when there's light in the room, so some people might find it bothersome
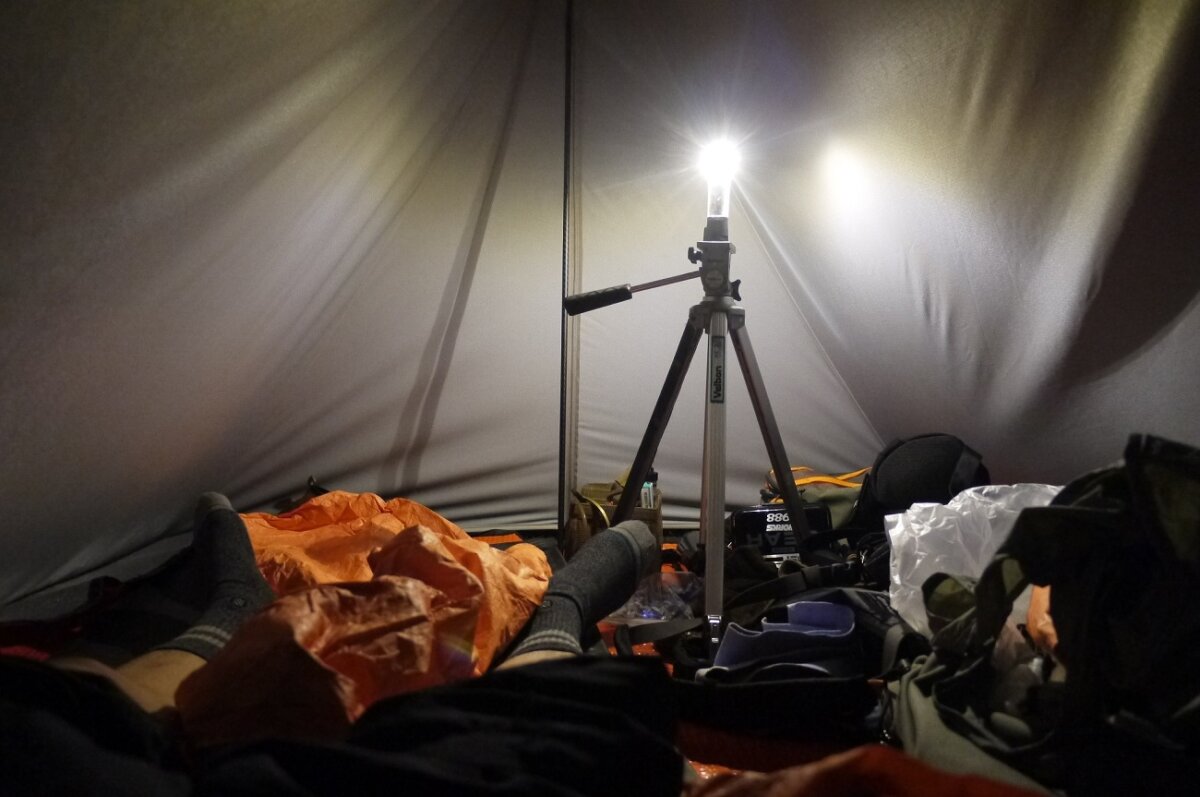
It's a bit embarrassing because it looks like a men's miscellaneous room (lol), but as predicted, it started raining late at night, so we called it a day. However, since it didn't rain that much, there was no rainwater getting in from below, and it was comfortable until morning. However, because it's a single-wall shelter, we had to fight against condensation... or almost none
Shell fabric also means it's breathable! That's the benefit of a 3-layer hard shell. And thanks to Kitamura's exquisite sidewall angle design, even the slightest water droplets that do form on the inner wall don't fall vertically, but instead flow neatly down the wall to the bottom. The dripping water seems to be rainwater from the top rather than condensation. This is because Kitamura's idea at the time was to avoid using materials that deteriorate quickly, so he deliberately did not seal the jacket, but this is where personal preference may differ
I also thought that it might be a good idea to seam only this surface edge, so I suggested it later, and was told that they were still looking for a good solution, so the specifications may change in the future
However, it's true that there are no problems unless it rains really hard. And this may be the only single-wall shelter in Japan that doesn't require you to fight condensation
I tested it over 10 times and it didn't condense as much as a cheap double-walled tent. In fact, there were many times when it didn't condense at all! This is just within the scope of my own use
And so it was morning, and I was feeling the power of the backpacking shelter
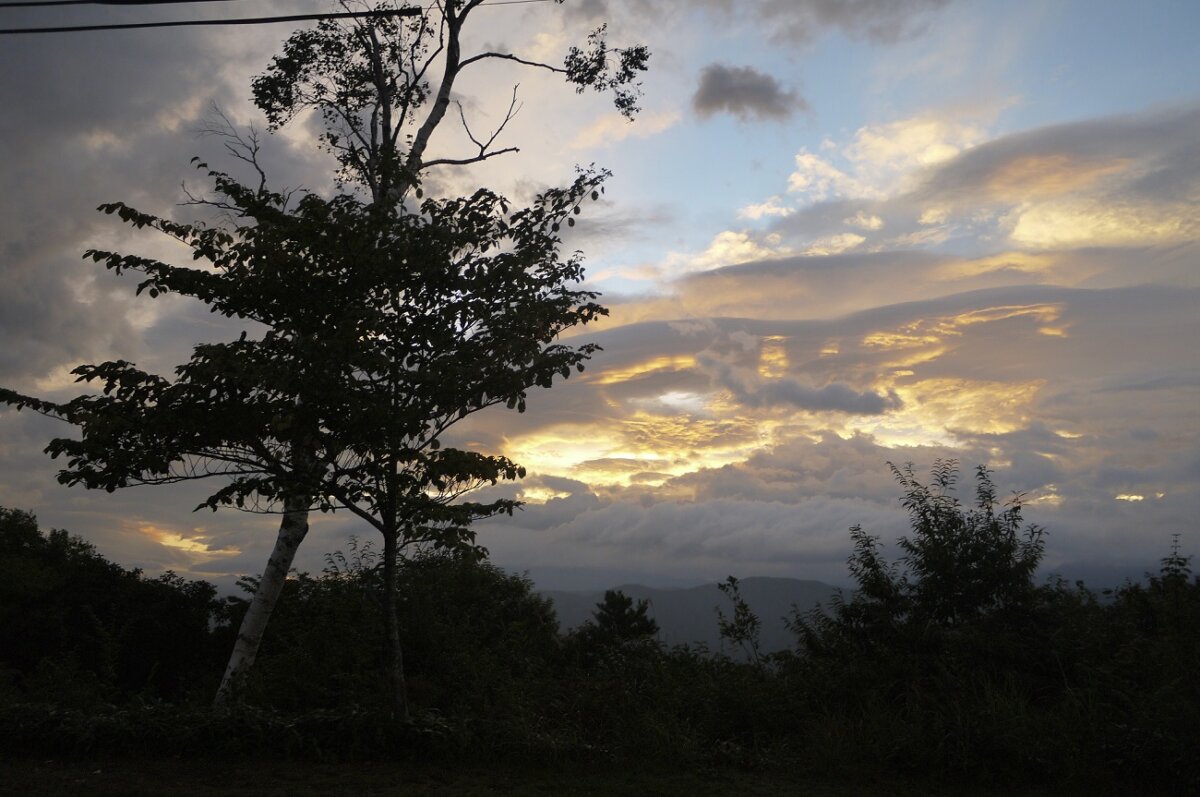
Since we were there, we decided to head to the summit of Jinbagatayama, which is about five minutes away from our early morning site
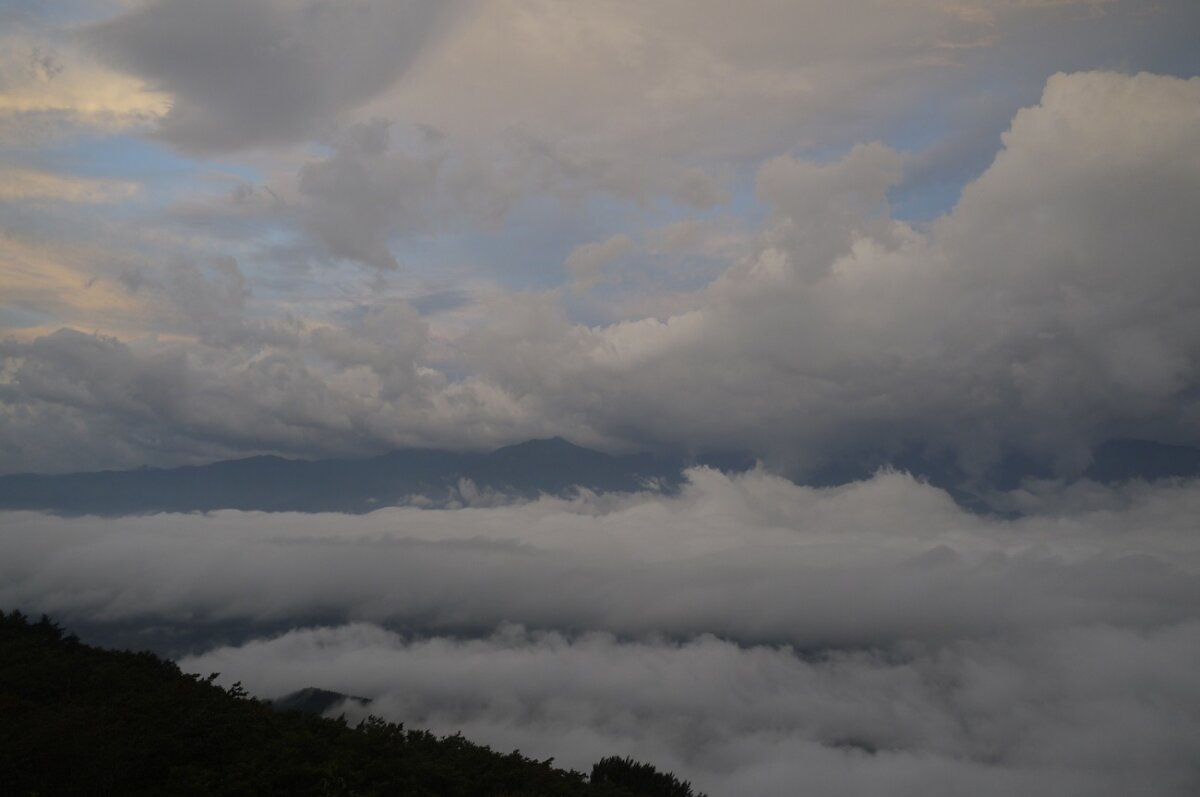
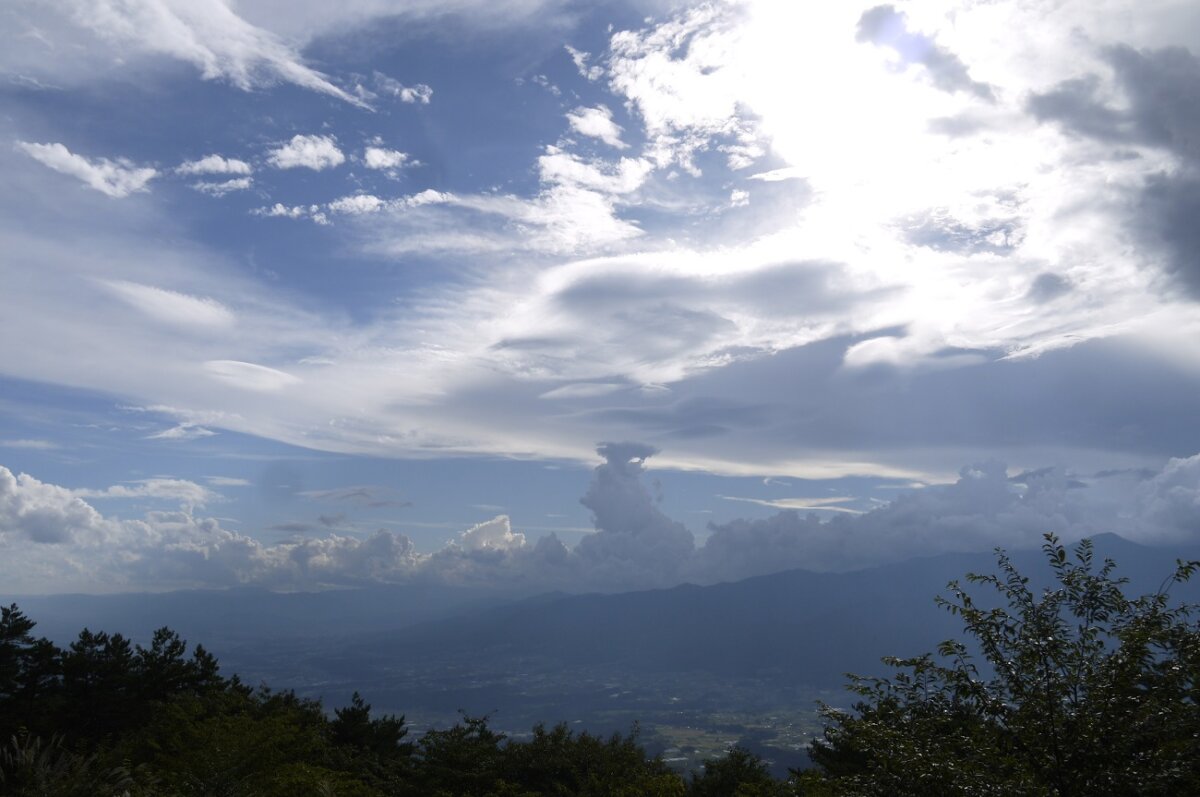
It wasn't a clear sunrise, but instead we saw a huge sea of clouds!
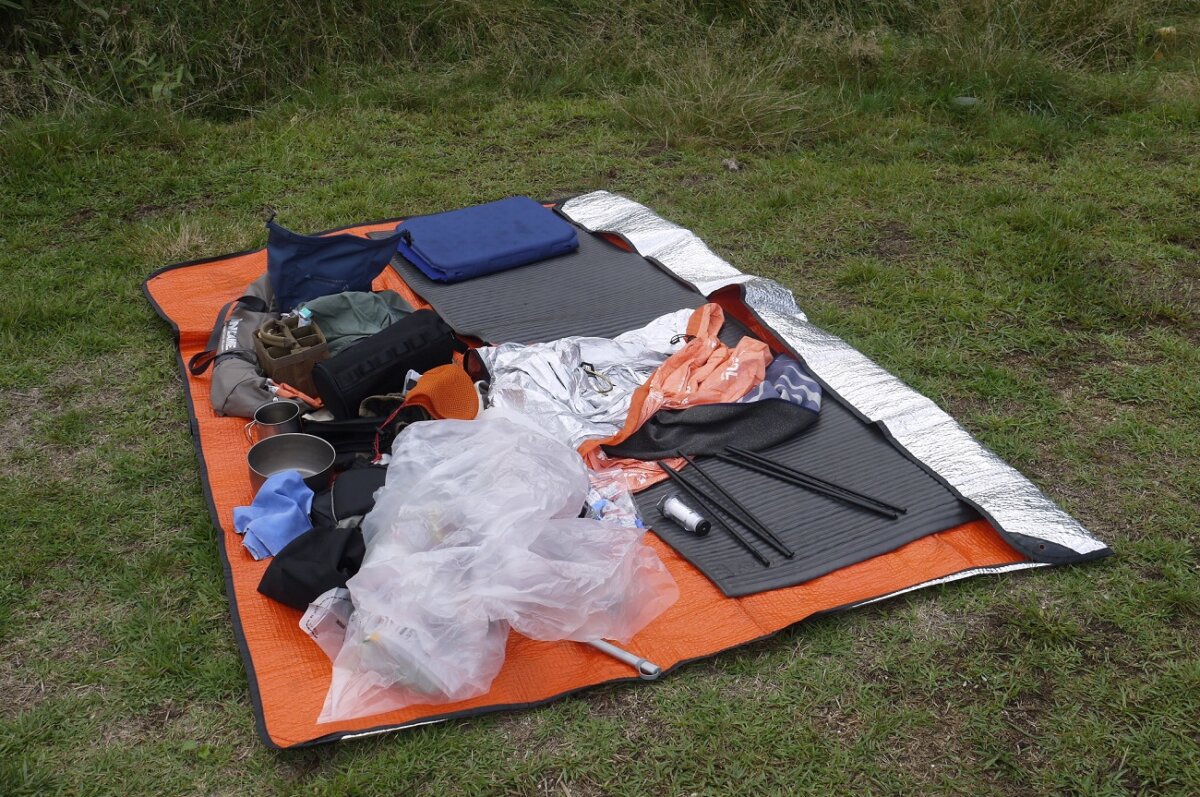
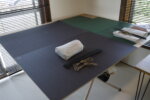
After enjoying the sea of clouds, we had a light breakfast and then packed up. It's a bit embarrassing again (lol). This is the interior intact, with only the backpacking shelter removed. Don't you think it's appealing that you can fit all of this inside the shelter, with a waterproof, breathable, hard shell tent weighing just 450g? I think it would be a great weapon for those who don't mind a floorless design
So what do you think of CLASS EXPOSITIONS and the Backpacking Shelter? Is there any gear enthusiast who can't be captivated by the beauty of this appearance and its performance? I couldn't help it. It's a product that is full of charm, and next time we'll return to the atelier to delve deeper into CLASS EXPOSITIONS, the Backpacking Shelter, and Kitamura-san, so we hope you'll continue to support us!
Click here for more!
yans
 My love for gears has led me to write for Gearzine. I'm a hardcore gear enthusiast who loves modifying and building things, and I also love outdoor events. I'd like to focus on brand exploration and shop reviews
Related reading
 [Backpacking Shelter] A two-day, one-night trip with Mr. Kitamura from CLASS EXPOSITIONS (Part 1) [Garage Brand Visit]
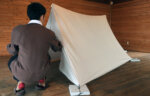 [Backpacking Shelter] CLASS EXPOSITIONS and Takeshi Kitamura [Garage Brand Visit]
 [Garage Brand Visit & Gear Review YOKA Edition] YOKA SHICHIRIN++: A 400-Year-Old Charcoal Grill/Bonfire Stand Reborn in Modern Times!
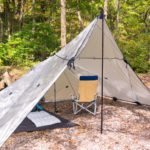 The one and only FIELD RECORD FR-shelter, a tarp shelter that can be freely combined and transformed, is so playful