A summary of the best ways to carry a DSLR camera when hiking or traveling [Recommendations for each situation]
Written by Yasushi Hisatomi
table of contents
- Recommended gear for each occasion
- Recommended for day hikes with minimal luggage: Holder type
- Front pack type: Recommended for all-around mountain climbing, including heavy loads and long-term mountain climbing
- Chest bag type: Recommended for those who want ease of use but also want safety
- Moderate effectiveness but cost-effectiveness: Chest strap type
- Not suitable for the mountains, but perfect for travel: the instant-shooting strap type
- summary
Recommended gear for each occasion
Recommended for day hikes with minimal luggage: Holder type
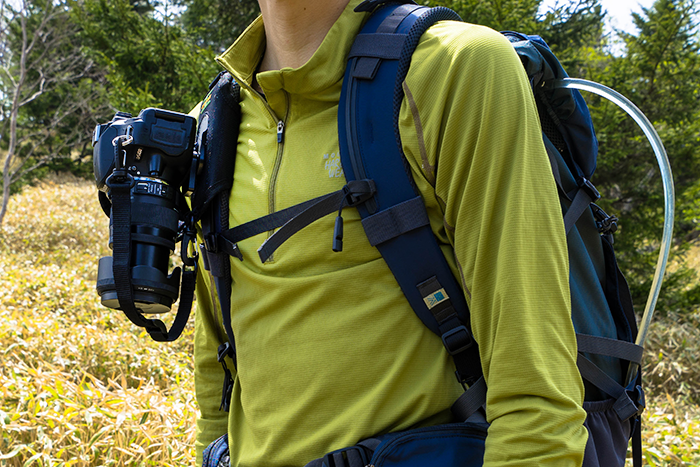 With this type, attachments are attached to both the camera and the backpack (shoulder harness), allowing you to hook and secure the camera like a holster for a handgun
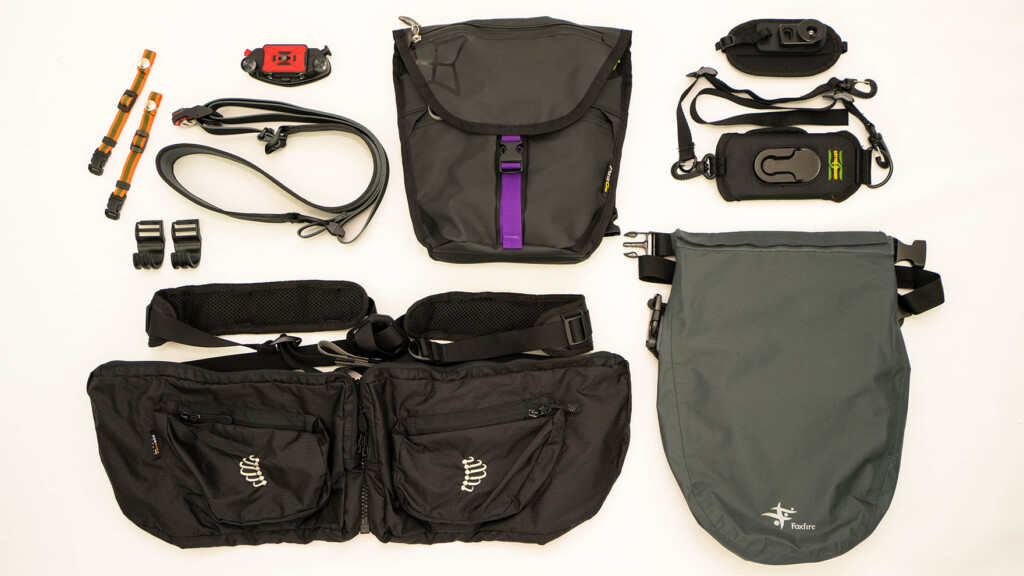
The two types we tried out this time differ Peak Design ) and a rotating type ( COTTON CARRIER COTTON CARRIER , which seemed a little wobbly, also came with a strap to prevent it from falling, so it was safe.
Above all, the camera's exceptional speed allows you to quickly get into a shooting position when you feel the moment is right. Despite being a single-lens reflex camera, its ease of use is on a par with or even surpasses that of a compact digital camera or smartphone, and it has dramatically changed the way I photograph
It's also smart that it doesn't get in the way when you take off your backpack or put on or take off your clothes. What's more, Peak Design a wide range of optional products that can be attached to this attachment , making it the best in terms of expandability for your entire camera life (although on the other hand, there's a chance that you might need to purchase additional options to suit your setup).
However, as you can see, the exposed camera is vulnerable to rain, dust, and shocks, so there are concerns about using it for long periods of time. Also, on long mountain trips, the shoulder of the person wearing the camera inevitably becomes fatigued and sore after the second day, and in rare cases, it even causes pain (of course, this impression varies depending on the person's physical strength and the weight of the camera). While the holder type seemed perfect in such a stable environment, there were some concerns when using it on long mountain trips with a relatively heavy load
In that sense, the holder type is most suitable for long-term, light day hikes that do not require a heavy load , and of these, if you are only looking for simple usability, the COTTON CARRIER , but if you also consider expandability, we recommend the Peak Design


Front pack type: Recommended for all-around mountain climbing, including heavy loads and long-term mountain climbing
Front packs 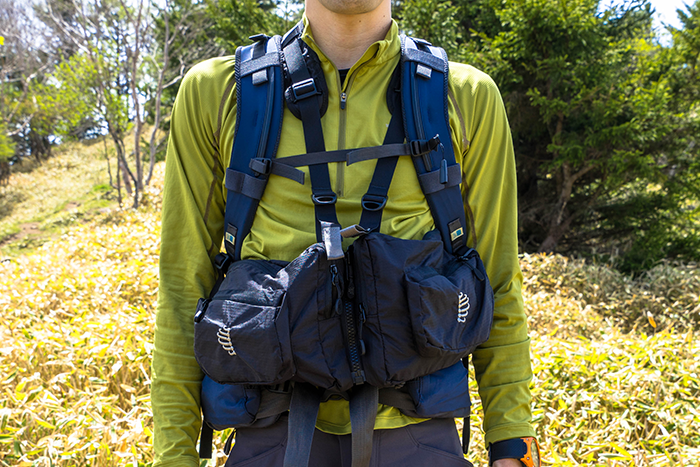 are worn like a vest with symmetrical pouches , were not originally designed for carrying cameras, but the RIBZ Front Pack (Small) that I tried out was more than enough for carrying a camera.
First of all, it's just a bag, so it doesn't require any special setup. There's no need to choose a backpack, and it can be matched with any style. Attention has been paid to even the smallest details, such as the cushioned shoulder pads, so it feels great to wear. The straps that tighten around the waist ensure that the bag always fits to your body and doesn't swing around too much when you walk
The biggest advantage of this pack is its excellent load balance. By moving some of the luggage that would normally be packed in a backpack to the front, the load balance is improved not only from side to side but also from front to back, which obviously makes it less tiring to carry
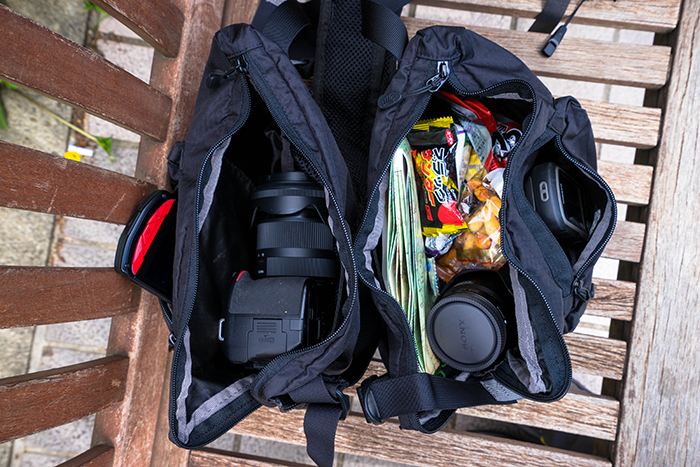 Another major advantage of this pack is its impressive storage capacity, which is immediately apparent in the photo on the right (above). The pouch on the left easily fits a camera (Nikon D5100 in the photo) and a smartphone (though a large-diameter lens or high-spec SLR might be a challenge), while the pouch on the right still has room for an interchangeable lens (FE 55mm in the photo), snacks, a map, and a GPS. It's perfect for those who want to quickly switch between multiple lenses and cameras
On the other hand, as you may have noticed, this type of pack is not designed to carry a camera, so it is important to note that it does not have the same quick-shooting capabilities as a holder-type pack, nor does it offer the same protection as a camera chest bag
Ultimately, it depends on how much importance you place on the hassle of opening and closing the zipper and the safety of features like the shock-absorbing inner cushion. While it's not the best, it's quick to access and has adequate protection, and its load balance and storage are excellent. Overall, it 's definitely a type that's easy to use for long-term mountain climbing with heavy loads.

Chest bag type: Recommended for those who want ease of use but also want safety
The chest bag type overcomes the shortcomings of 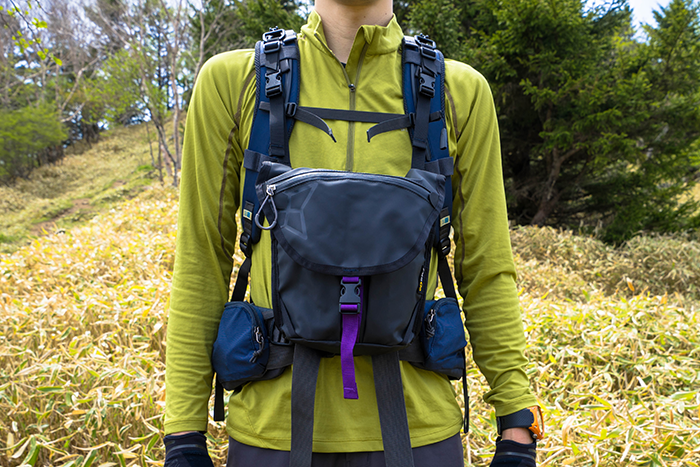 the holder type . The basic structure is the same as the front pack type, but this type is characterized by the fact that the camera case, which is particularly weather-resistant and shock-resistant, is placed at the chest level for easy access and less shaking when walking. This type is common for camera bags, not just for mountain climbing, and there are a variety of models on the market, from those for outdoor use to those for professionals.
Among them, the model we chose as the easiest to use is the PaagoWorks FOCUS (pictured left or above) . Despite its high level of protection thanks to its rain-resistant material and shock-resistant detachable inner case, it's lightweight and compact, offers decent access to the camera, and features two front pockets with waterproof zippers for ease of use. It's a very complete bag to use as a base. However, since it's inferior to the two above in terms of quick shooting and convenience, we recommend it if you prioritize safety over anything else, regardless of the length of your trip or the weight of your luggage .
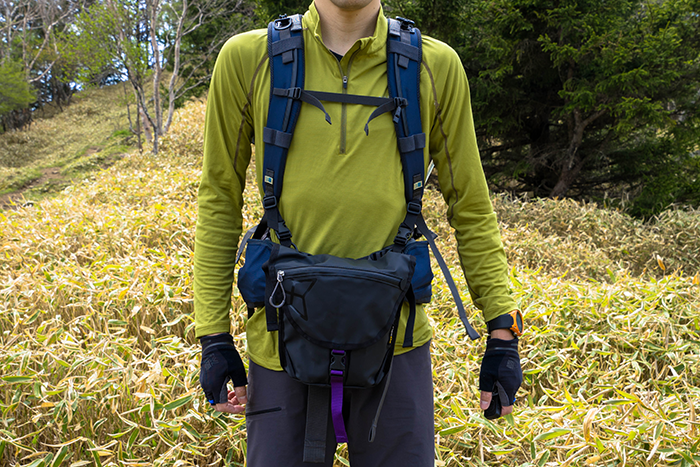 Although it is a well-made and excellent product overall, the only thing you need to be careful about is that depending on the backpack, the attachment position may be too low (see the photo on the right or above). If you attach it to the end of the shoulder harness as instructed, the pack may end up around your lower abdomen, making it extremely difficult to walk
It's certainly possible that your backpack just isn't the right size, but since backpacks don't all have the same structure across all manufacturers, it doesn't necessarily mean that the problem is with the individual
What can you do in such a situation? You can either use a separately attachable D-ring (sold separately) or attach it directly to the shoulder harness with a carabiner, which will allow you to find the perfect position

Moderate effectiveness but cost-effectiveness: Chest strap type
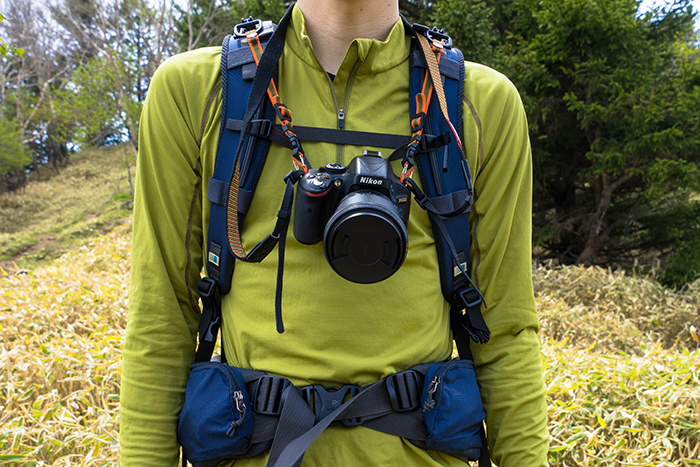 This type is reasonably priced and highly cost-effective. It's basically used as an additional (supplementary) strap to distribute the weight across both shoulders rather than the neck. I tried the UN UNX-5802 (photo on the left or above) . Essentially, it's just a short strap connecting the shoulder harness and camera, so you could achieve a similar setup by using your own carabiners, but that aside, this alone does a good job of reducing shaking and improving access to the camera, so it does achieve the goal of carrying the camera stably while taking photos, and I feel like it's actually worth more than its price .
The drawbacks are that it's only so-so in all respects. It doesn't completely eliminate the discomfort of the backpack hanging down, it does block your downward view, and having to remove the straps every time you take a photo or take the backpack off isn't very smart. Also, few backpacks these days have D-rings on the shoulder harness, so if yours doesn't have one, you'll need to find a separate D-ring to attach, as mentioned above
In the photo, the strap is attached directly to the camera, so it is exposed, but you can also wrap the camera in a camera bag and then hang the bag itself, which can increase protection depending on how you do it

Not suitable for the mountains, but perfect for travel: the instant-shooting strap type
there is the quick-release strap, which has a good reputation in the world of general camera straps . This strap is attached to the tripod screw hole on the bottom of the camera, and its distinctive feature is that it can be quickly switched between shooting mode and carrying mode.
The Ninja Strap may be the most popular 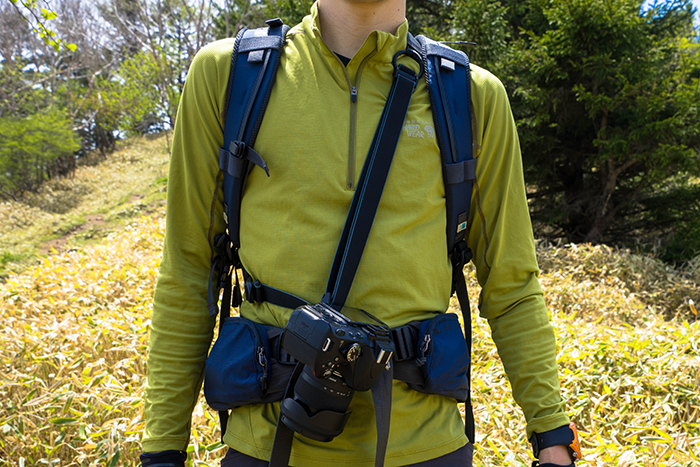 among the public the Pro Sling Strap (pictured right or above), . Despite splurging on this, unfortunately, it required me to attach it tightly to the side and back of my body to carry the camera stably, which meant my backpack got in the way, making it difficult to say it was very convenient for hiking. However, this type of strap is compact and easy to attach, so it's certainly a very smart way to carry your camera for everyday use, and I still find it useful when traveling light.

summary
I'm sure there are many interesting reviews online on personal blogs about the gear I tried out this time. Reading them will be very informative. However, everyone has their own unique shooting style, and naturally, the way they are used and the environment they're used in will also vary. I simply wanted to know which gear is truly easy to use after trying them side by side. I also thought that a more objective evaluation like this one would be worth sharing. In that sense, I hope the results of this review will be helpful to you as well
There is still room for improvement in this genre of gear, and many users around the world are eagerly awaiting it, with new ideas emerging one after another on Kickstarter in the US and elsewhere. Outdoor Gearzine will continue to keep an eye on the latest gear
Related reading
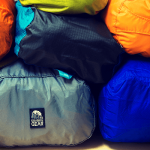 How to Choose a Convenient Stuff Sack and Recommended Models for Each Use
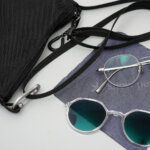 [High Ownership Satisfaction and Ease of Use] Trying Out the JINS x Snow Peak Collaboration Eyewear "JINS Switch Combination Titanium" [Quality Of Camping Life Improvement Committee #001]